Reading time: 2 min read
Sitecore Pages: Adding Components to a Page
An easy guide to enhancing your Sitecore pages with dynamic components.

Ashwinder Kaur
Quality Assurance Lead
Quality Assurance Lead
Start typing to search...
An easy guide to enhancing your Sitecore pages with dynamic components.
Quality Assurance Lead
Quality Assurance Lead
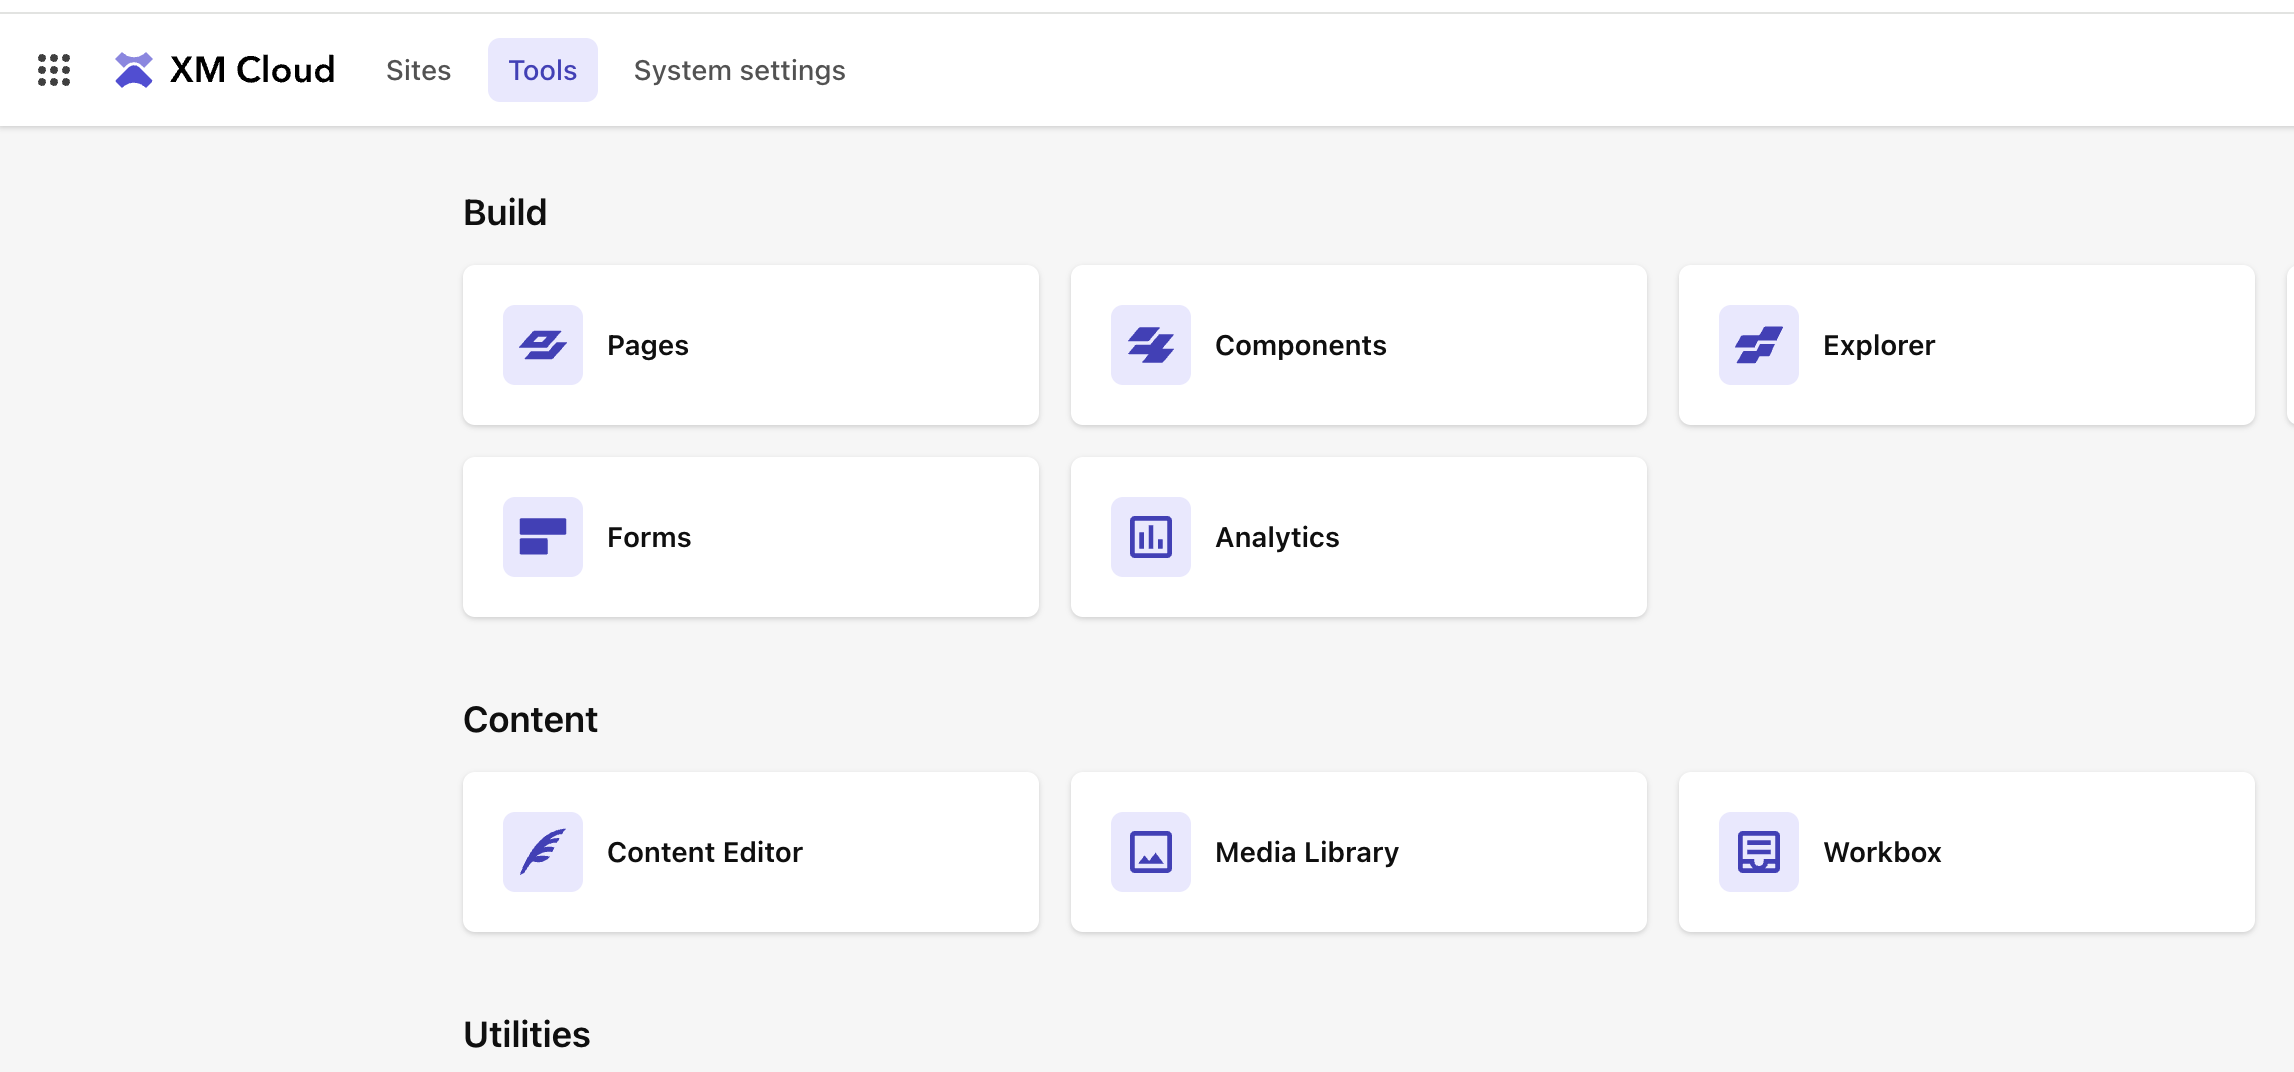
On the Tools tab, you can access all the features in XM Cloud e.g. Pages, Explorer. Click on Pages to open it
On the Editor tab, in the left-hand side pane, open the Components tab
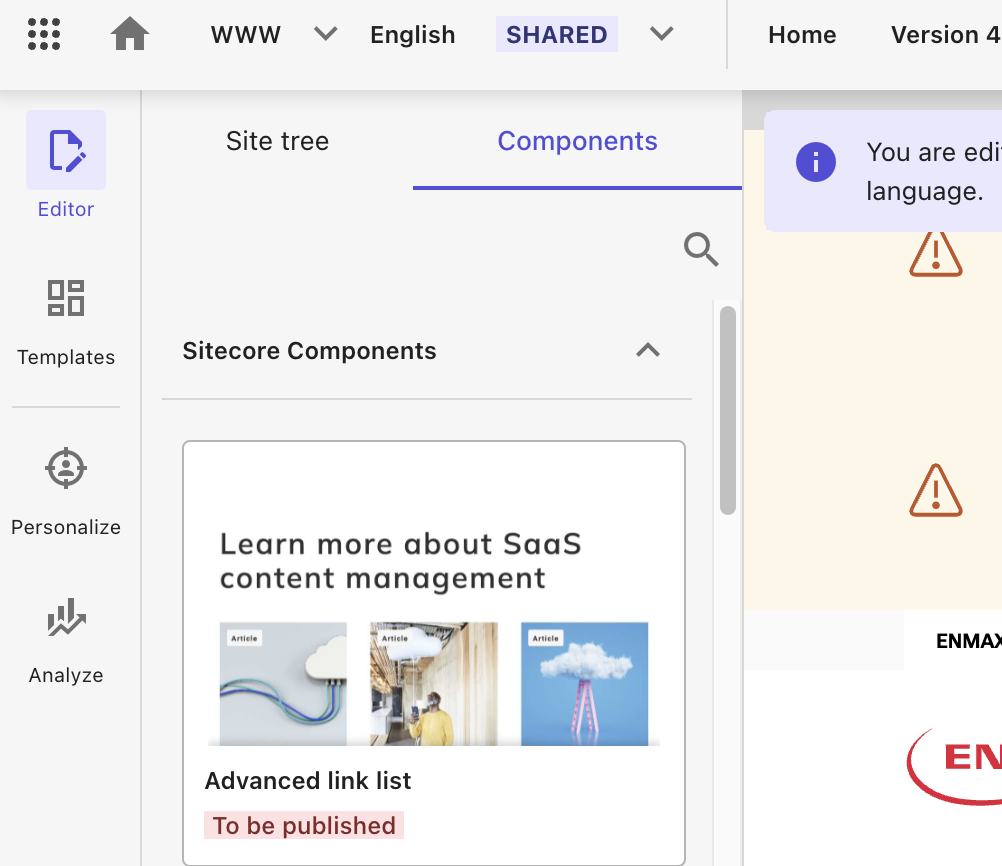
You will see a list of all components (default + custom built) that can be added on a page
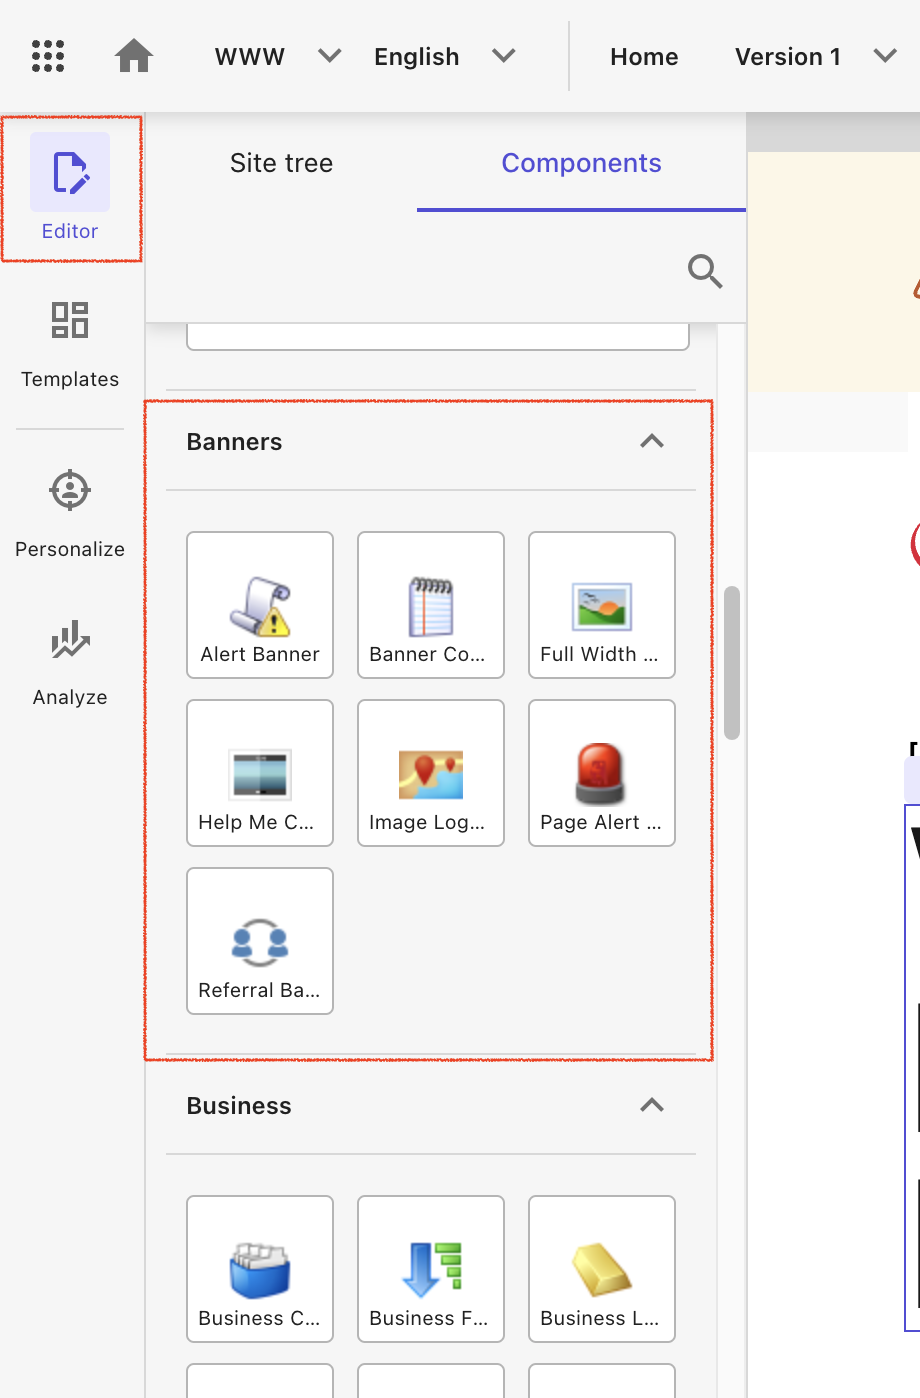
Select any component e.g. Banner. Drag and drop it to the desired location on the page canvas e.g. main placeholder
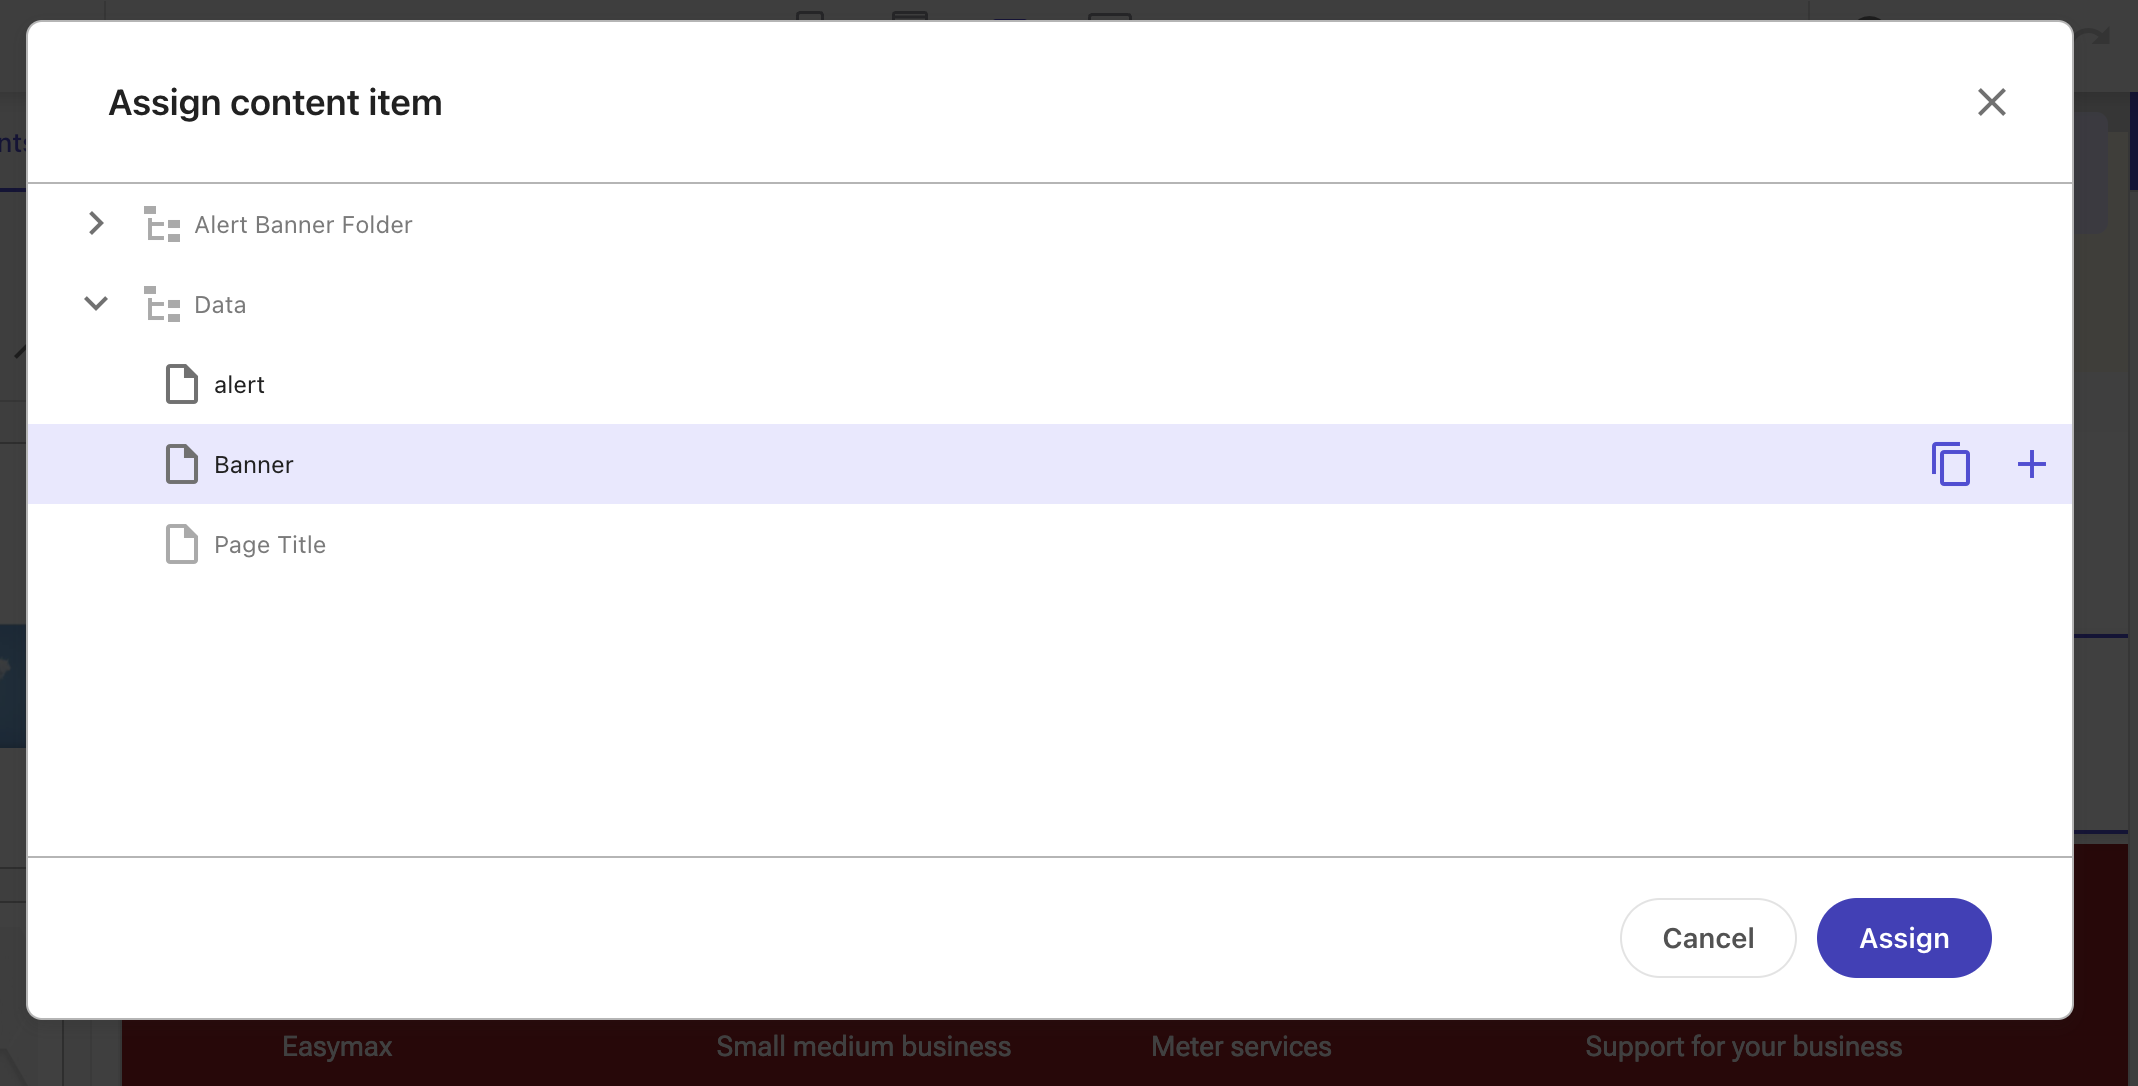
Assign content to component when needed. The content can already exist as content items in your site, as item in Media Library, or you can create new content. New content can be created under global folder if it needs to be shared among multiple pages on the site or locally under local ‘Data’ folder
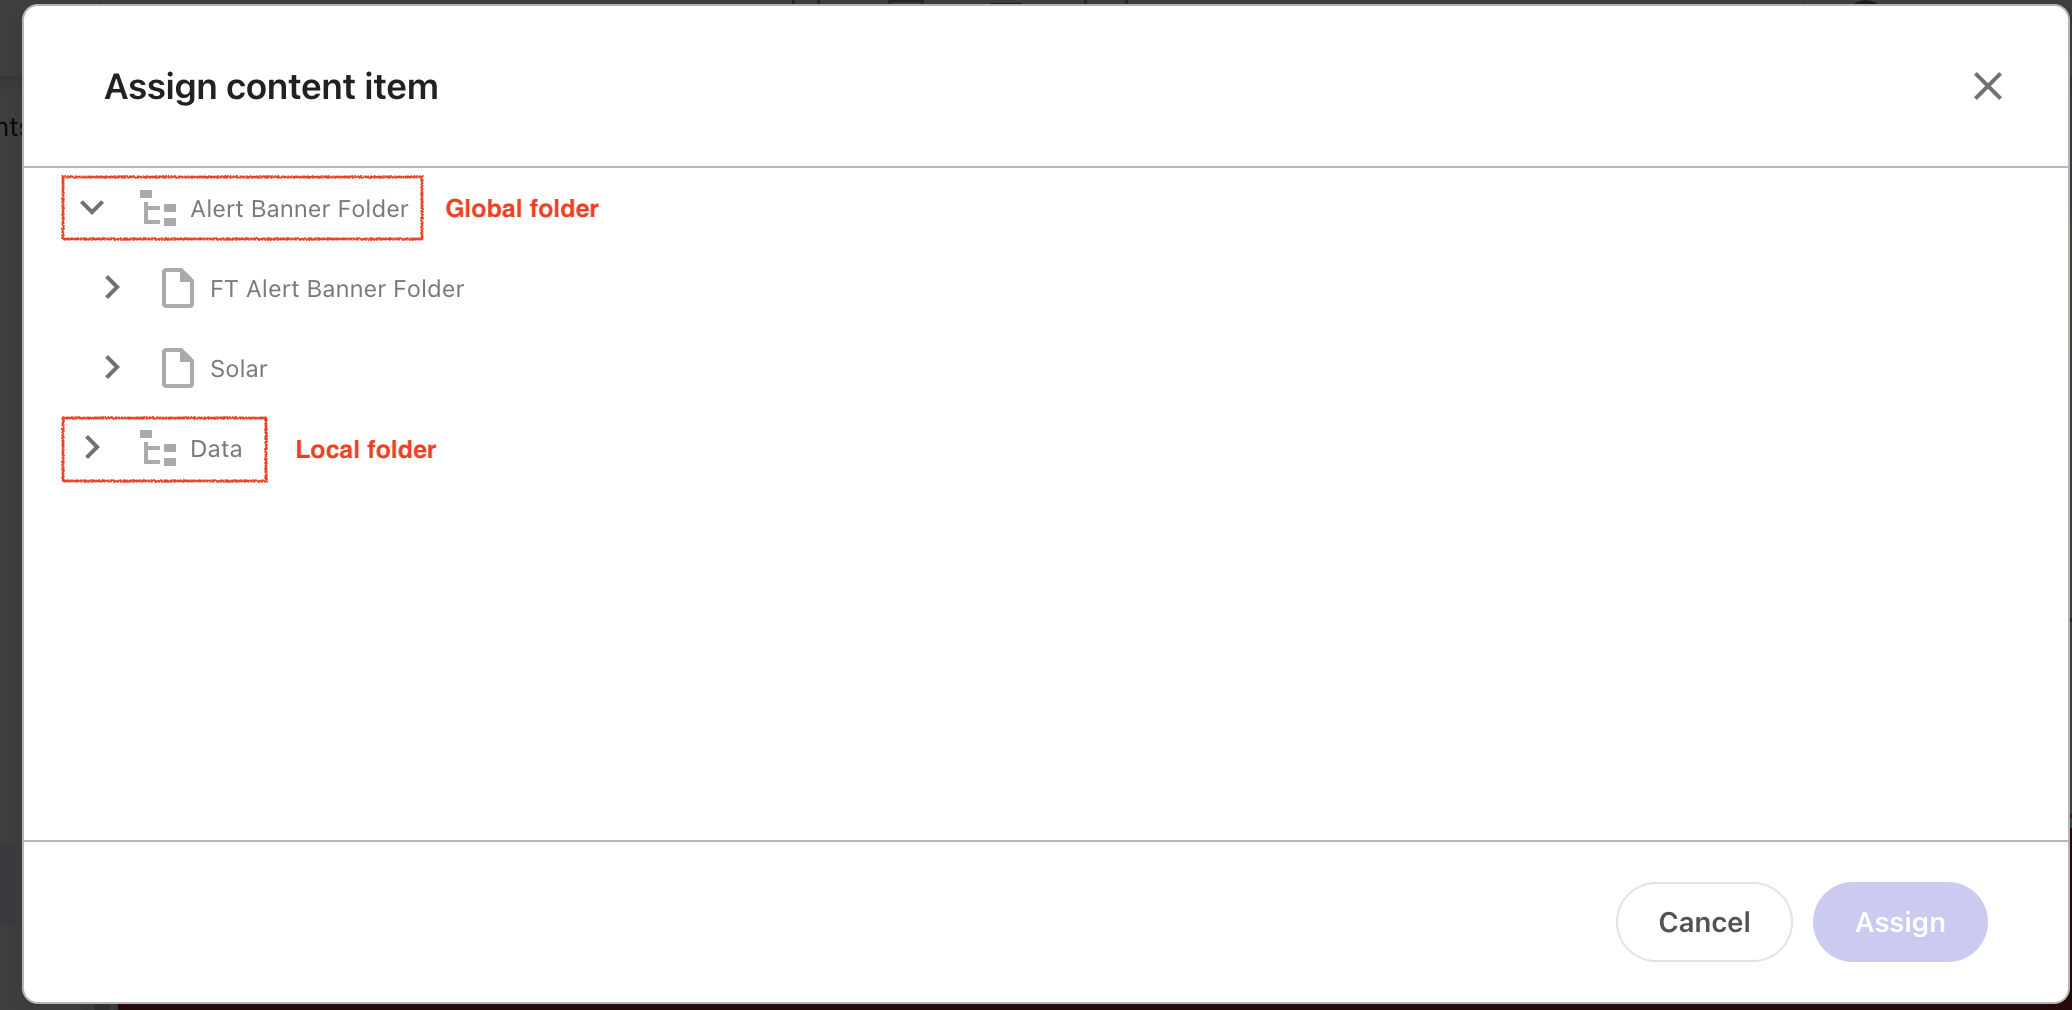
Click on the newly created content (local or global) to enable Assign button. Click Assign button and component gets added on the page
When the page is ready, publish the page.