First Impressions of A/B/n Testing in XM Cloud
Introduced in November of 2024, the A/B/n Testing feature in XM Cloud is still fairly new compared to other features in the platform. I wanted to know how the user experience was for configuring these in XM Cloud and what options would be available to our customers and our own team.
I promised myself to not read ANY of the documentation before trying out the feature. My initial impression? The Sitecore UX design team really had a great success on this experience. With absolutely no reference to the docs, I was able to add a new test, configure multiple variations, and get into the advanced configuration. Almost everything seemed very intuitive with minimal steps required.
My very first attempt to check out component-level A/B/n testing failed before it even started. I could not, for the life of me, figure out how to get to the feature. Everywhere I went, there was no option to configure testing. I discovered that the option for creating component-level variations was not available in the XM Cloud implementation I was using. If your JSS version isn’t at a compatible level, the icon for A/B/n testing is hidden. This is a bit sneaky and I get why they did that, but I would have preferred it show me the feature and then when I tried to access it that it display an alert to me that informed me of what I had to do to get the feature to work.
Once I set myself up with an environment that had the correct JSS version, everything went much more smoothly!
Why Would You Ever Want to Use A/B/n Testing?
Sometimes, you don’t know what you don’t know. When you get to a point where conversion is important on certain key parts of your website, you want to find out what actually works. A/B/n Testing allows you to figure out what is going to work best by running experiments across a variety of options and finding the ‘best’ one.
There is a little bit of a nuance here that ‘best’ is often the best overall, not necessarily the best for a particular type of user, so that’s where you might get into personalization if you find you have something that isn’t great as a default option, but works really well with a certain segment.
Where I think this comes into play:
- You have an idea that something is not working well
- You have a guess at what might work better
- You want some real data to help you decide if your guess is right
What You Need to Get Started
- An XM Cloud environment
- A front-end application using Sitecore JSS version 22.1 or later
- No page variants configured on the page
- Some content that you want to test (background images, text, components, etc.)
Walkthrough: How to Configure an A/B/n Test in XM Cloud
If you step through the following guide, you can see most of the user experience for this new feature and get an idea of the options that are available to you. In my example, I have a Hero Banner component that I wish to test with an alternate banner image. Let’s get started!
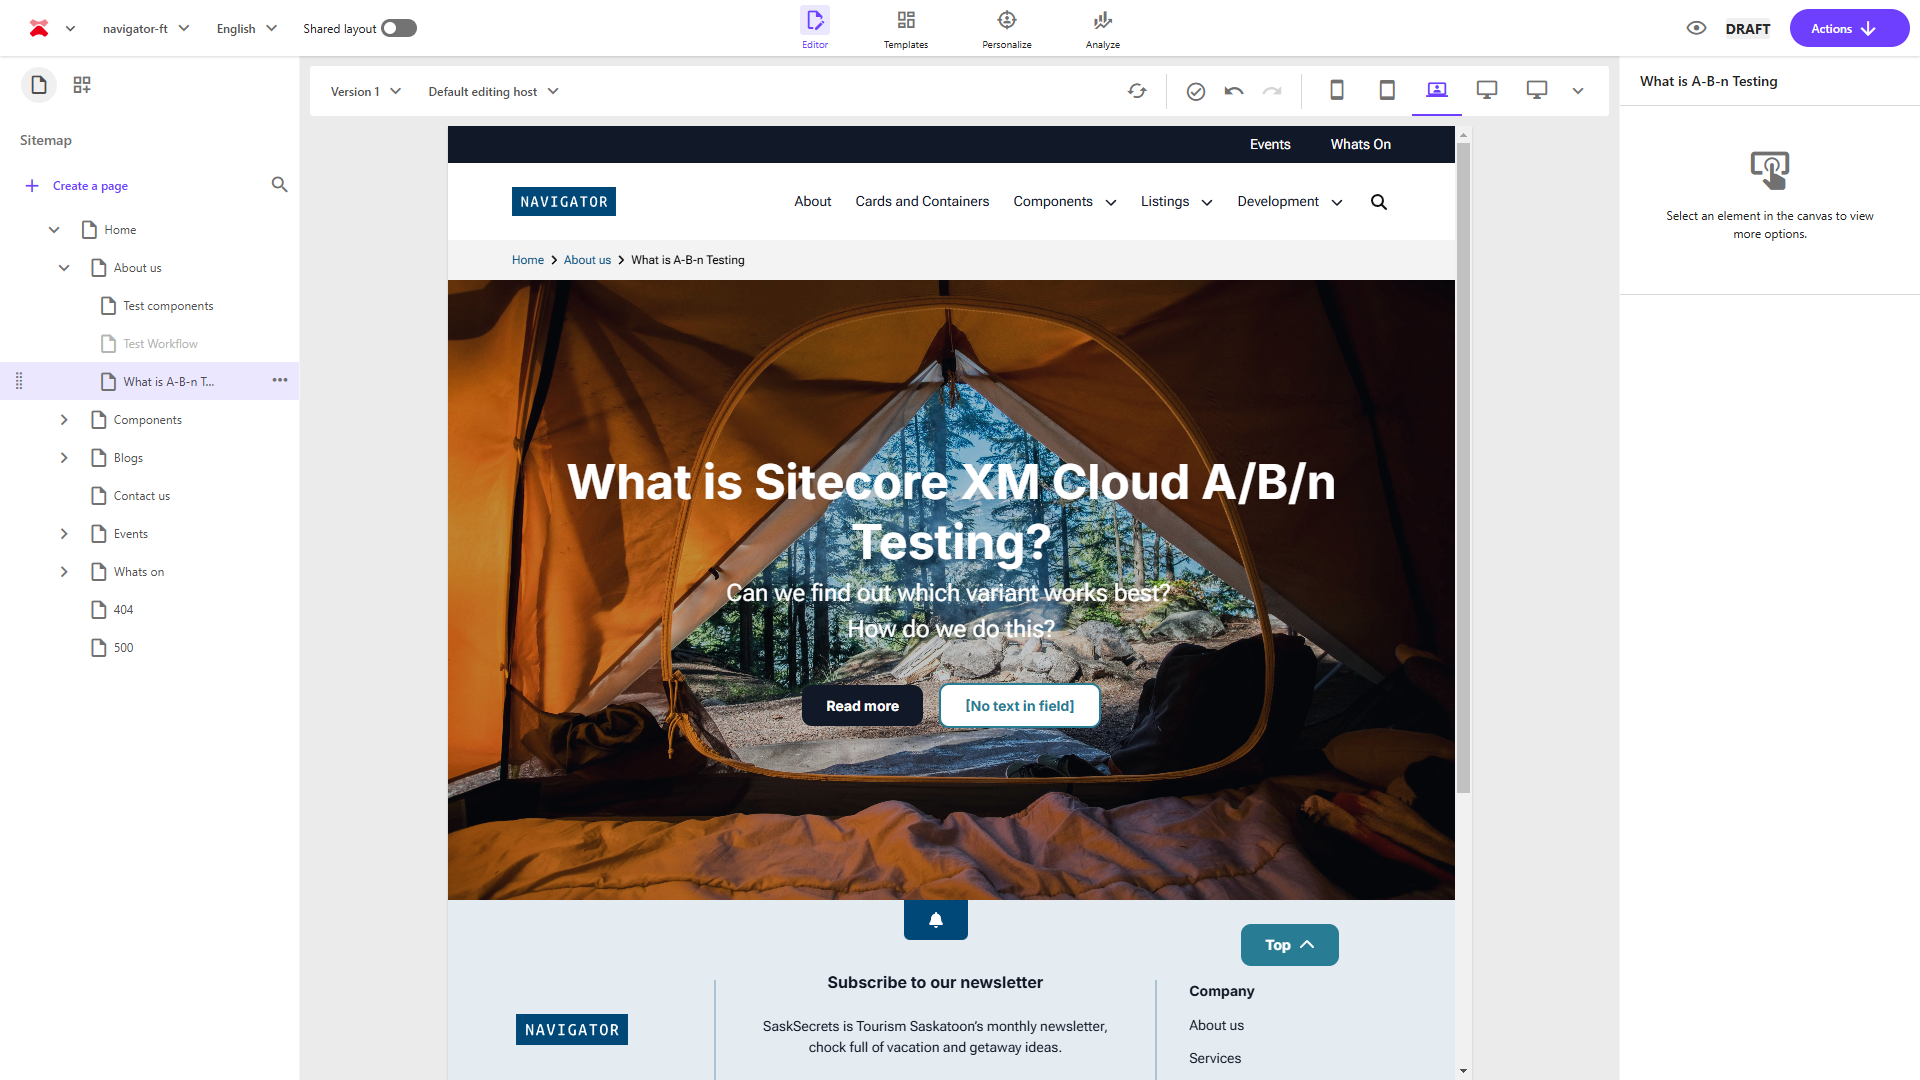
Step 1: Select Your Component
First, select the component on the page. In my case, the HeroBanner component. This causes a context bar to display for the component, showing options for you to interact with.

In the context banner are several icons for actions you can take on the component. Note the ‘beaker’ icon that represents A/B/n testing. Click that icon to load the A/B/n testing feature.
Step 2: Name Your Test
Give the A/B/n test a name that will refer to this experiment. In my case, I used the name “Image swap”, but you should probably use a better name. Press the “Save” button to save the definition of the test.

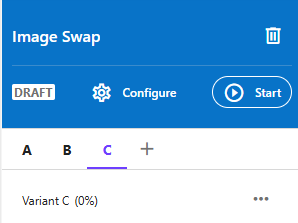
Step 3: Create Your Variant
In the left side pane, where the content tree displays, you will notice a beaker is now showing next to the page name. In the right-side pane, there will now be a new “B” variant displayed in the pane with the name you provided (”Image Swap” in my example). Three options are provided to the user:
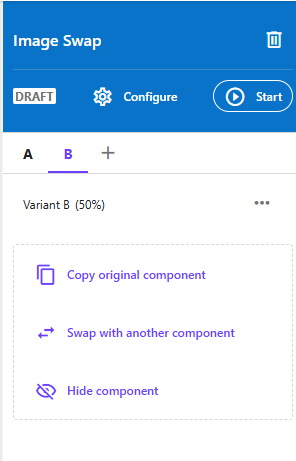
- Option 1 - “Copy original component”: A clone of the current component content (data source). The expectation is your baseline is very close to what you need for your variant, but you want to make some changes
- Option 2 - “Swap with another component”: Use an existing component that you already have as your variant
- Option 3 - “Hide component”: For when nothing is better than something🤣
Step 4: Create the Content for the Variant
The next step is to create the content of the variant by choosing one of those options. For my scenario, I chose “Copy original component”. I felt that this was the fastest way to accomplish what I needed. I only want to change the image, or maybe a word or two or a styling on a button, not a complete swap out for something different. I feel like in most cases this is probably what I would want to do.
It was nice that there were other options though. The “Swap with another component” option is great if I want to try out some different layouts, and the “Hide Component” option would be helpful if I wanted to see if removing the component improved performance on the page.
Now that a basic “Image Swap” variant has been created, the panel on the right side now updates:
- A variant B shows, set to 50%
-
A success message reading “Copied original variant” displays so that you can be sure that the option you selected worked
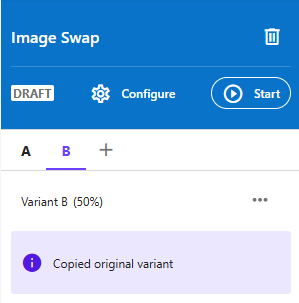
This action creates a content item with the a very similar name to the original data item you selected. It gets created in the same folder location but with _var2 added to the end of the name to make it unique.
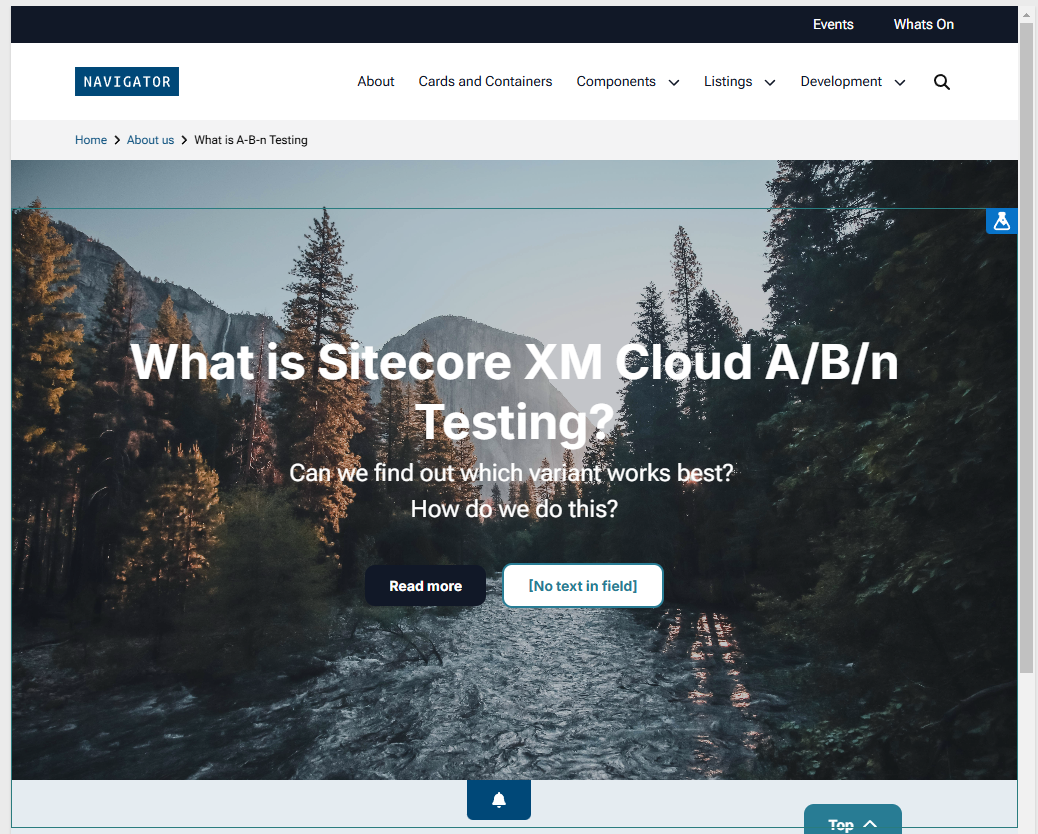
Step 5: Edit Your Variant Component
In the Pages editing canvas, you now make the changes you want for your variant. I edited the image for the banner so that I can test which image resonates better with audiences.
Step 6: Add Another Variant
At this point we have a classic A/B test comparing two options, but let’s see what happens when we push into the “A/B/n” category!
We will turn this A/B test into an A/B/n test by adding another variant. In the right-pane, click on the “+” icon next to the “A” and “B” variant names.
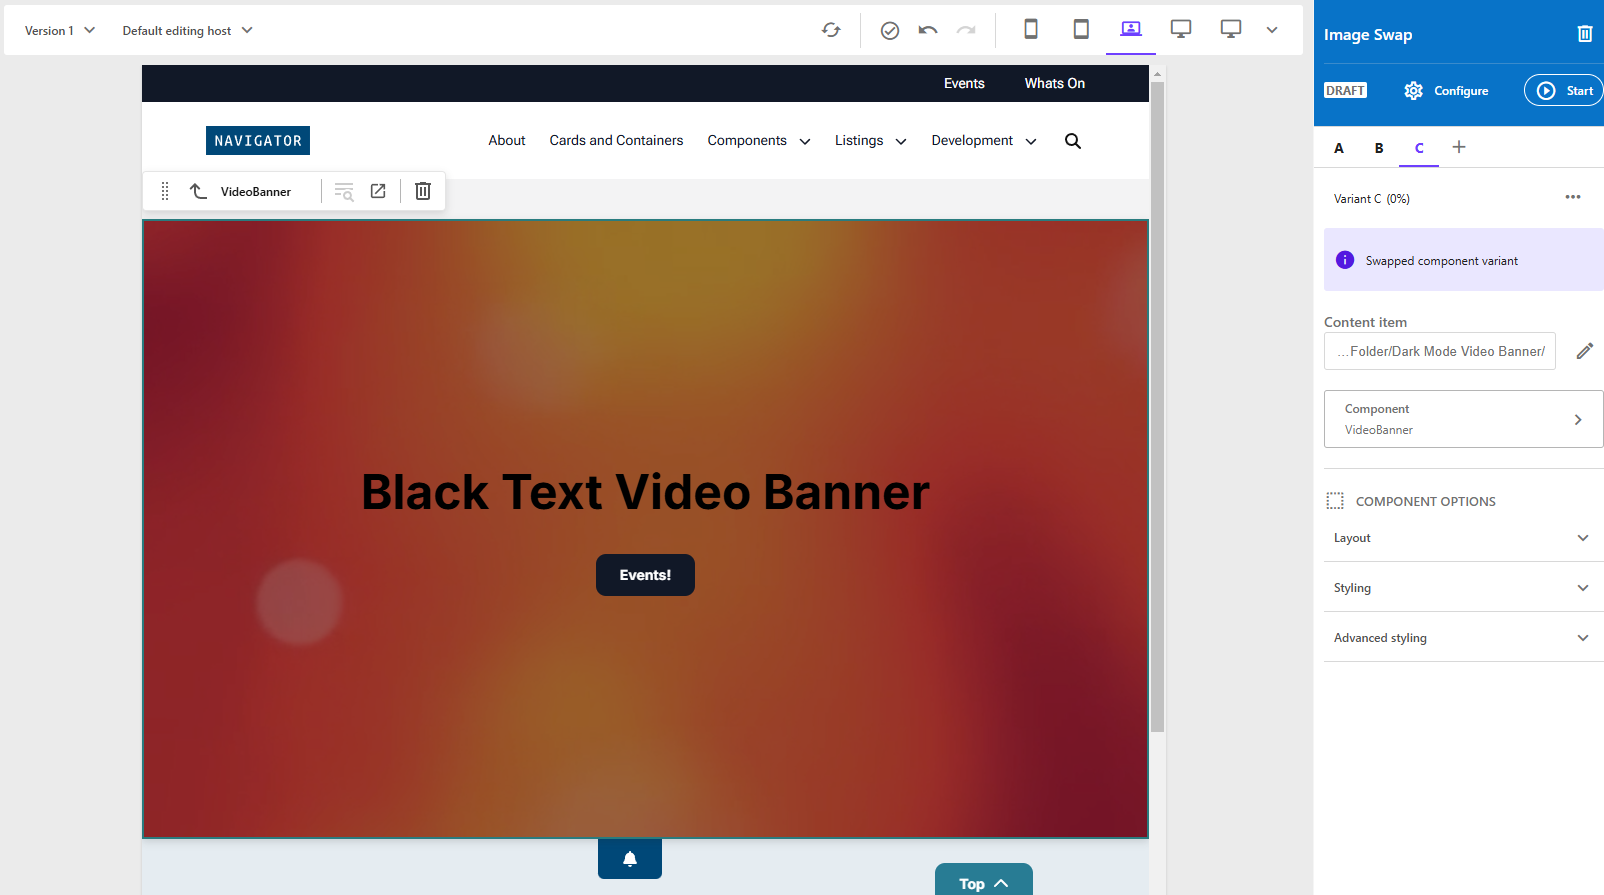
Step 7: Swap with Another Component
For this variant, select the “Swap with another component” option. This allows you to select a new component and content data source to replace the existing component with a completely new piece of content. In my case, I chose a video banner to see if playing videos might work better.
Step 8: Fix the Variant Distribution Percentage
Currently, our “C” variant with the video banner is receiving 0% of the distribution and this needs to be fixed. To fix the variant distribution, click on “Configure” to launch the settings for the test.
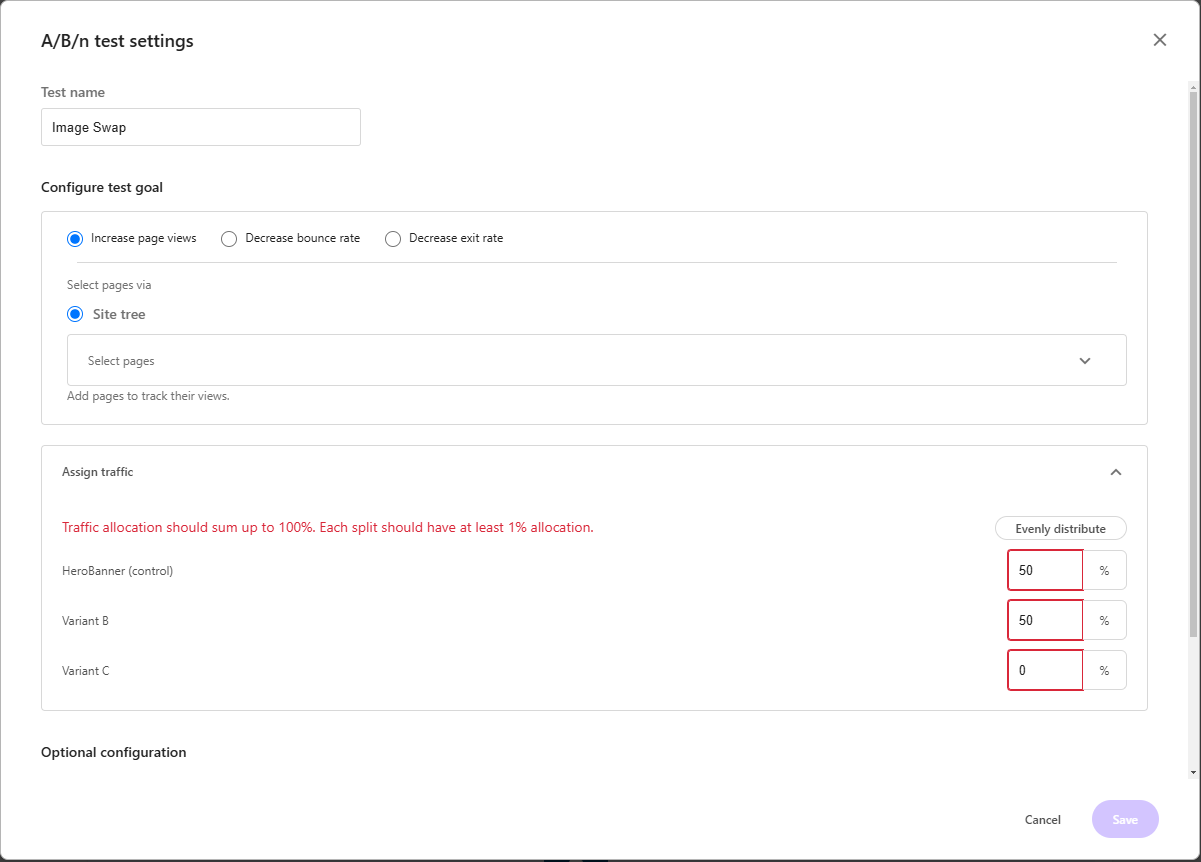
In this configuration dialog you can change the name, determine the goal, and fix the traffic allocation (among other things). Note that it actually calls out my 0% allocation as needing at least 1%, forcing me to fix this.
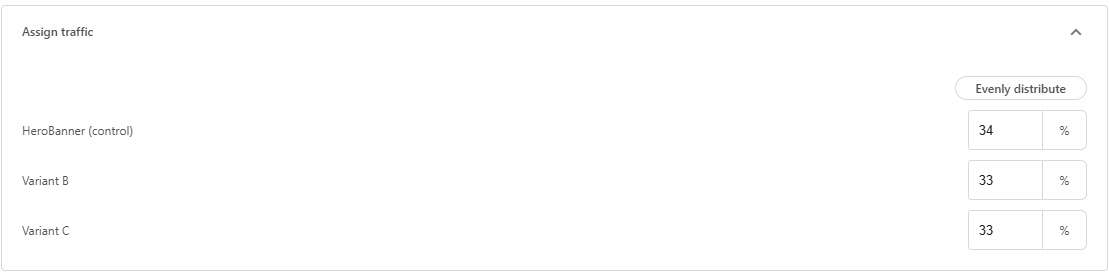
The easy way is to click the “Evenly distribute” button for now, and it automatically assigns values evenly that add up to 100%. The “control” variant will get 34 to make sure it adds up to 100 since I’m dividing by 3 in this case.
Step 9: Choose What to Do with a Winning Variant
Under the Optional configuration I can choose what to do with a winning variant.
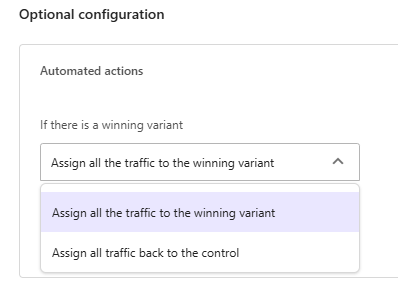
My only options are:
- Assign all the traffic to the winning variant
- Assign all traffic back to the control
I’m not entirely clear in what situation I would ever pick to assign traffic back to control. If I’ve successfully tested that another variant performs better, shouldn’t I let it become the default? I feel like the default option of assigning to the winner is going to be untouched for most.
I guess I can see a scenario where you are running multiple variations and you want to look at the results before making a final decision. Perhaps your variations were a bit wacky or off-brand and were merely to test some guesses before doing a larger initiative.
Step 10: Choose What to Do When Tests Are Inconclusive
In some scenarios, the test won’t have a clear decision on the winner. Under Optional configuration you can also set what to do if a test is inconclusive.
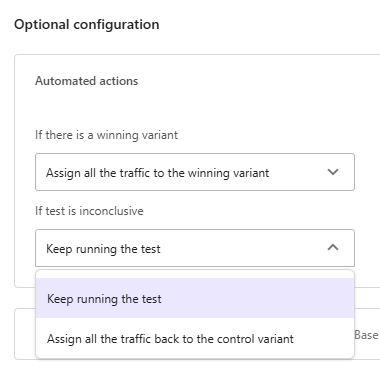
Only two options are available:
- Keep running the test (default)
- Assign all the traffic back to the control variant
In this case, I can understand where the non-default option could be valid. If you start running your test and you simply cannot get any of your variants to be decisively better, it may be best to stop the test and create some new variants and try again. I think in my case I’d likely still want the test to keep running with the assumption that I probably just didn’t have enough data yet.
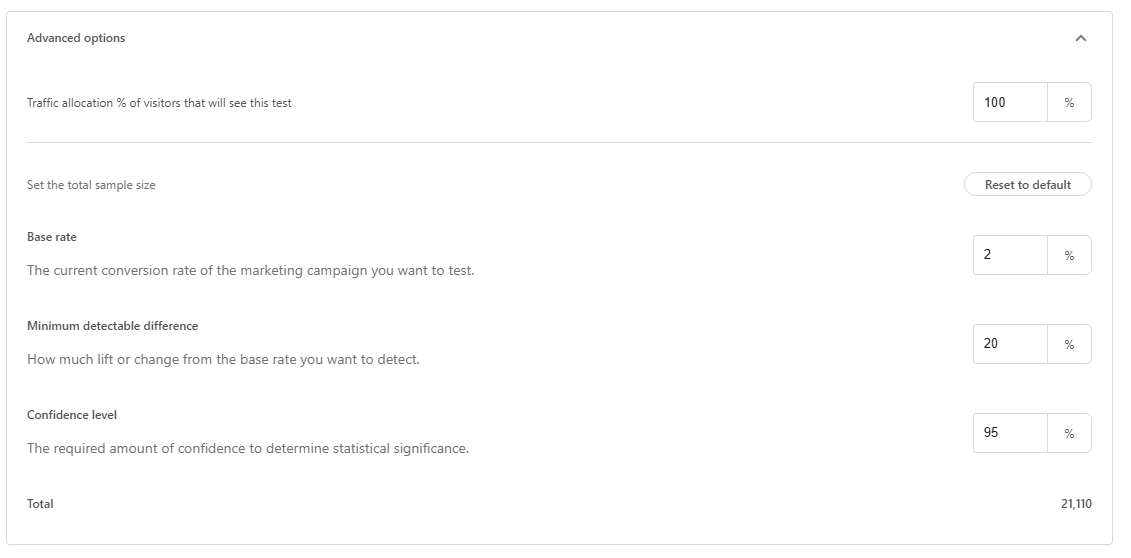
Step 11: Exploring Advanced Options
There are a BUNCH of advanced options as well. I like that you can opt to reduce the percentage of visitors that will see the test and toggle some of the options for confidence and base rate. For marketers that are familiar with A/B testing these terms are going to be familiar, but if this isn’t your area of expertise you might not know what these mean. What I really liked is that the docs actually get into things like best practices around A/B/n testing to help you understand how you should be configuring your tests as you get started.
A Great Step Forward for Sitecore XM Cloud
In terms of ongoing improvement for the product, A/B/n testing is a great addition. I really like that we are seeing this type of functionality come natively in Sitecore XM Cloud without needing to purchase any additional tools. This creates a lot more value for the base XM Cloud offering so that marketing teams can continue to get more than just a CMS, but still have the option to grow into more advanced scenarios with products like Sitecore Personalize and Sitecore CDP.
In another article, I hope to dive into running the test and exploring the analytics reporting that is available. Until next time!
Other Things You May Want to Read
- First Look at A/B/n Testing in Sitecore XMC (Mihály Árvai)
- XM Cloud – Isn’t there A/B/n Testing also available? And how does THAT work compared to Personalization? (Christian Hahn)
- A/B/n testing (for users) (doc.sitecore.com)
- Best practices for A/B/n testing (doc.sitecore.com)
- Page personalization and component A/B/n testing (for developers) (doc.sitecore.com)
- Component A/B/n testing is now live in XM Cloud (developers.sitecore.com)