Reading time: 4 min read
Using the GraphQL IDE in XM Cloud to Troubleshoot Content Issues
Learn how to set up GraphQL IDE in Sitecore XM Cloud as an essential tool for troubleshooting content visibility issues.
Learn how to set up GraphQL IDE in Sitecore XM Cloud as an essential tool for troubleshooting content visibility issues.
We recently launched a client on Sitecore XM Cloud, and during development, we had to learn how to troubleshoot issues differently than on previous Sitecore versions. One of our more common issues was sometimes content was showing fine in preview mode, but wasn’t appearing in normal mode — or not showing at all in certain environments.
On previous versions of Sitecore, the usual first step of investigating missing content is to take a look at the web database. But Sitecore XM Cloud does not have a web database. Instead it uses Sitecore Experience Edge, which is a GraphQL API service that serves published data. This brings lots of great improvements over the web database, including scalability, better performance and a headless implementation. Additionally, Sitecore XM Cloud also includes a Sitecore Edge GraphQL IDE that we can use to check our published data.
I’ll go over how to set up and use the GraphQL IDE for local and other environments.
Queries against your local setup with always return master data. But it’s good to have it set up locally so that you can test out various queries. It’s especially useful when building a custom GraphQL query.
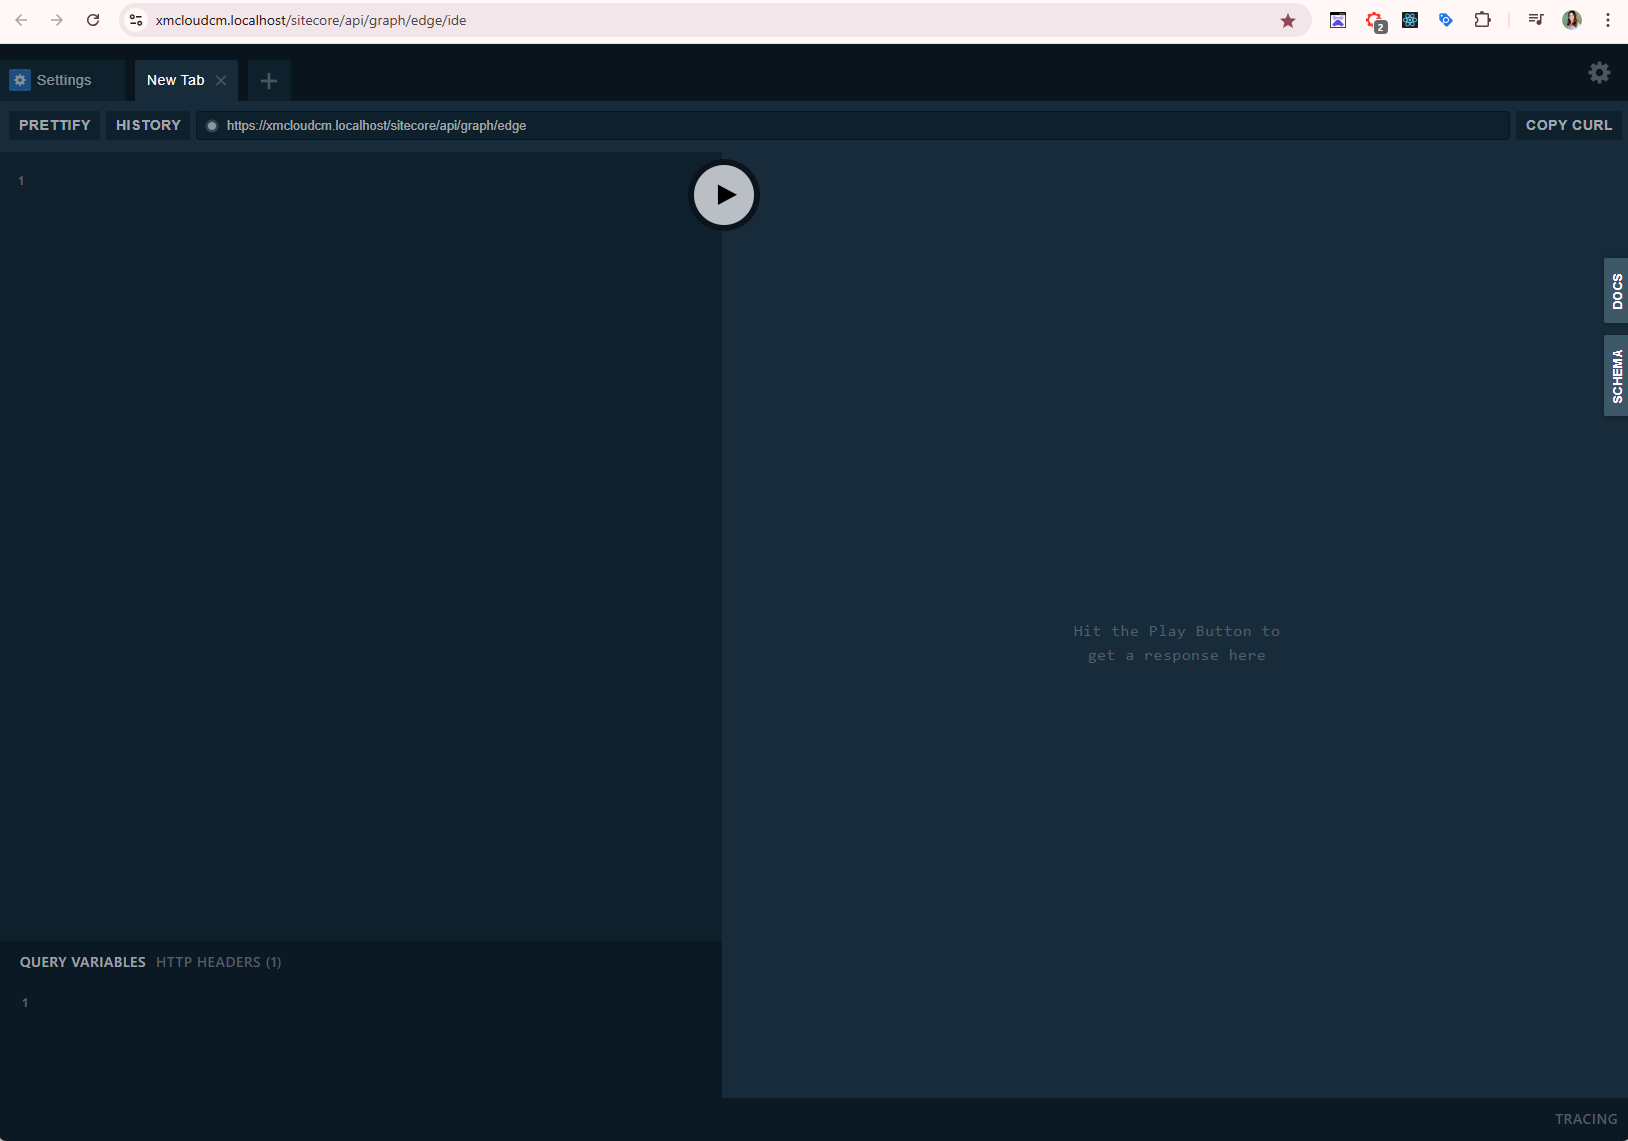
https://<your-local-host>/sitecore/api/graph/edge/ide (for example: https://xmcloudcm.localhost/sitecore/api/graph/edge/ide).An interface that looks like this should load.
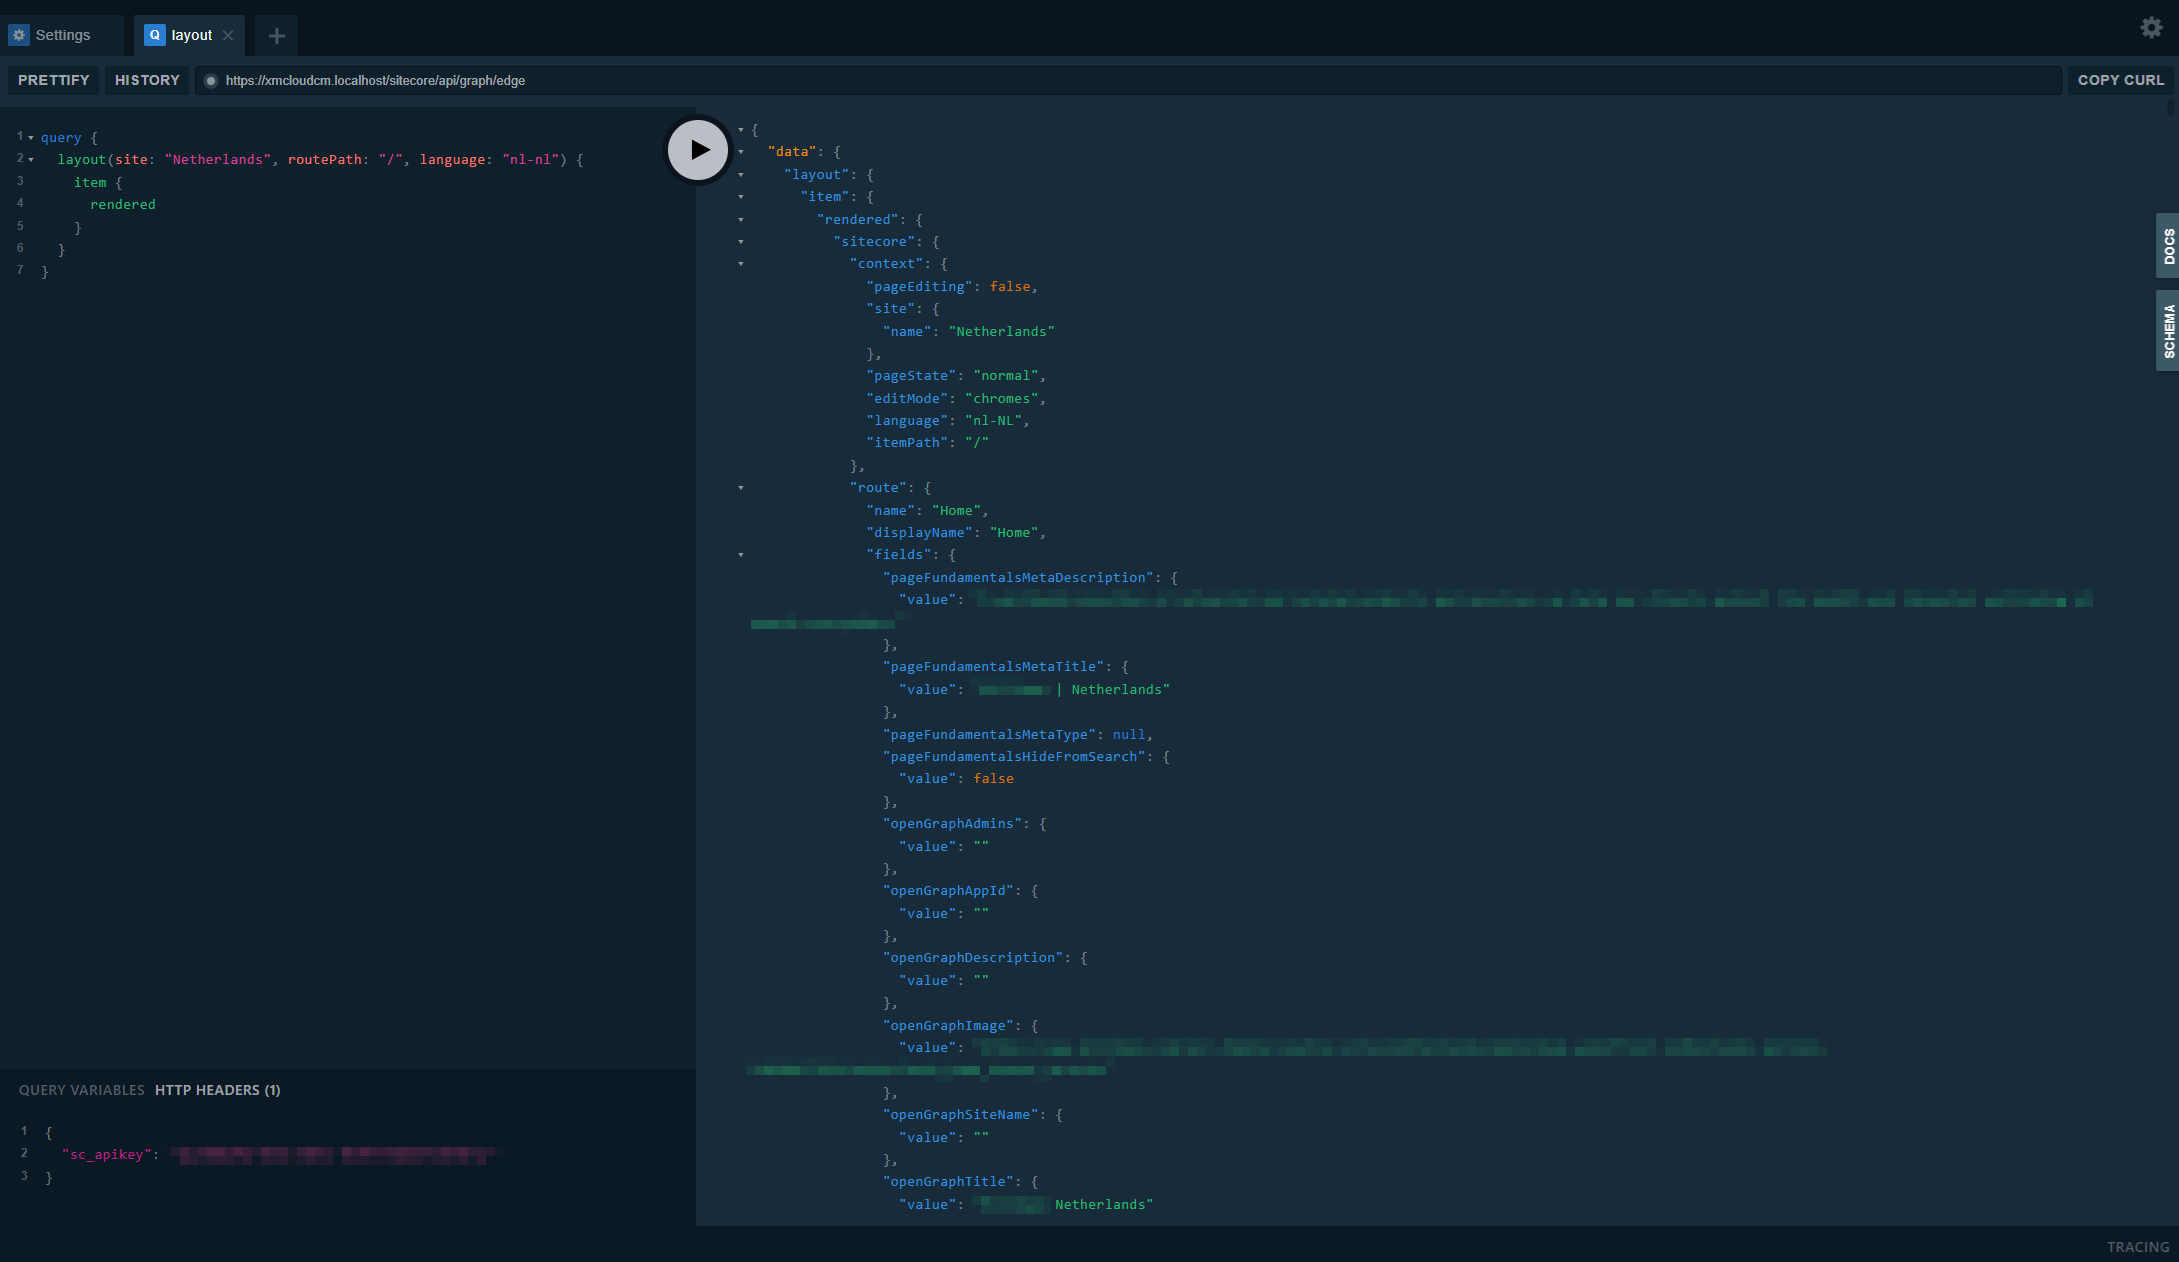
Configure the IDE to connect with the CM. Click the HTTP HEADERS tab at the bottom and include your Sitecore API Key. Search in your .env file for the SITECORE_API_KEY_xmcloudpreview variable to get the key value.
 {
   "sc_apikey": "{GUID}"
 }
Write a query on the left side of the IDE. Usually I start with a simple layout query, but you can find lots of other helpful queries here. In my example, I want to see the data for a certain page on a Netherlands site of a multi-site project. Click the big arrow in the middle to view your results.
The GraphQL IDE for your QA and prod environments are available through the Sitecore XM Cloud Deploy application. To access it, follow the steps below.
Click Projects > Environments > environment you want to query.

On the environment page, click the Details tab and look at the bottom. The Preview GraphQL IDE - Launch IDE link will open a GraphQL IDE that will allow queries for master data. The Live GraphQL IDE (Experience Edge) - Launch IDE link will allow queries against Edge (published data).
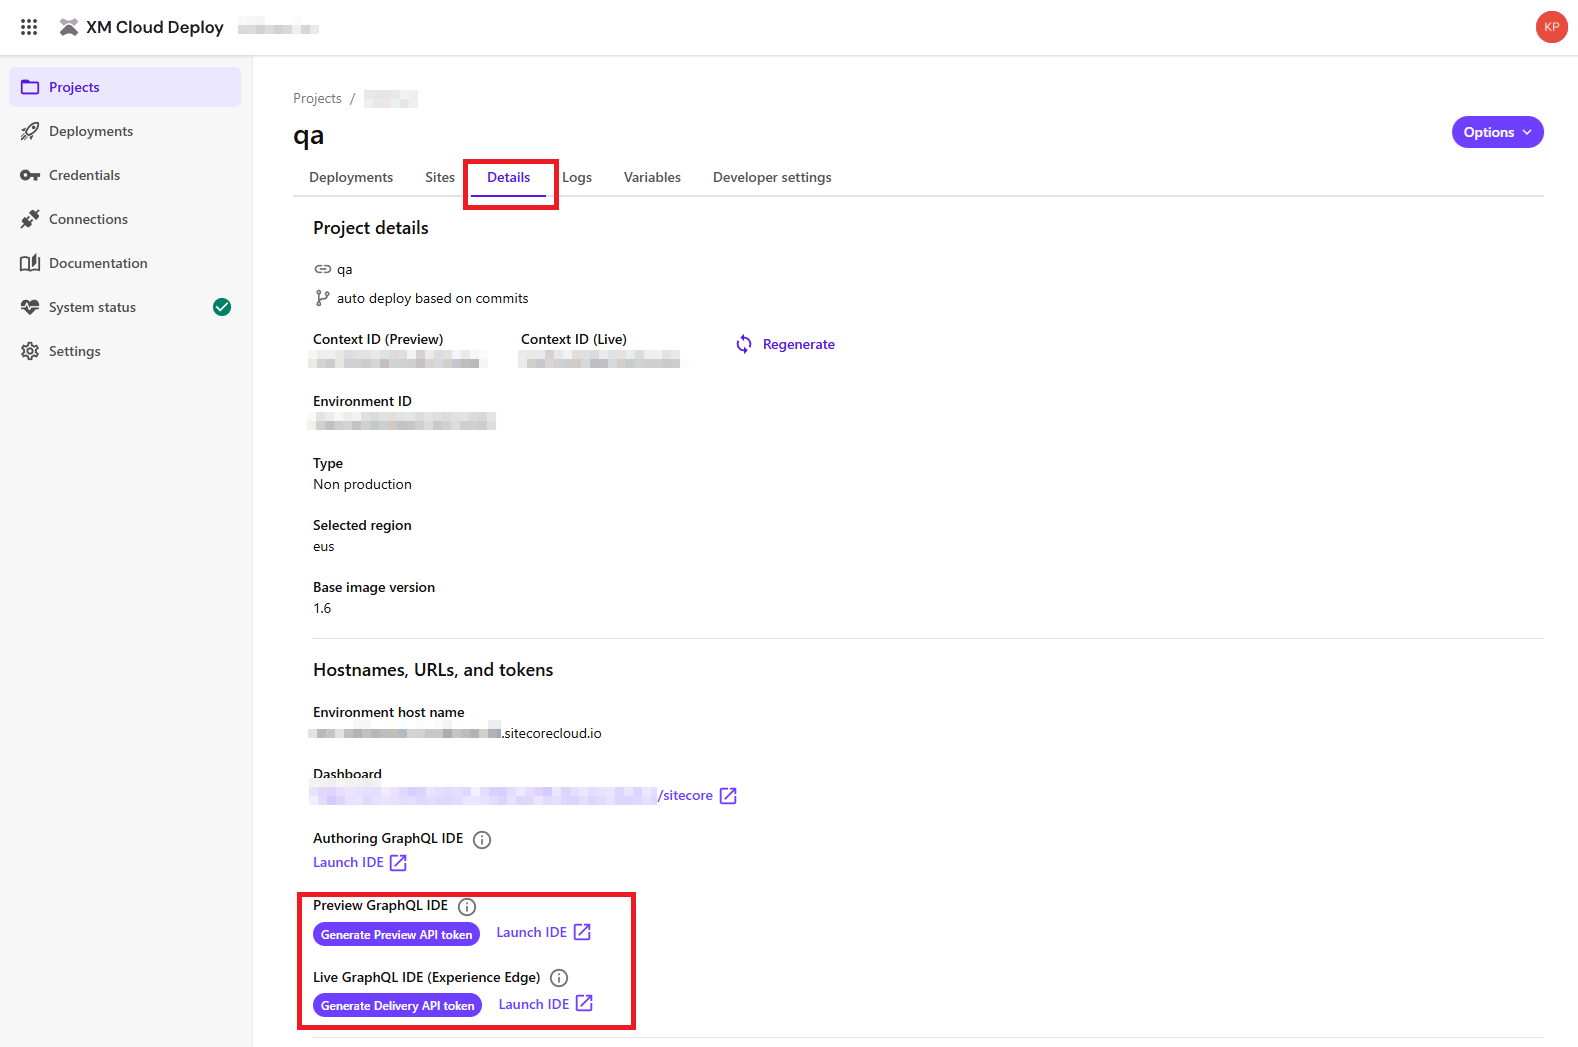
Launch the chosen IDE. Set the HTTP HEADERS tab with an API key, like you did in step 4 in GraphQL IDE: Local Environment Setup above. API keys can be generated by clicking on the purple Generate Delivery/Preview API token buttons.
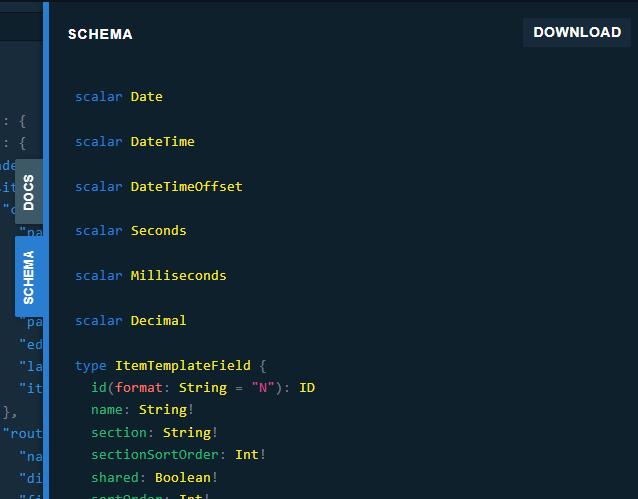
To the right of the IDE, you’ll see a Schema tab. This tab is useful to see the available properties you can query.
Another useful tool are the tooltips that show when you hover over a part of the query. This is probably my favorite tool, as it shows the template ID of the item you are querying.
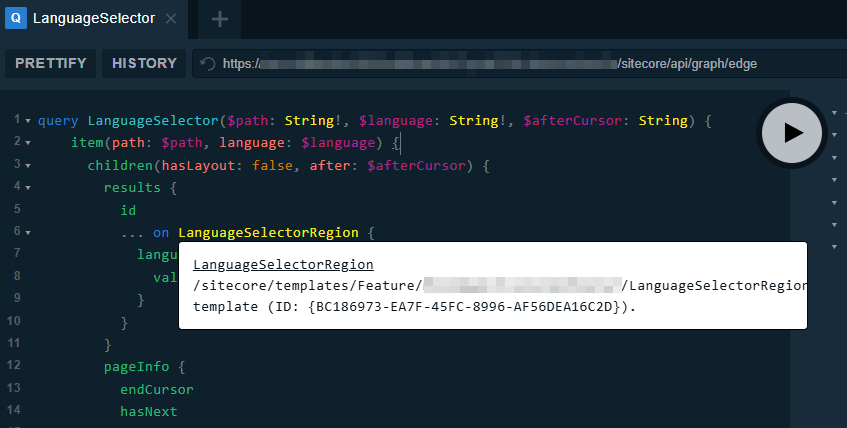
This came in handy when investigating why some content was missing on a particular environment. It turned out two templates were named the same, so one environment was using the wrong template, and the IDE tooltip helped us figure that out. The fix was to rename the template we wanted to use.
Troubleshooting missing content in Sitecore XM Cloud requires a different approach than in previous Sitecore versions, but the GraphQL IDE makes it much easier to diagnose issues across different environments. As Sitecore XM Cloud continues to evolve, mastering these tools will help streamline development and ensure a smoother content delivery process. If you're facing content visibility issues, leveraging the GraphQL IDE should be one of your first steps in troubleshooting.
Start typing to search...