Sitecore XM Cloud Deploy Beta User Interface Tour
Learn about the latest updates to XM Cloud Deploy's beta user interface and how to set up a hosting provider manually.
Start typing to search...
If you’ve had access to XM Cloud up til a few weeks ago you’ve had a fairly straightforward user interface when managing deployments. It likely looked something similar to the following after clicking Manage my projects on the main page.
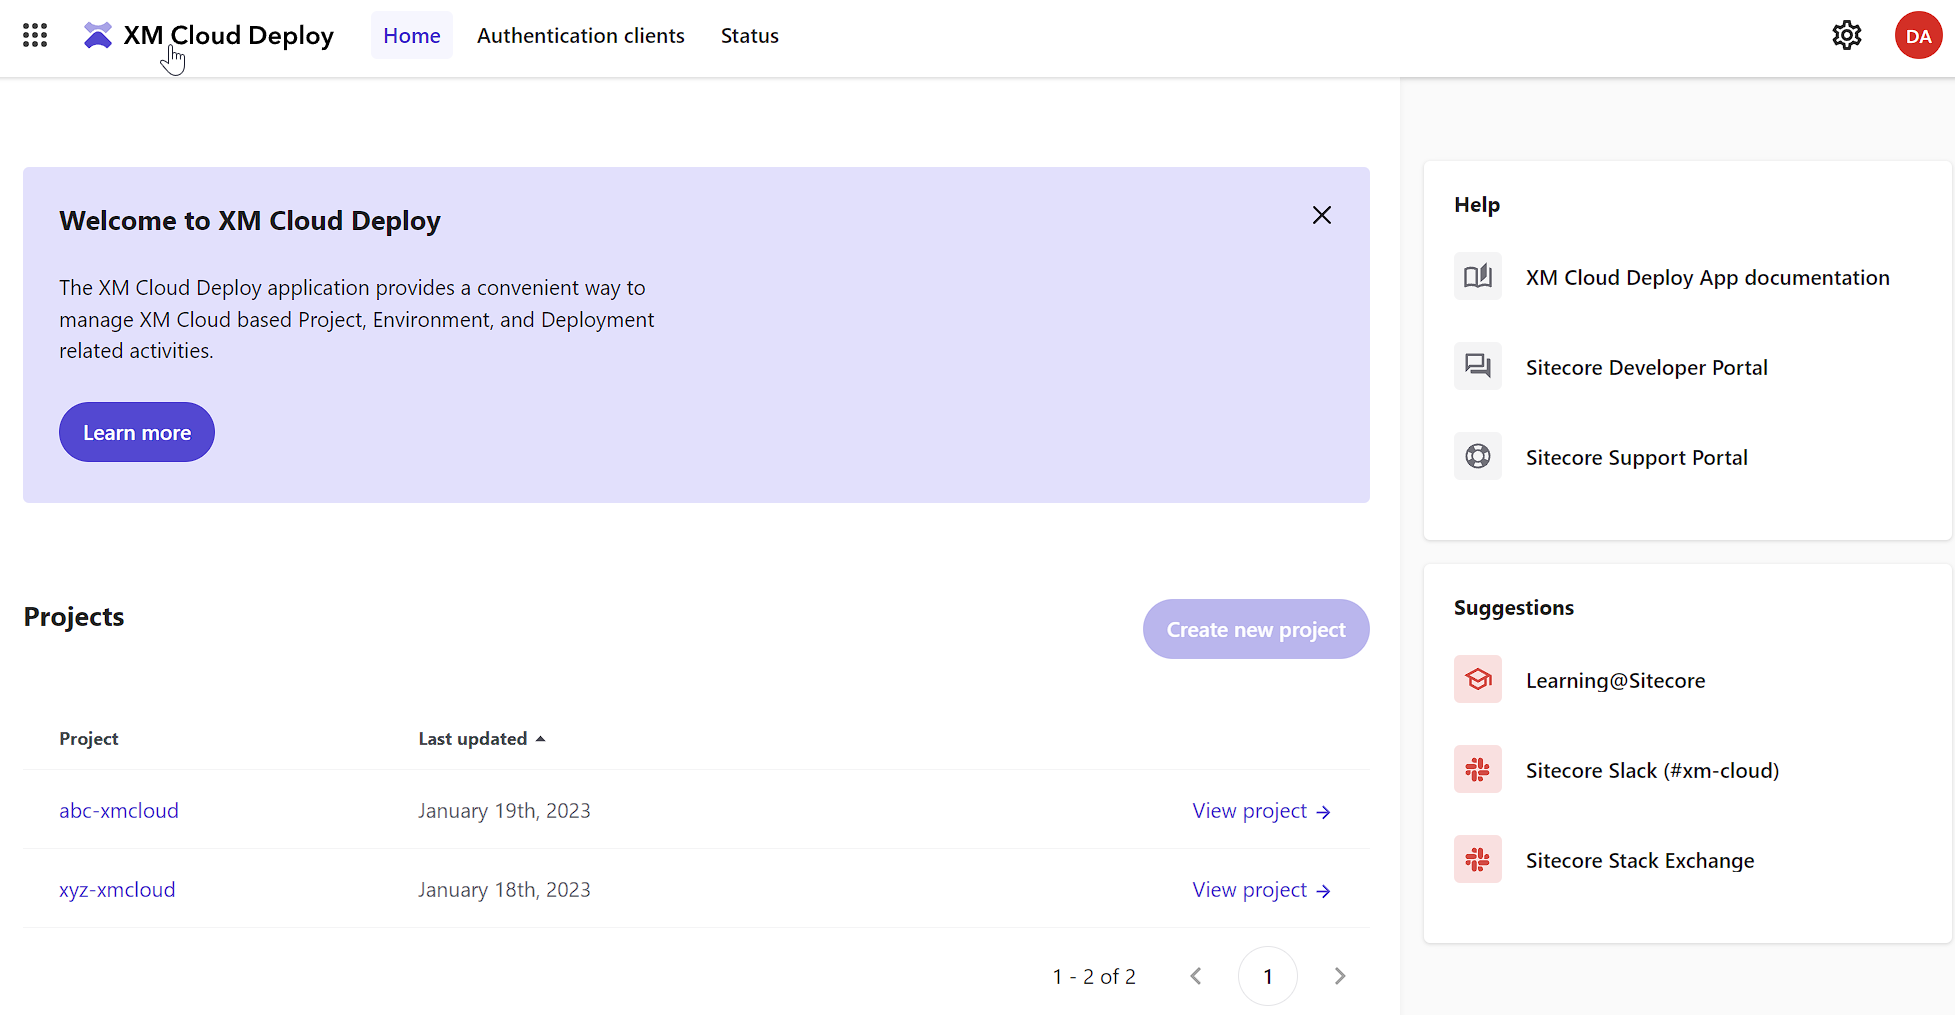
But oh how that changed. Now information is a little more organized and less “hidden” behind drop menus.
You can access this by clicking on the cog in the top right corner next to your profile icon.

So let’s have a look around. You can immediately grab the Project ID for the project you’re working on when setting up a local connection via the CLI. Prior, this was something you had to dig a bit for.
Let's take a look at the new XM Cloud Deploy beta UI, and explore the different tabs and features available.
Previously in deployments, you’d find them broken up by your environment. I didn’t mind it as it made it visible as to what environment a deployment is going for. However, in this new beta interface, you’ll see the latest deployments, regardless of environment, at the top.
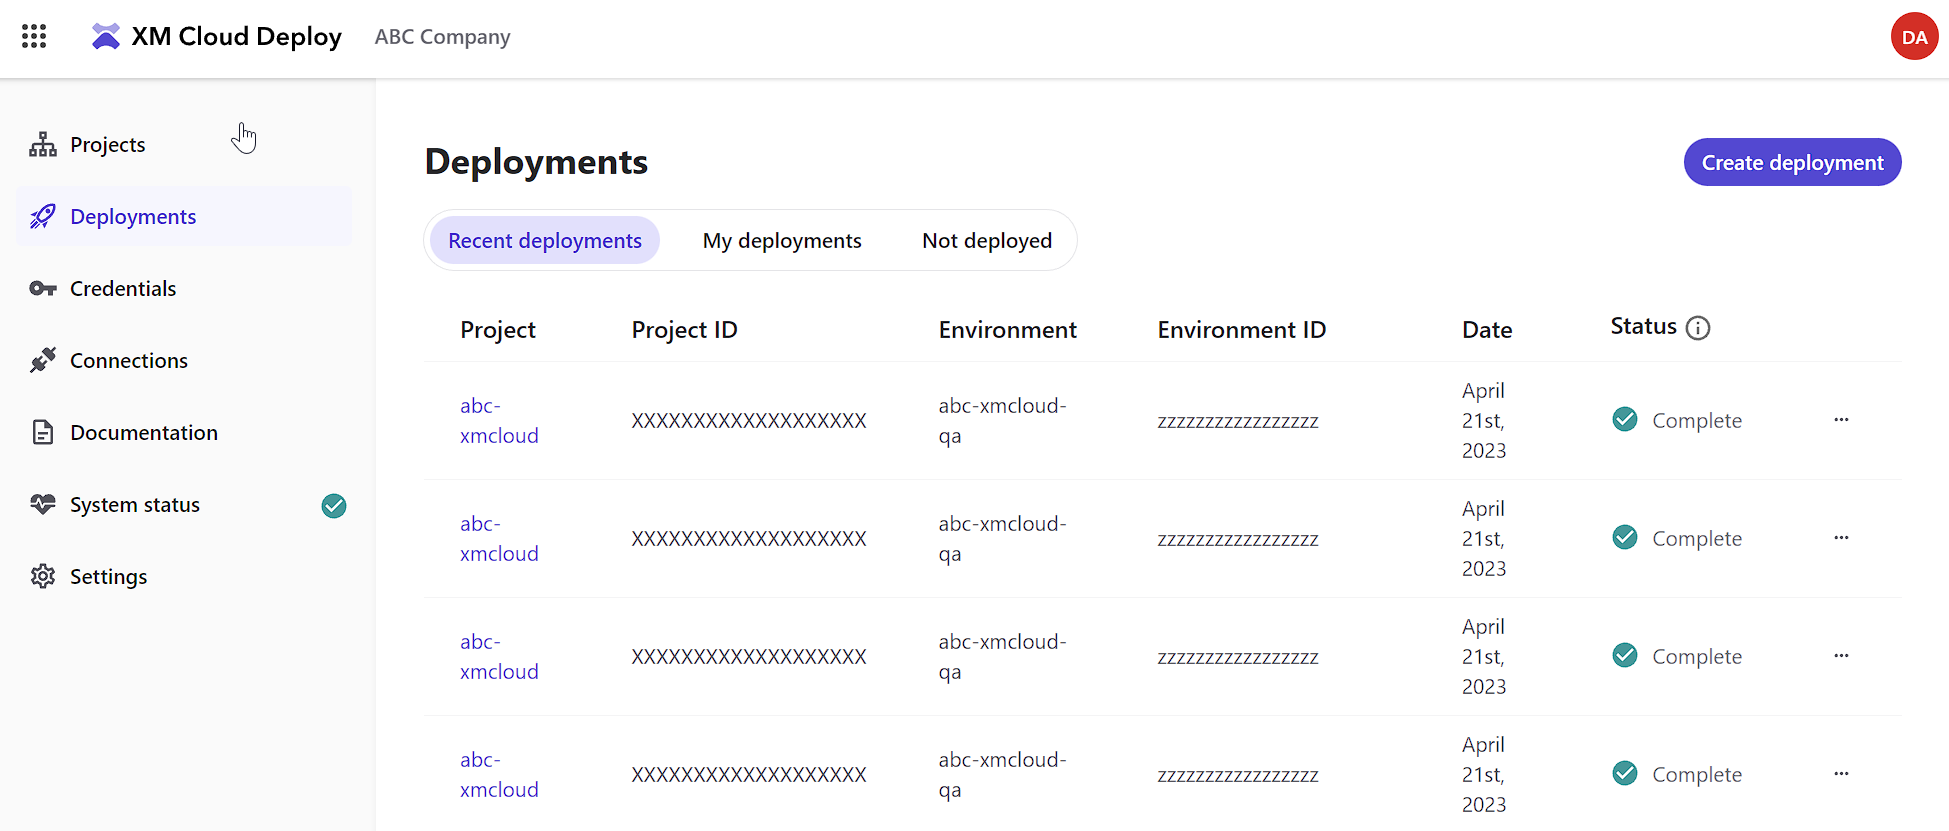
Clicking through on the project here, much like you could on the Project page itself, for example, clicking abc-xmcloud, would take you to the following page. It’s focused on a specific project’s details.
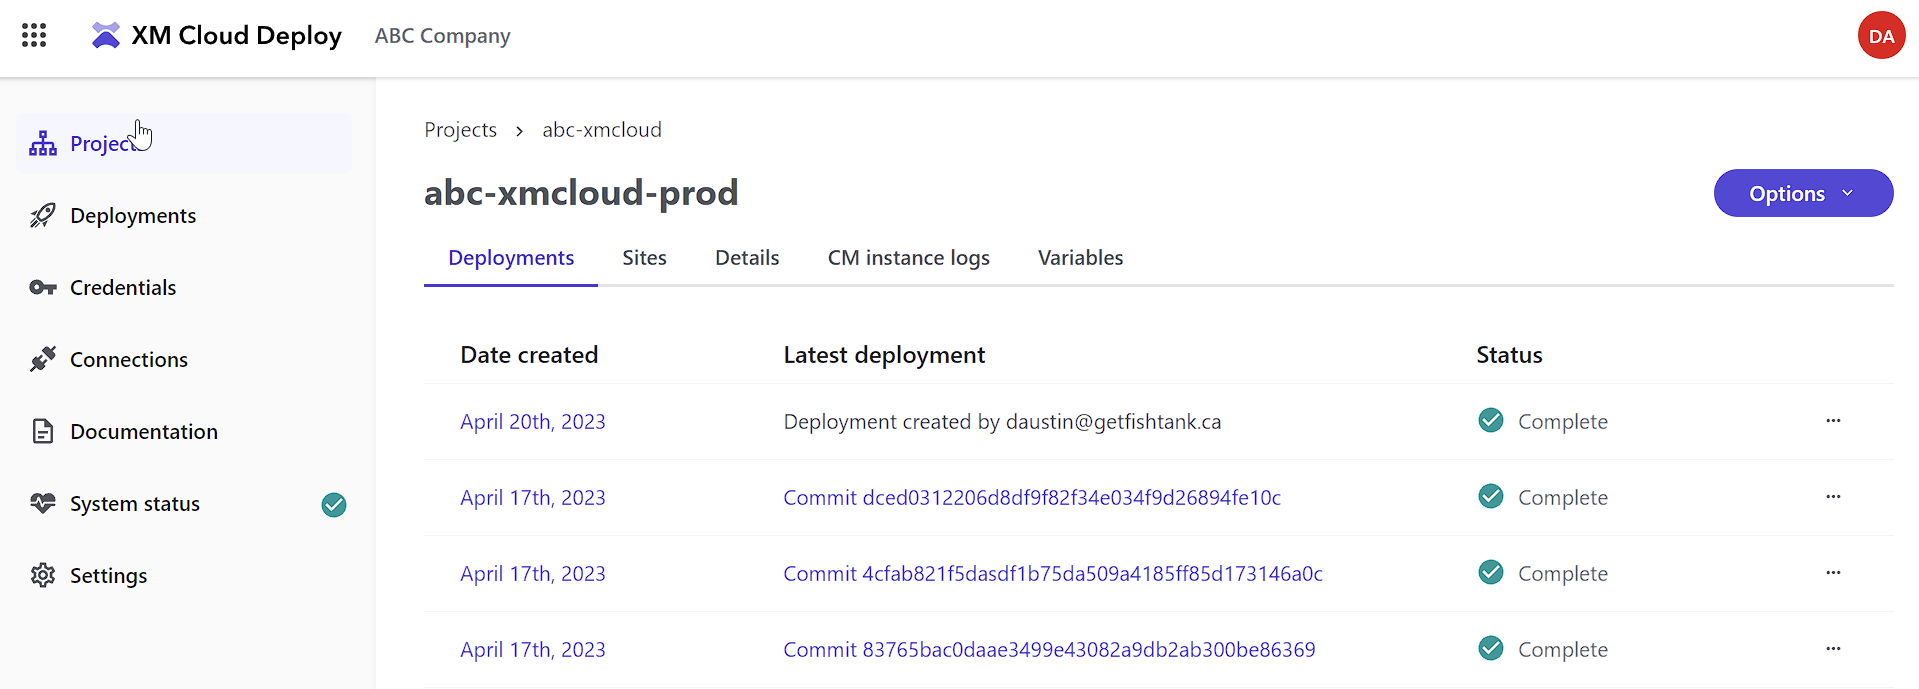
Similarly, as to before, this page shows you’ll see the date the deployment was on if it was directly related to a commit, and its present status if it was completed or failed. However, this time you can click through on the date to get the deployment details and access the deploy logs. And there’s one very welcome surprise.
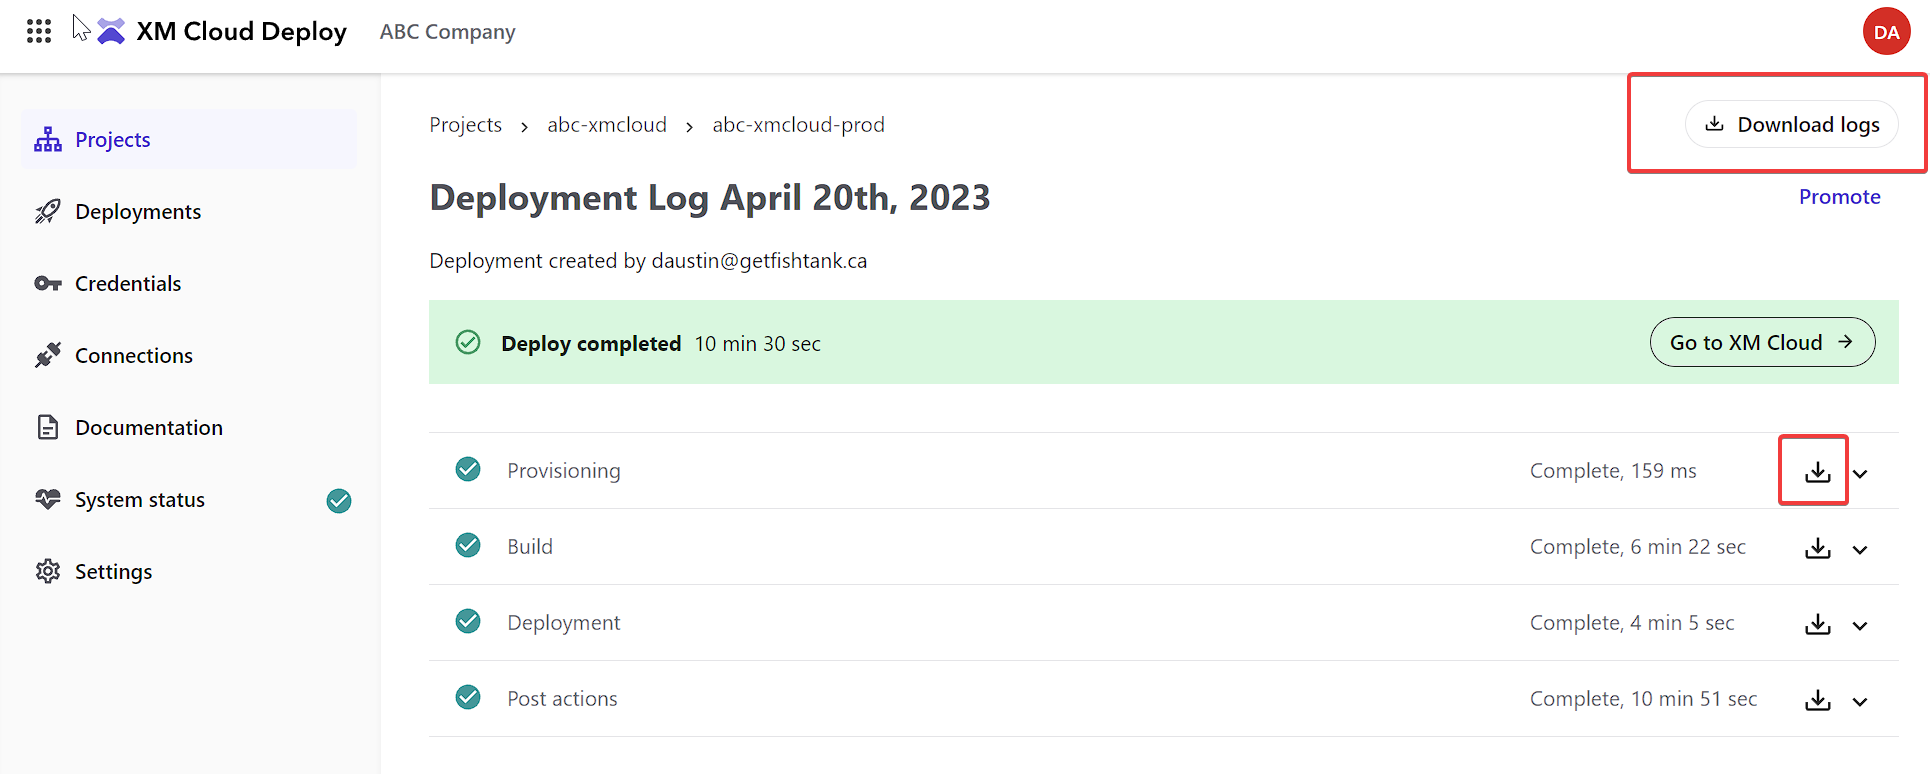
Yes, that’s right, you now easily download the deployment logs to review in your own environment making for a much easier way to debug any issues you encounter.
One thing I’d love to see incorporated into the XM Cloud Deploy is the ability to subscribe to deployments, much like you can with Vercel. If I can set up a Webhook and connect a related project Slack channel, I would get immediate notifications as to whether a deployment was successful.
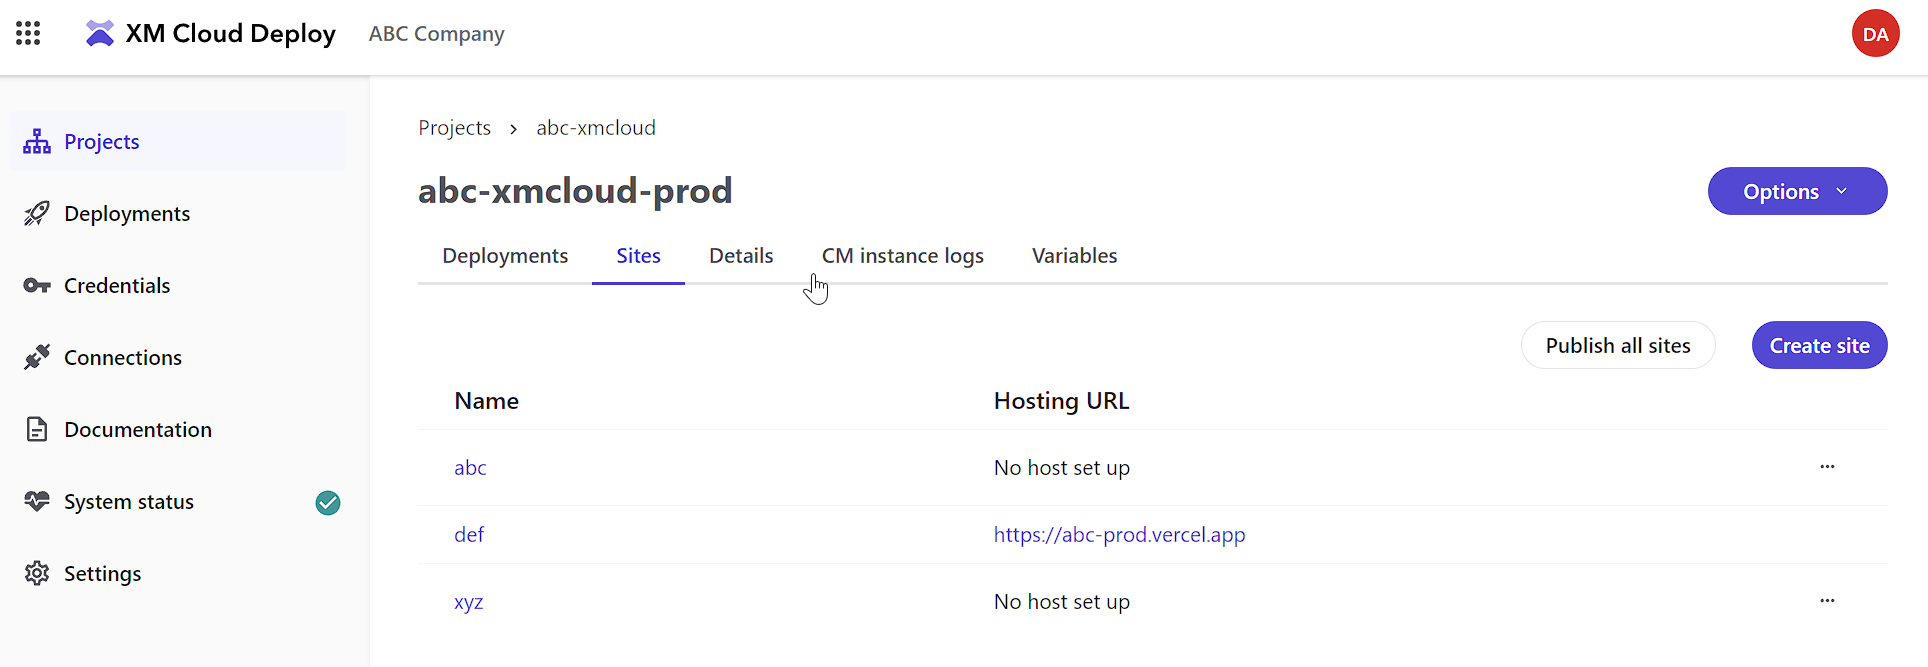
If we clicked on Sites back on the previous page, we would get to this screen. Not much has changed here. One thing I still feel needs to be implemented is a way to update the Hosting URL manually. You can click on the … on the same row as the No host set up, but once a host is set up, you can’t change the URL. And when people get around to updating DNS for example, you’d probably want to come back in and update this hosting URL.
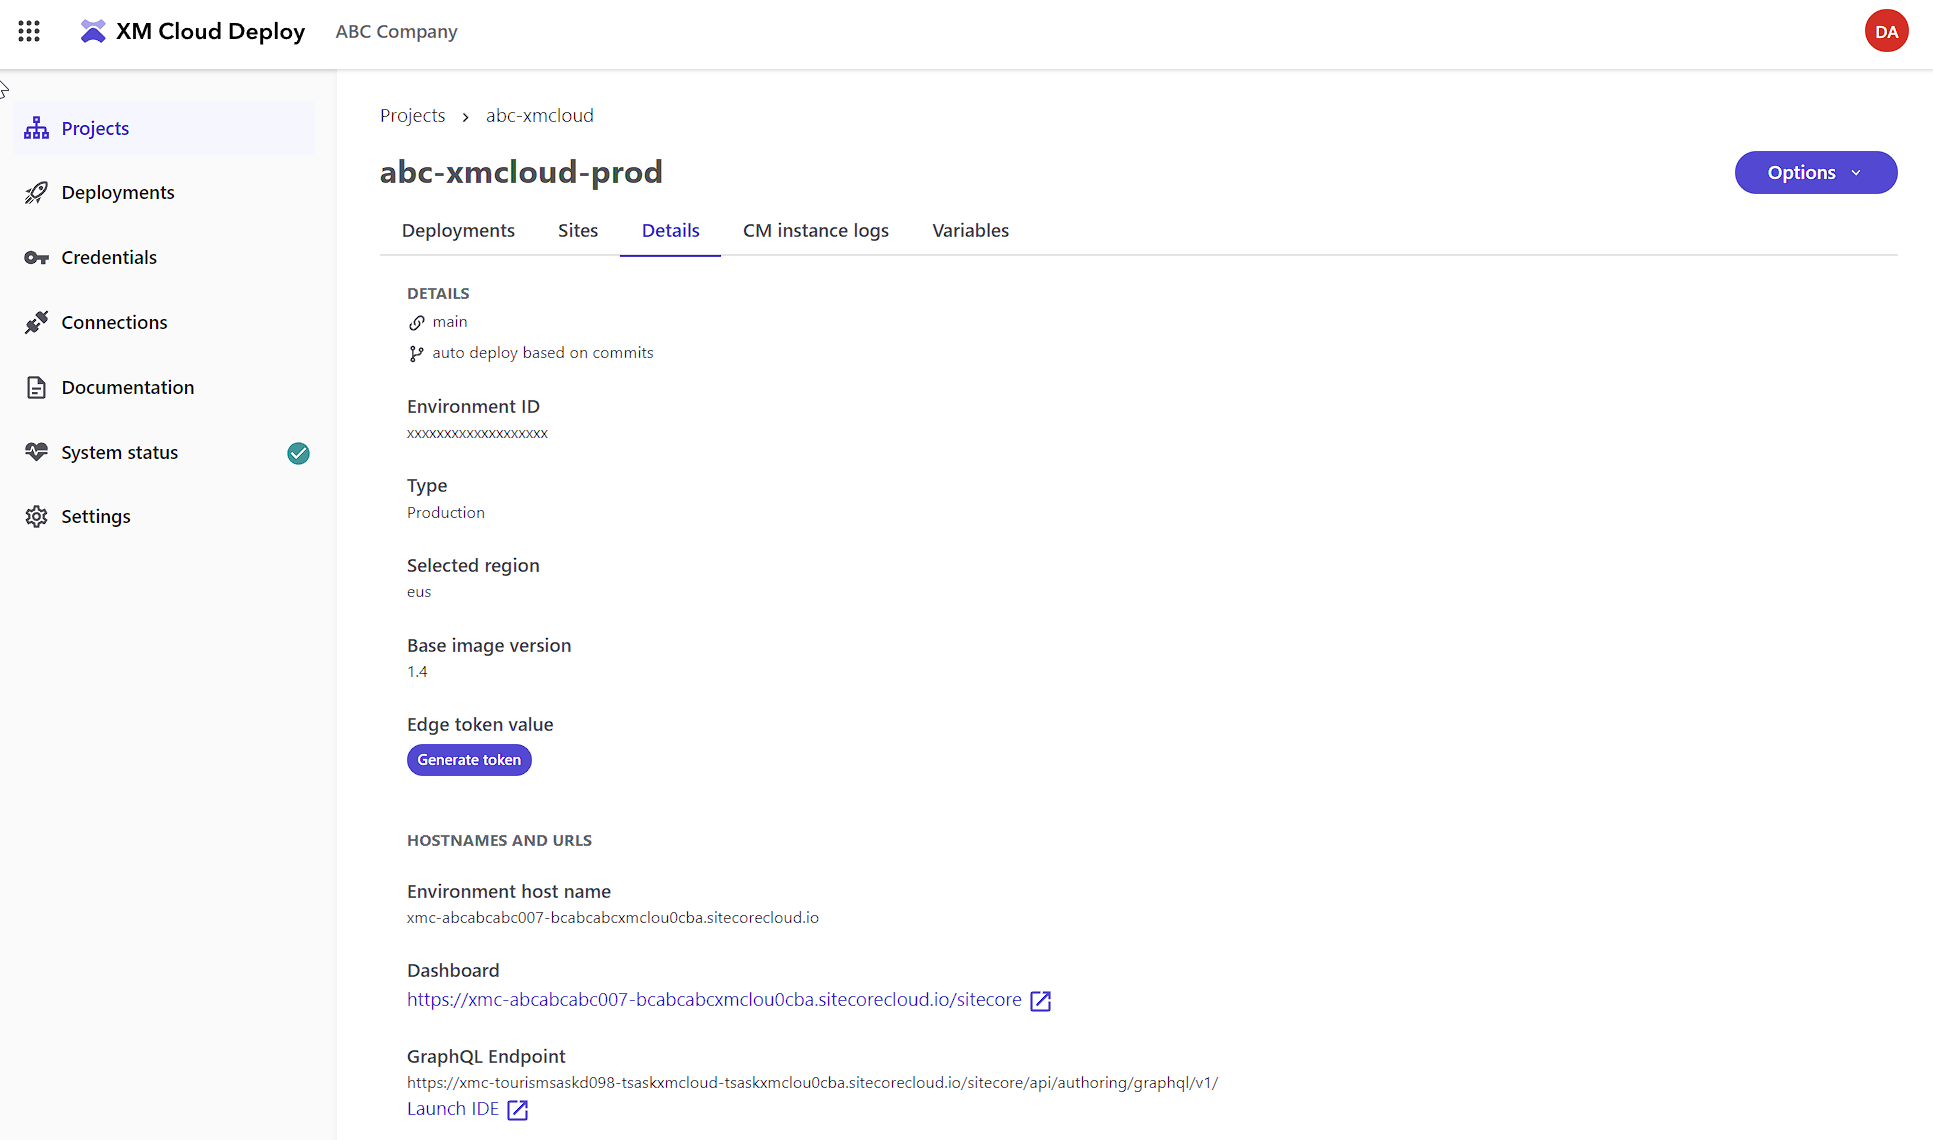
Clicking on Details and you can see a lot more of the information related to the site such as:
 Project CM Instance Logs
The CM instance logs tab is a bit deceiving as it’s more than just logs for CM. This is where you’ll find the rendering host logs. So, when you’re using Pages or Experience Editor while in CM and say a function/component doesn’t work, this is where you’ll go.
I would still like to see the RenderingHost heading show the site that it’s for. But even further, I would love for the rendering host logs to more closely mimic the log style found in Vercel. Reason being, you can find errors and the like much faster. Each function / component request is treated individually.
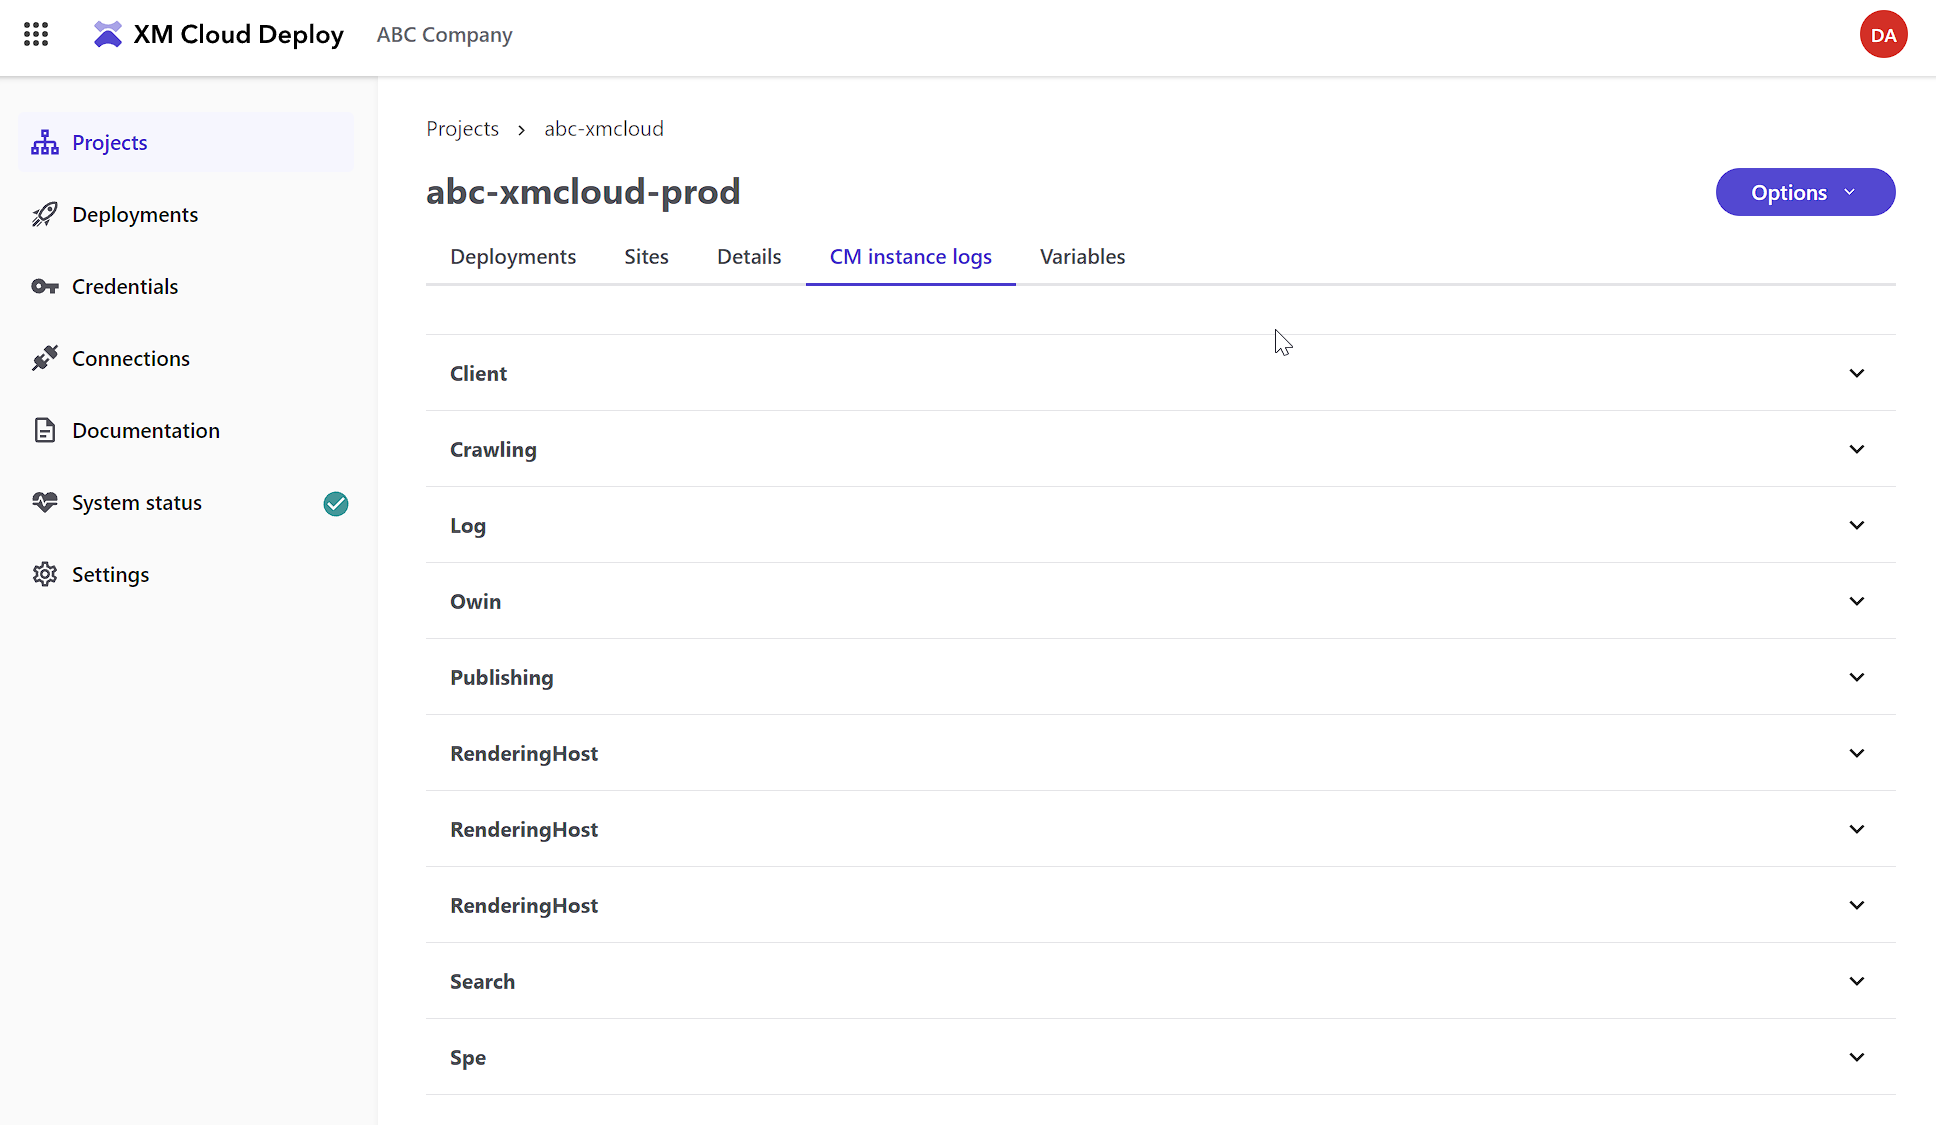
Opening up an accordion will show the logs, and after clicking on an appropriate log you will now be able to download said log file using the Download logs button. I’d love to see that download icon on the previous page similar to the deployment logs.

This tab is where you’ll find Environment Variables, so I’d love to see the tab renamed “Env Variables” as it’s a bit more clear.
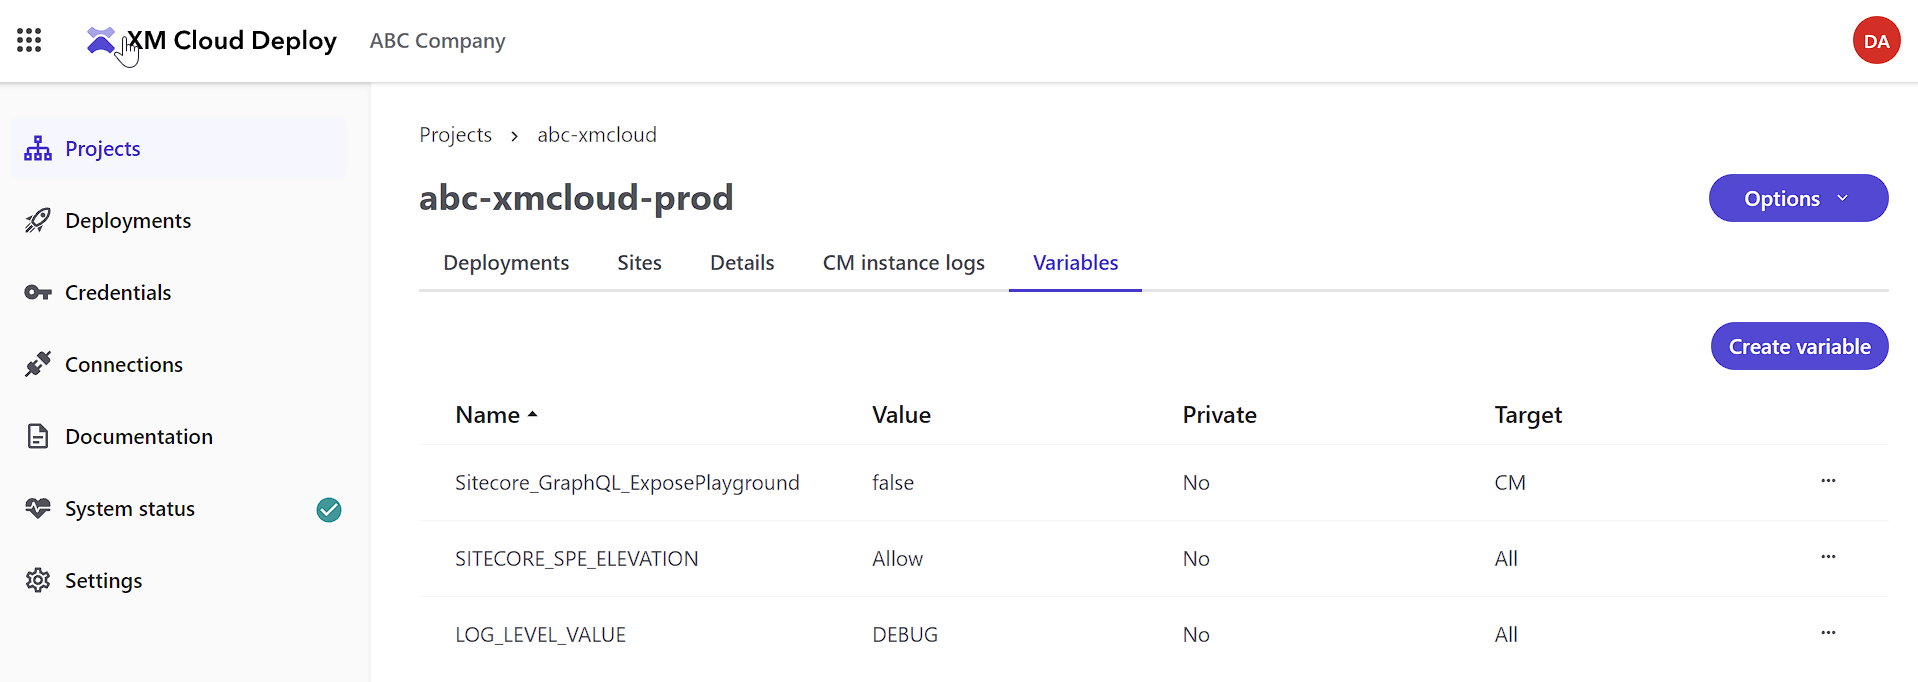
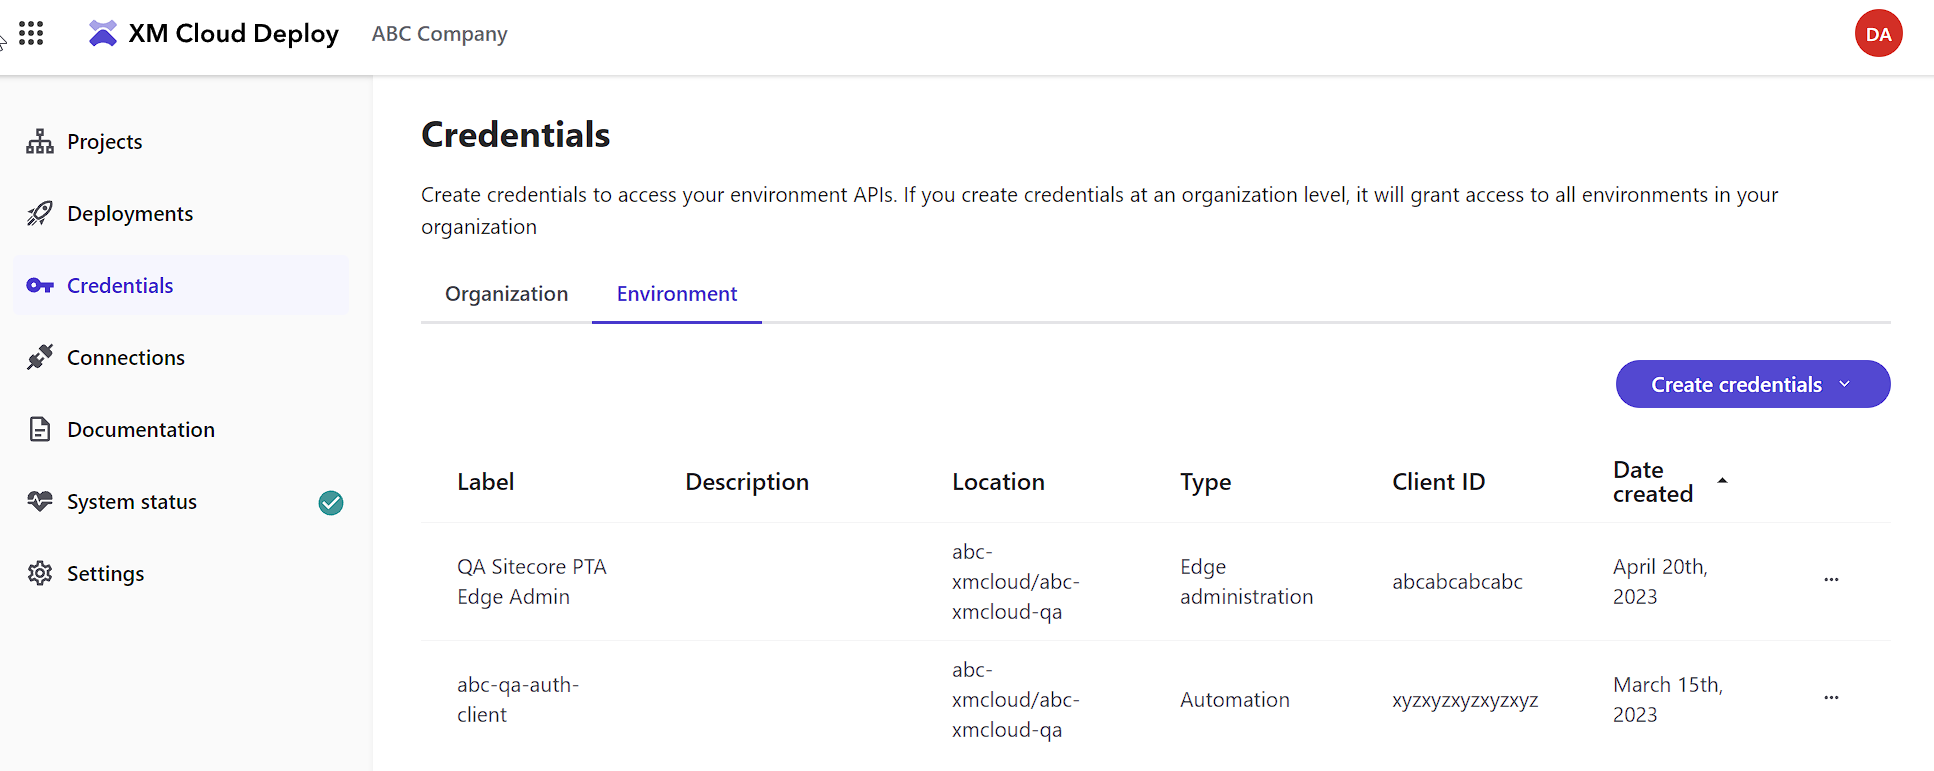
Within here is where you can generate ClientID and ClientSecret values to be used for running GraphQL Mutations in the authoring playground.

Here you can set up additional connections for a code repo (GitHub) or an appropriate hosting provider (Vercel). It’s important to note, though, if you manually set up your hosting provider, which you certainly can, and you can find the details to set up a host manually here. Once done, though, you won’t see the details here as there is no record of you creating that on the XM Cloud side.

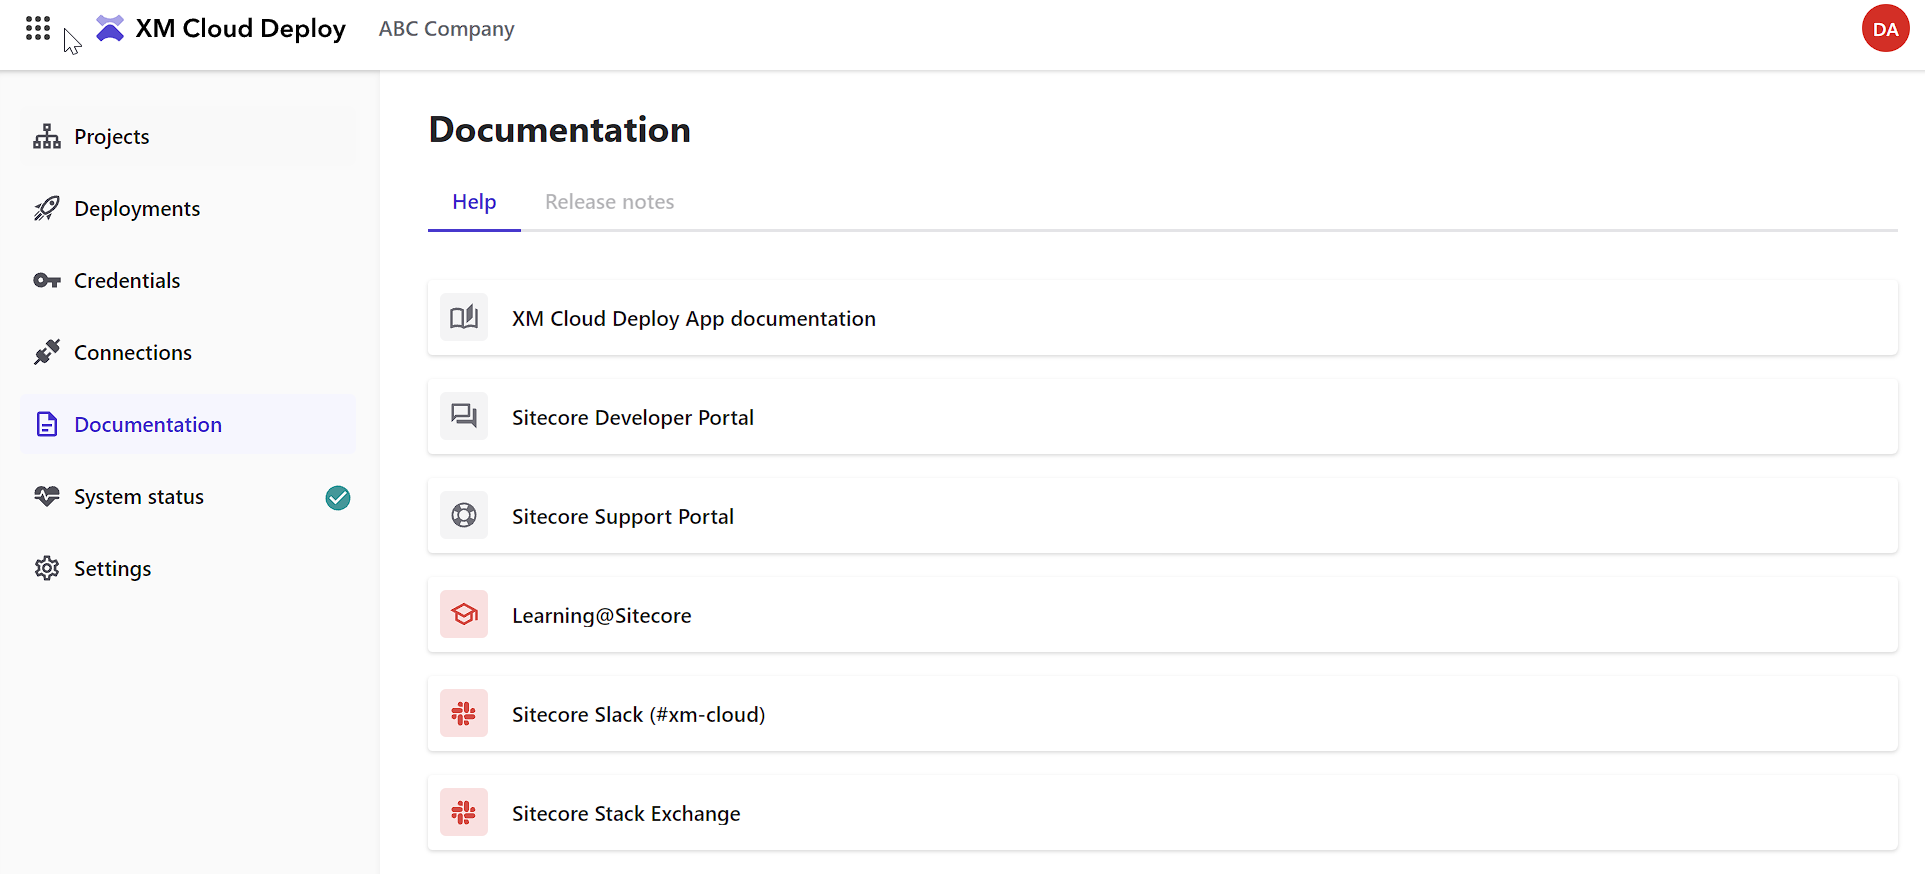
The documentation links that were on the right-hand side in the old design, you will find here.
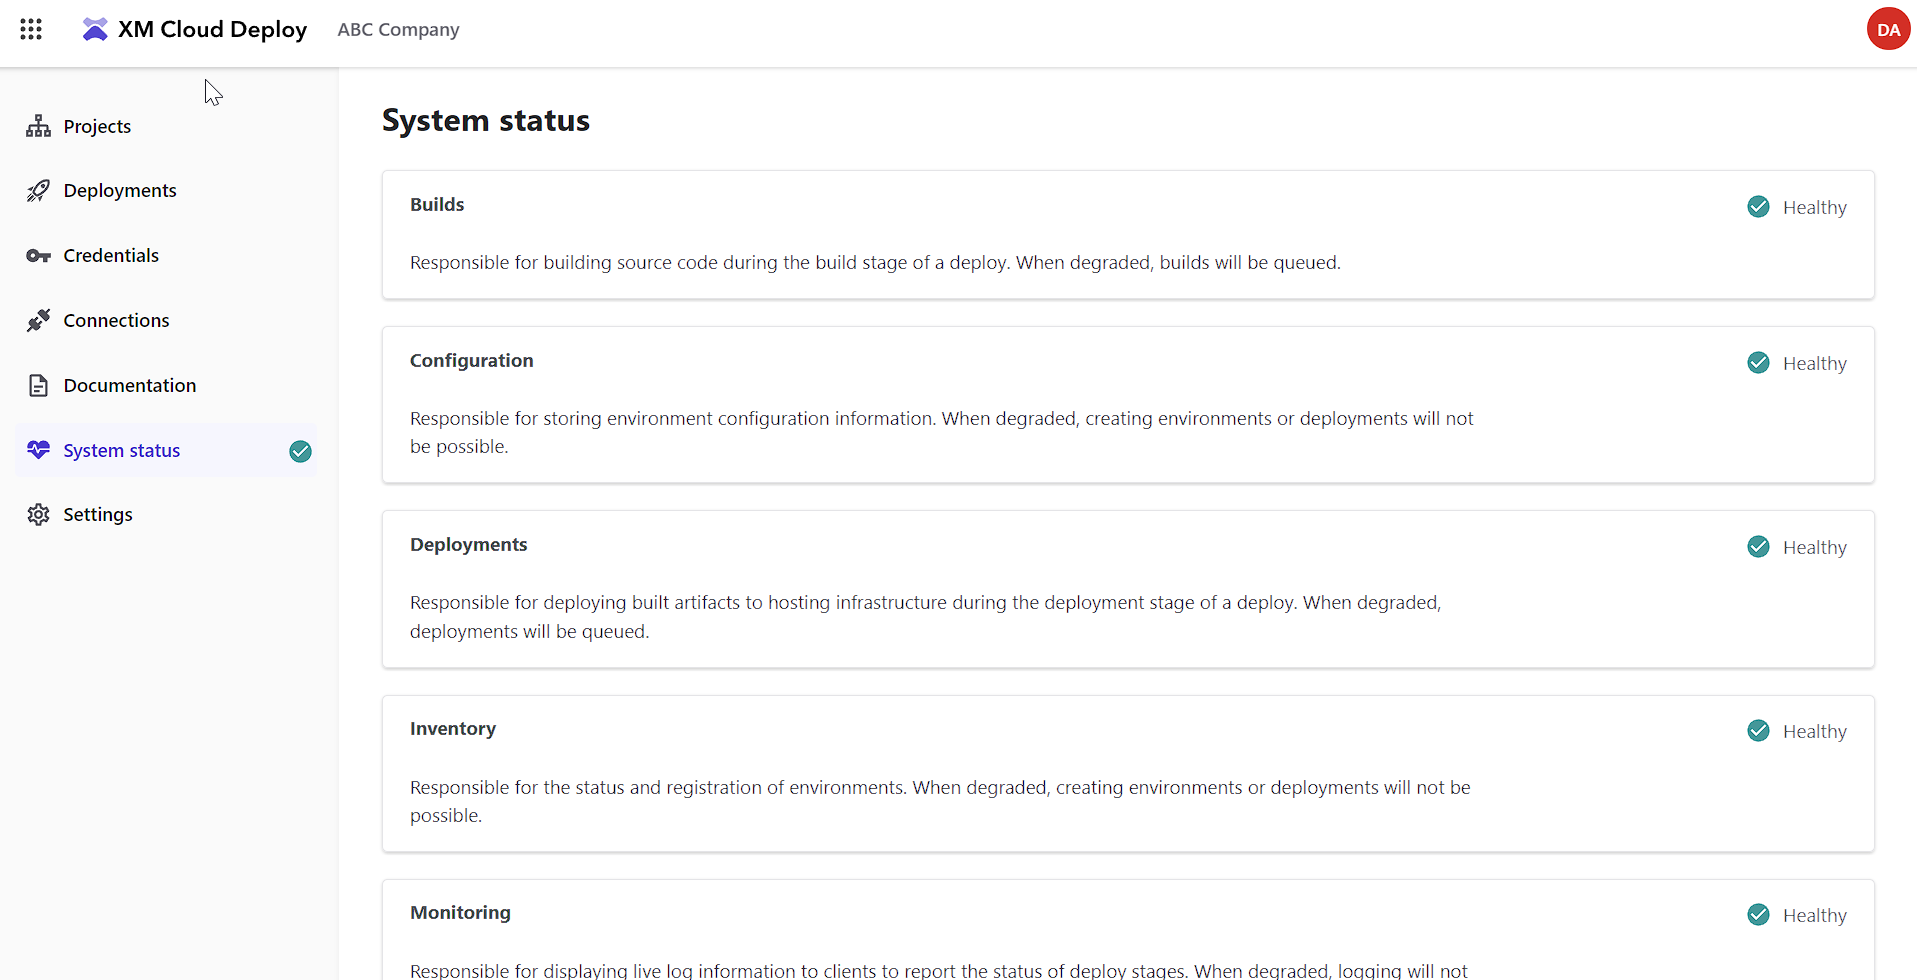
Here you’ll find if there’s something wrong with the deployment and or build process. Very handy to check prior to submitting a support ticket or posting in the Slack channels.
This is also where I’d love for them to provide webhooks, RSS feeds or other ways of subscribing to this information to be notified as soon as it is updated.
If you want to switch off the Beta XM Cloud UI, this is where you’ll do that. I do feel the cog in the old design should be brough back and just link to this as well.

When you want to set up a hosting provider manually, sometimes it’s not obvious where you get all the values you need. Fear now, I’ve documented the location.
First, navigate to the Dashboard for your project. You’ll remember seeing this in the Projects > Click the environment you are wanting to connect, then Details tab at the bottom.
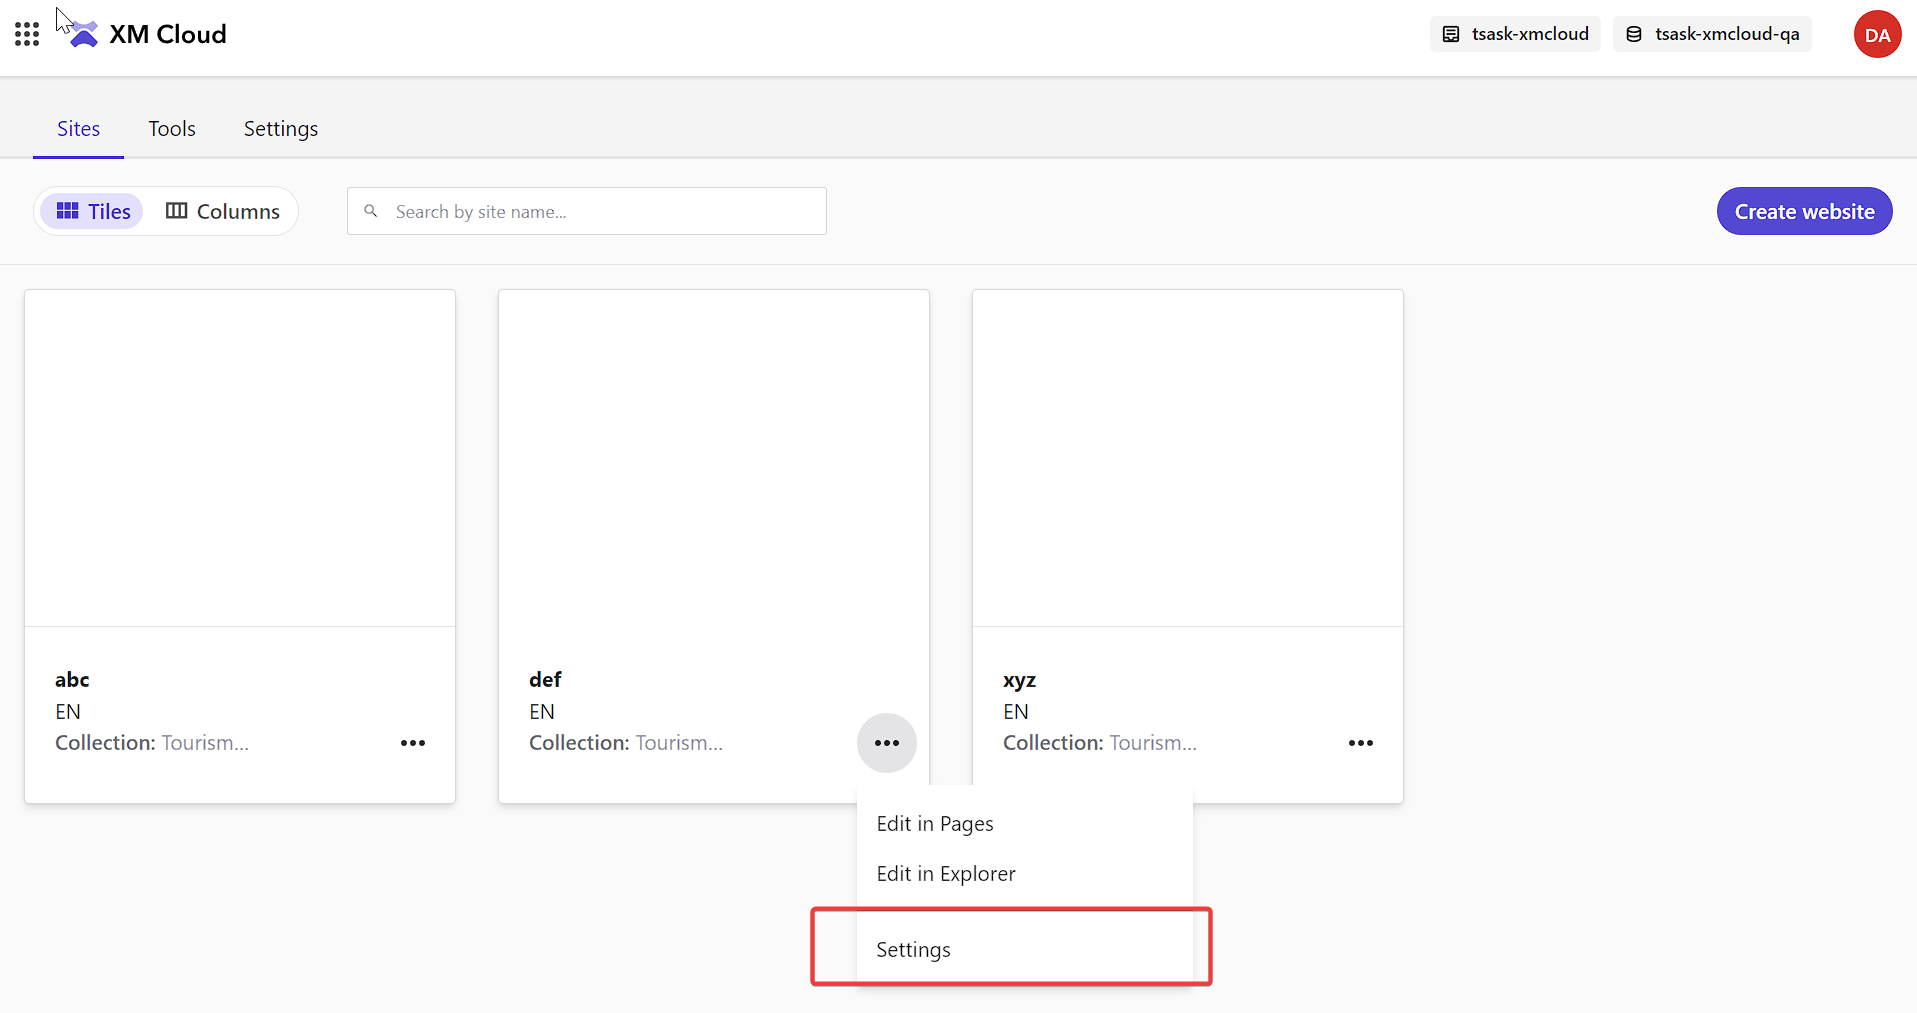
Once there, click the … for the site you want to set up, then click Settings.
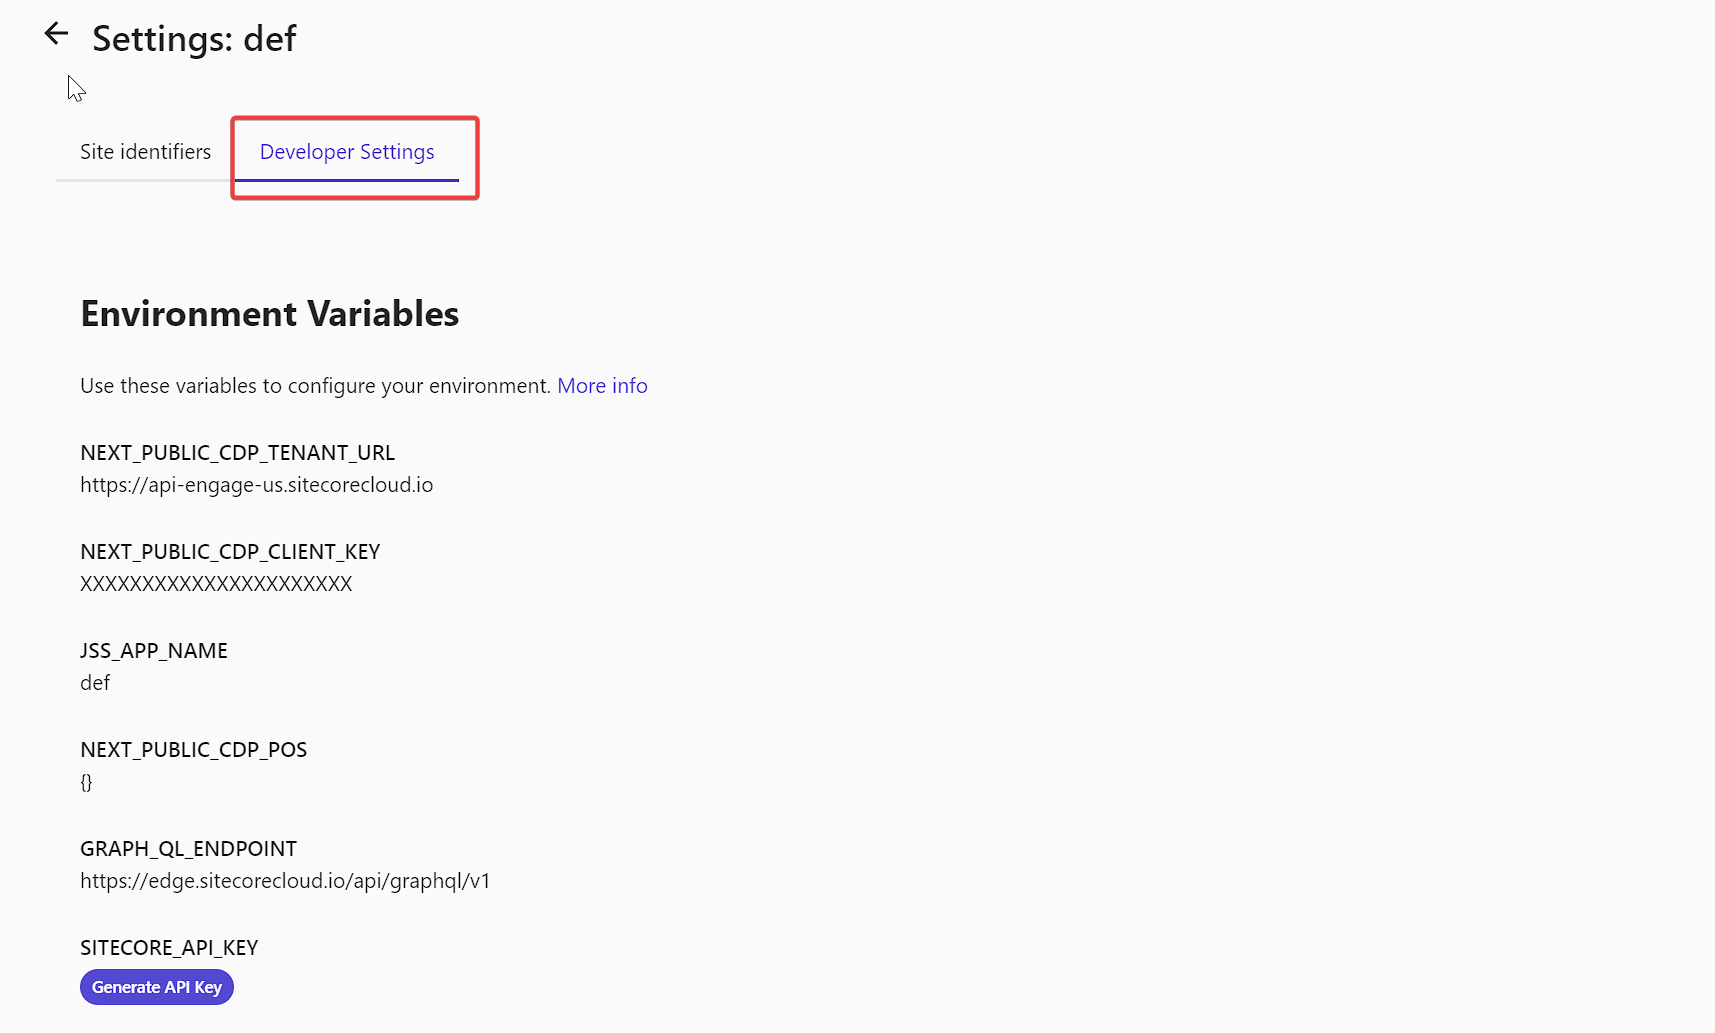
Then click on Developer Settings. Each of these ENV variables are what you need to add to your hosting environment in order for it to work. You will also need to generate an SITECORE_API_KEY.
