GitHub Copilot is an AI-powered code completion tool developed by GitHub in collaboration with OpenAI. It is built with OpenAl’s Codex - a language modal trained with a diverse range of programming languages and code snippets. Its main function is to help and assist developers in writing code more efficiently and effectively and providing suggestions/auto-competitions as a developer type. It can suggest and give examples of entire lines or even blocks of code based on the context of what the developer is coding.
But, why use GitHub copilot?
Well, GitHub Copilot can increase productivity, improve your code, help you learn and explore new techniques and patterns, and assist with complex code logic - and you can even maintain a consistent coding style/pattern across development teams. It can help developers avoid producing repetitive code, and it’s a great way to reduce the overall time spent on writing boilerplate or commonly used code. It also gives us examples from various sources all around.
Setting Up GitHub
Let's set it up. Start here:
-
Sign up for “Copilot Individual”, and start your free trail for now.

-
Sign into your GitHub account.

-
Enable GitHub Copilot for your account.

-
Sign-up complete! Now, we will install the GitHub Copilot extension. I am using Visual Studio Code for this. Let’s click on that link.

-
Scroll to this section of the docs and follow the remaining steps.
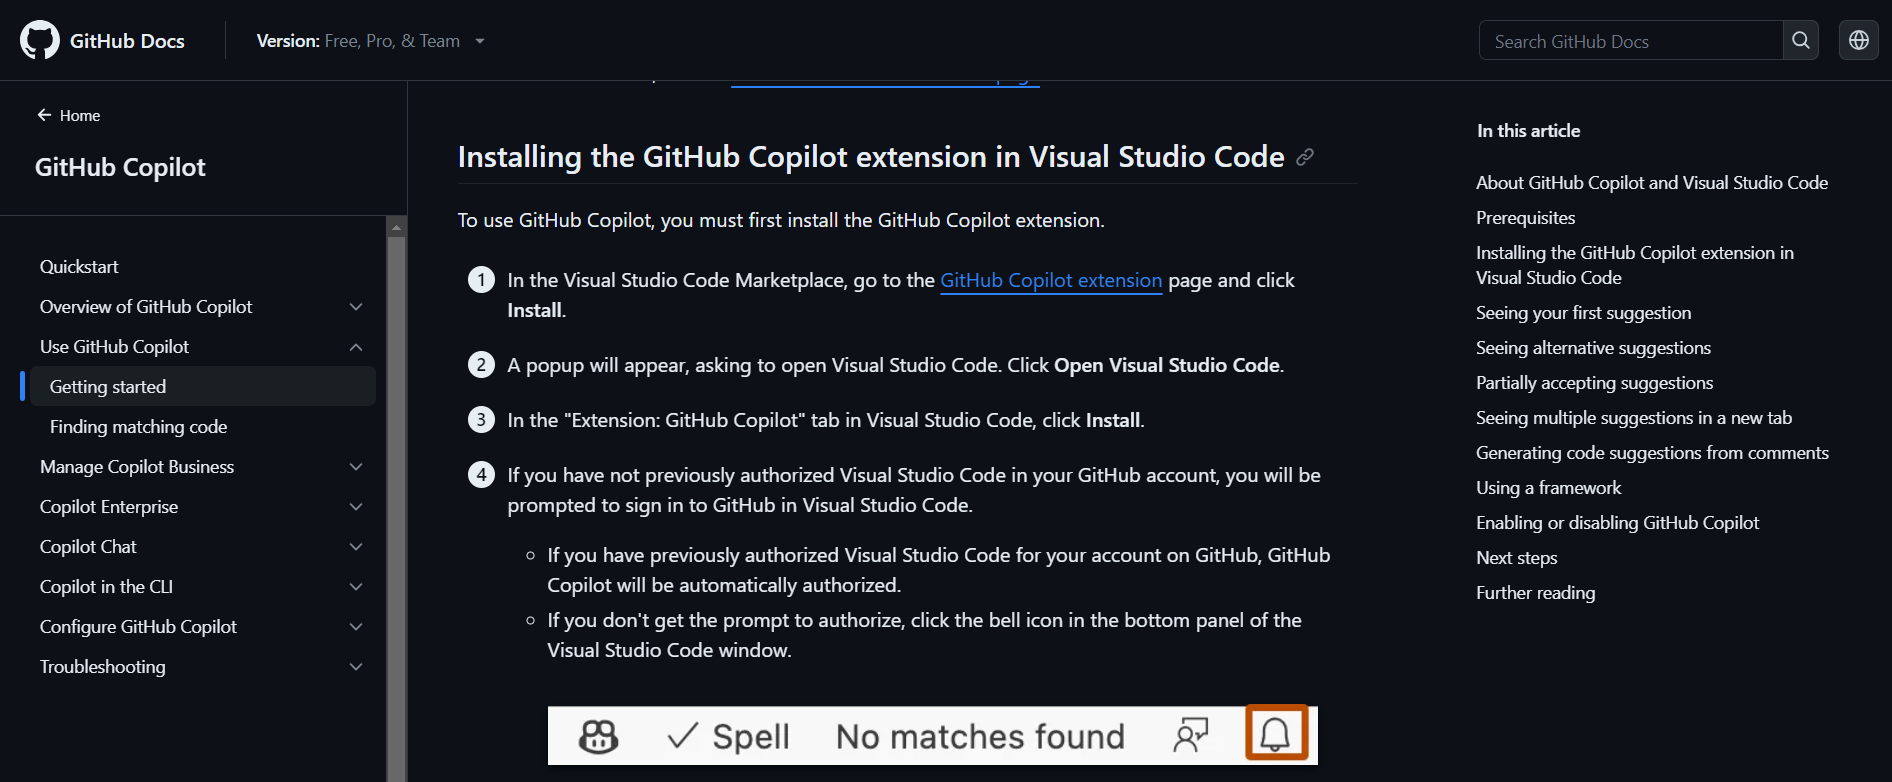
Congrats! You have installed and enabled GitHub Copilot!
Tips & Tricks for GitHub Copilot
Now that you have GitHub Copilot installed and enabled in Visual Studio Code, you can utilize its great AI capabilities to help you code.
Let’s say you want to build a to-do list application. For this example, I will be using Next.js with Typescript and Tailwind CSS. In my application, GitHub Copilot will help me create props for each list item component. While I type, a suggestion will appear for the props I am creating.

My component is named ToDoItem, the AI recognizes that, and is suggesting to name my type as ToDoItemProps. This is perfect because it aligns with the name of my component, and all I have to do is hit Tab on my keyboard to complete the name.
Now, it is suggesting to fill in my type with props that I may use in this component based on the name of the type.
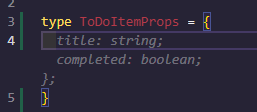
The props I created based off of the AI are:
type ToDoItemProps = {
  text: string;
  completed: boolean;
};
Next, I will add these props as an array in another type called Props. Just like before, GitHub Copilot will auto-suggest what to name this prop.
We will hit Tab on the keyboard to auto-fill the prop.
type Props = {
  items: ToDoItemProps[];
};
Now, we will need to add elements in the return to show them on the page - we will use GitHub Copilot to help us with this too. We need to create a list that contains the completed and text props it has also created. Copilot also knows that we will need to map out our array of items, hence, it adds it within the return as well.
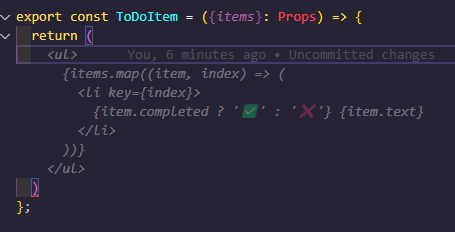
Another excellent feature of GitHub Copilot is its ability to use comments in your code as a guide. This is an effective method to instruct the AI regarding a specific behaviour or code structure you desire.
For example, we can let Copilot know on the main page of our application that we are looking for a simple list of items in our main using the component we just built.
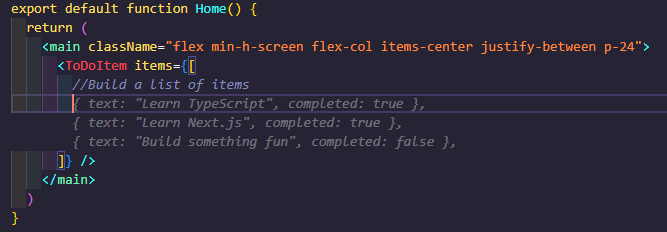
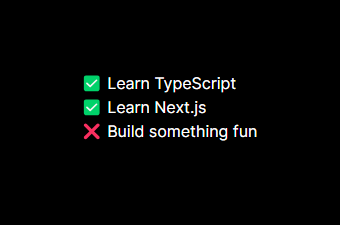
Our output:
We can also utilize GitHub Copilot’s Chat function. With this function, we can ask the AI to give us suggestions in real time, using the project's context and style conventions. First, we will also need to install this extension in our VS Code.

Now, click on the icon for the chat in the activity bar on the left-hand side of VS Code.
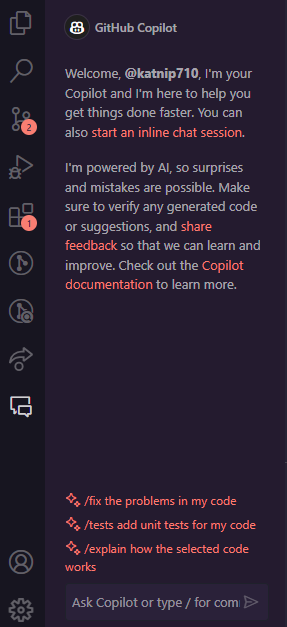
We want to start an inline chat session, so let’s click on ‘start an inline chat session’. The chat session should now appear within the code where you last clicked your cursor in.
I want to add an input field and a button to use in the future that will allow the user to add new items to our list. This will be a new component, and let’s ask it to build it for us.

GitHub Copilot has now generated a boilerplate component for us. It contains the main aspects we need in this component: an inputfield, a button, a function to handle adding a new item string, and a function to handle the input field change.
import React, { useState } from 'react';

const AddToDoItem: React.FC = () => {
    const [newItem, setNewItem] = useState('');

    const handleInputChange = (event: React.ChangeEvent<HTMLInputElement>) => {
        setNewItem(event.target.value);
    };

    const handleAddItem = () => {
        // Add your logic here to add the new item to the list
        console.log('New item:', newItem);
        setNewItem('');
    };

    return (
        <div>
            <input type="text" value={newItem} onChange={handleInputChange} />
            <button onClick={handleAddItem}>Add</button>
        </div>
    );
};
You can also ask the questions in the activity bar based on the file you currently have open - instead of inline chat. This way, you can see the code suggestions and tips before they are added to your code on the left-hand side of VS Code.
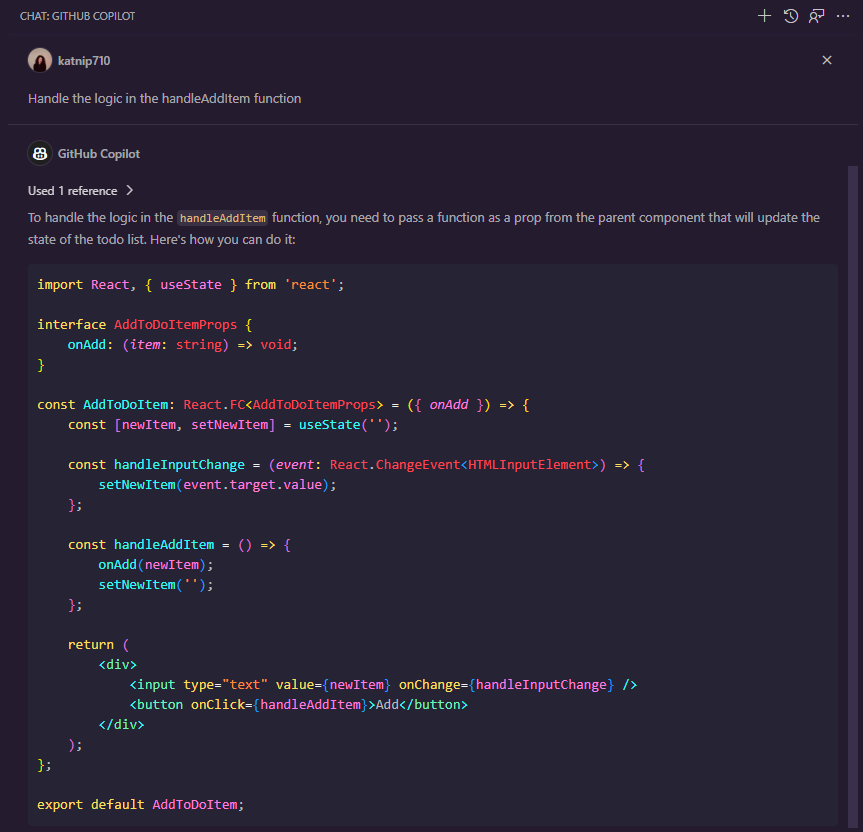
In response, Copilot has added a new prop called onAdd to the component we are working in. The prop is a function that takes a string as an argument. When the button is clicked, the handleAddItem function is called, and in turn, calls the onAdd function with the current value of newItem. Lastly, newItem is reset to an empty string.
Closing Thoughts on Optimizing GitHub Copilot in Your Web Development
As we discovered, GitHub Copilot is a game-changer in web development. It greatly enhances efficiency and productivity while coding. Its versatility shines in speeding up tasks, improving code quality, and aiding with complex logic. It is indeed a valuable ally for all developers.


