First things first, what's a webhook? Well, a webhook is a method for allowing you to connect to a platform (typically one you already have access to). The big difference between this and say an API, is that a webhook is automatic. It's a fantastic way to receive notifications from your Sitecore environment.
It's not as if this hasn't been available until now, you just would have had to build it entirely yourself. Now, it's a lot more integrated for just about anyone to configure.
I'm assuming you have Sitecore 10.3 already installed.
Let's Create And Configure A Webhook Event Handler
First thing first, open up Content Editor and navigate to /Sitecore/System/Webhooks.
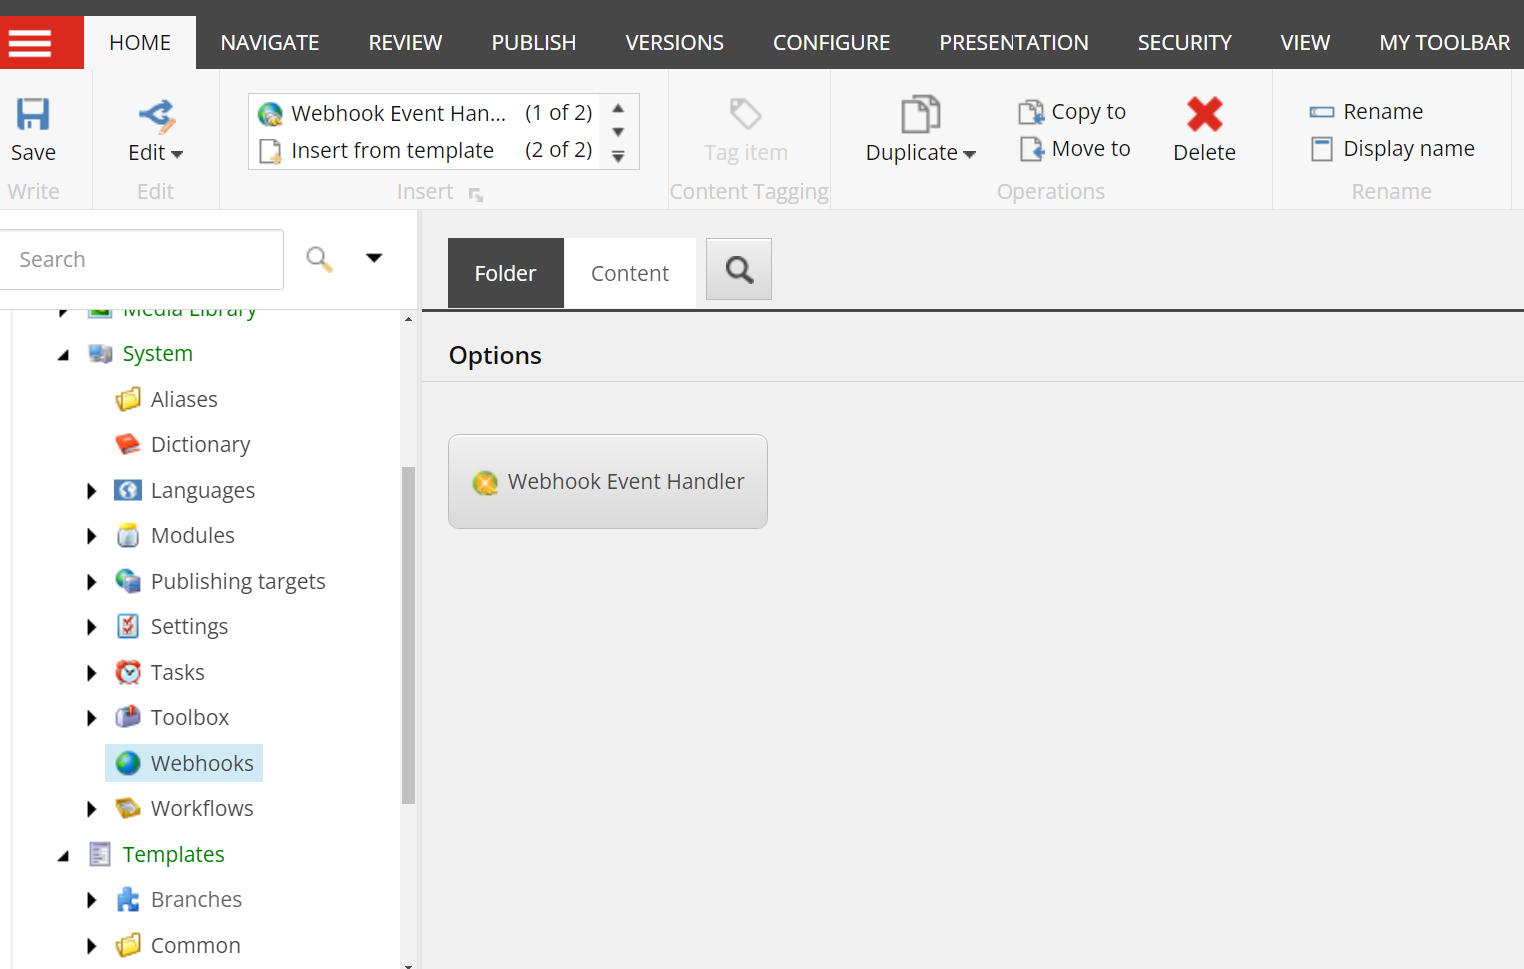
Once there, you will want to Insert a Webhook Event Handler. For the purposes of this article, we're calling it Demo Webhook.
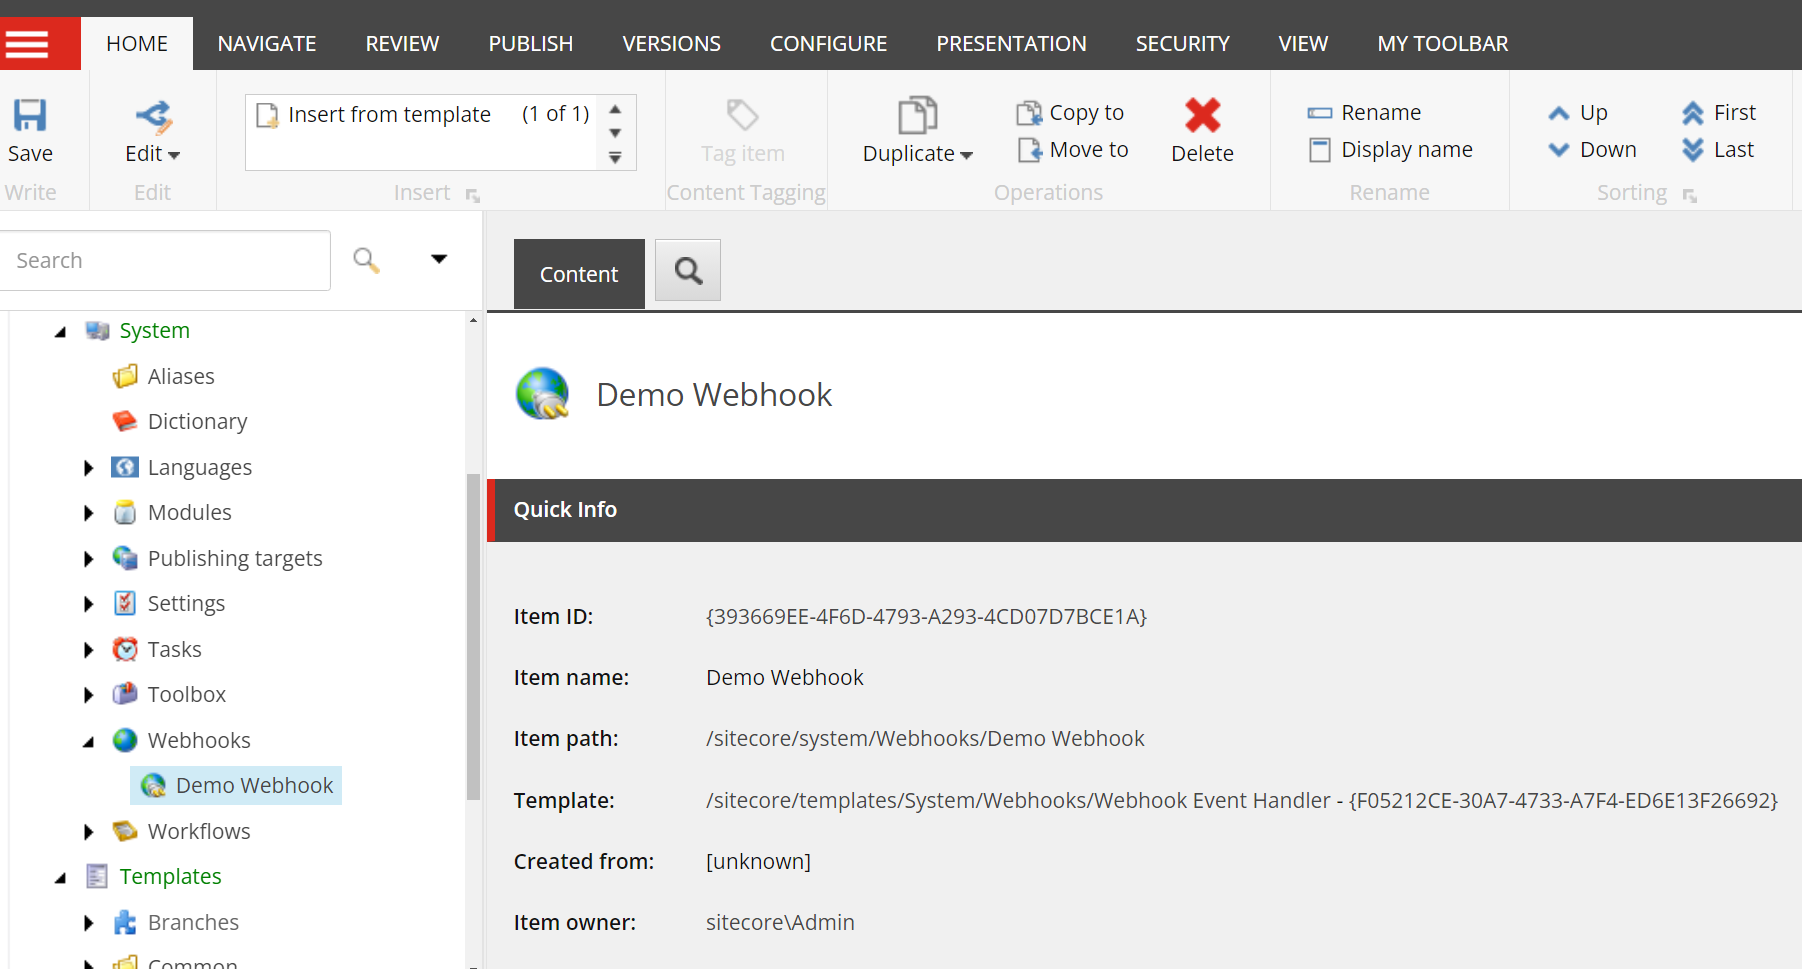
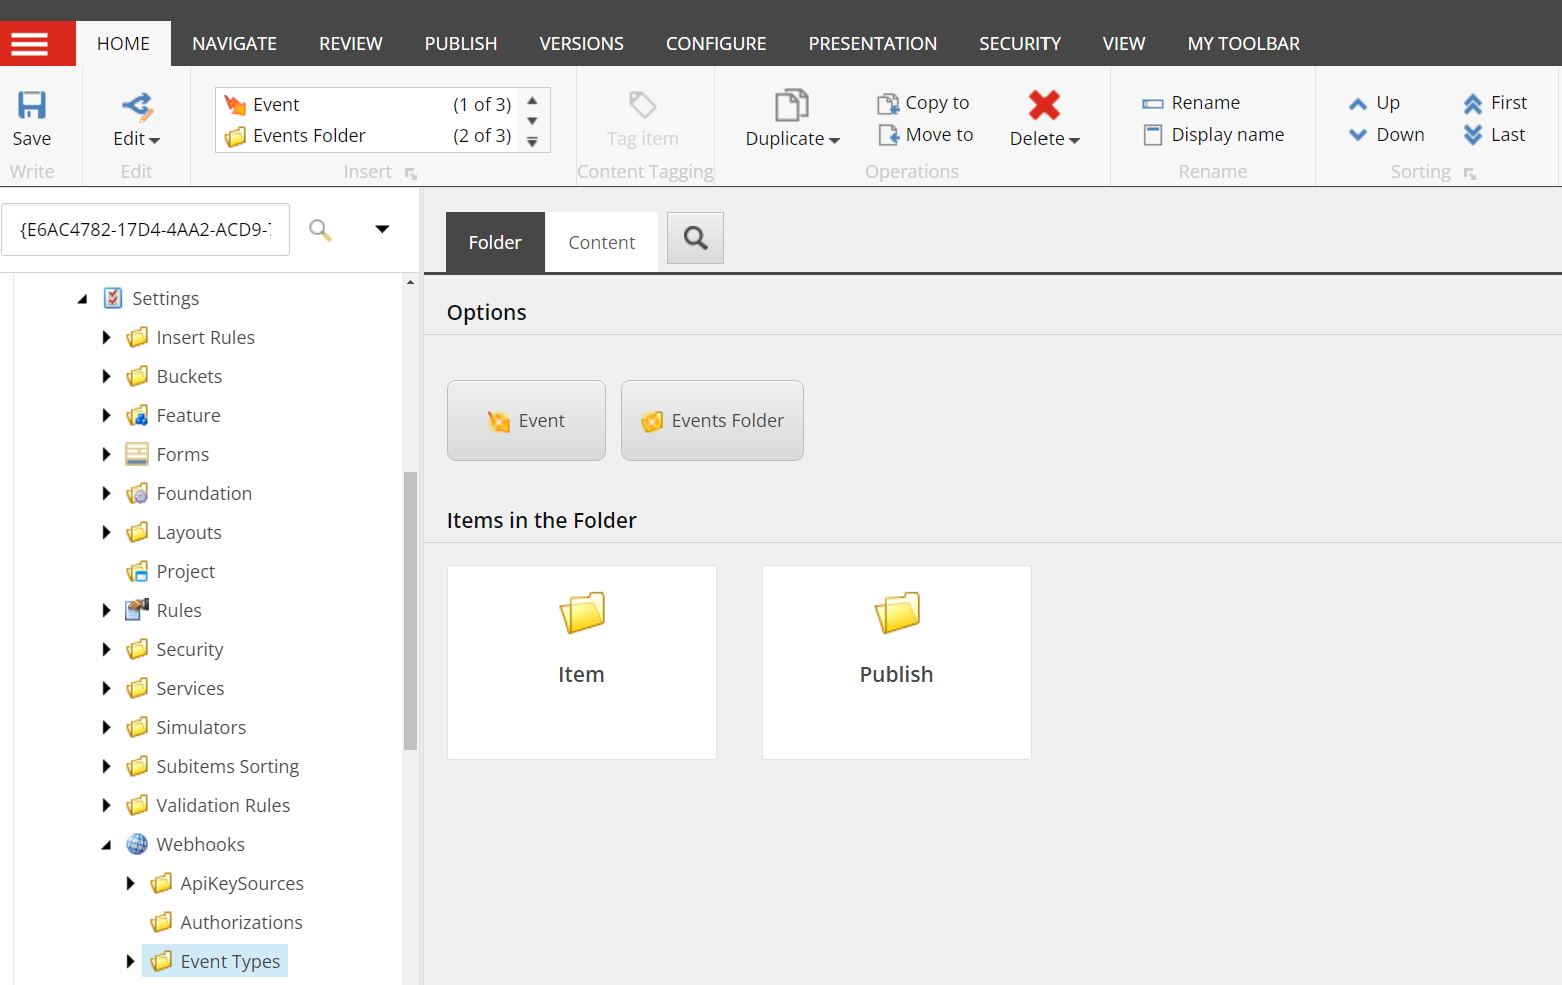
Give it a meaningful description, one that makes sense to its purpose. After that, head just below to the Events field. What's awesome? It comes pre-loaded with 14 item related events and 4 publish events.
These are being loaded from /Sitecore/System/Settings/Webhooks/Event Types. When it comes to creating your own custom event types, that's where they'll go.
What's a nice addition is that there is a checkbox you can use to enable or disable it. See the Enabled checkbox field.
In order to direct the webhook to where it needs to send the information when it runs, you will need to enter the corresponding webhook URL in the URL field. Whatever endpoint you use, it will need to be configured to use the request formatting, as shown later in this article.
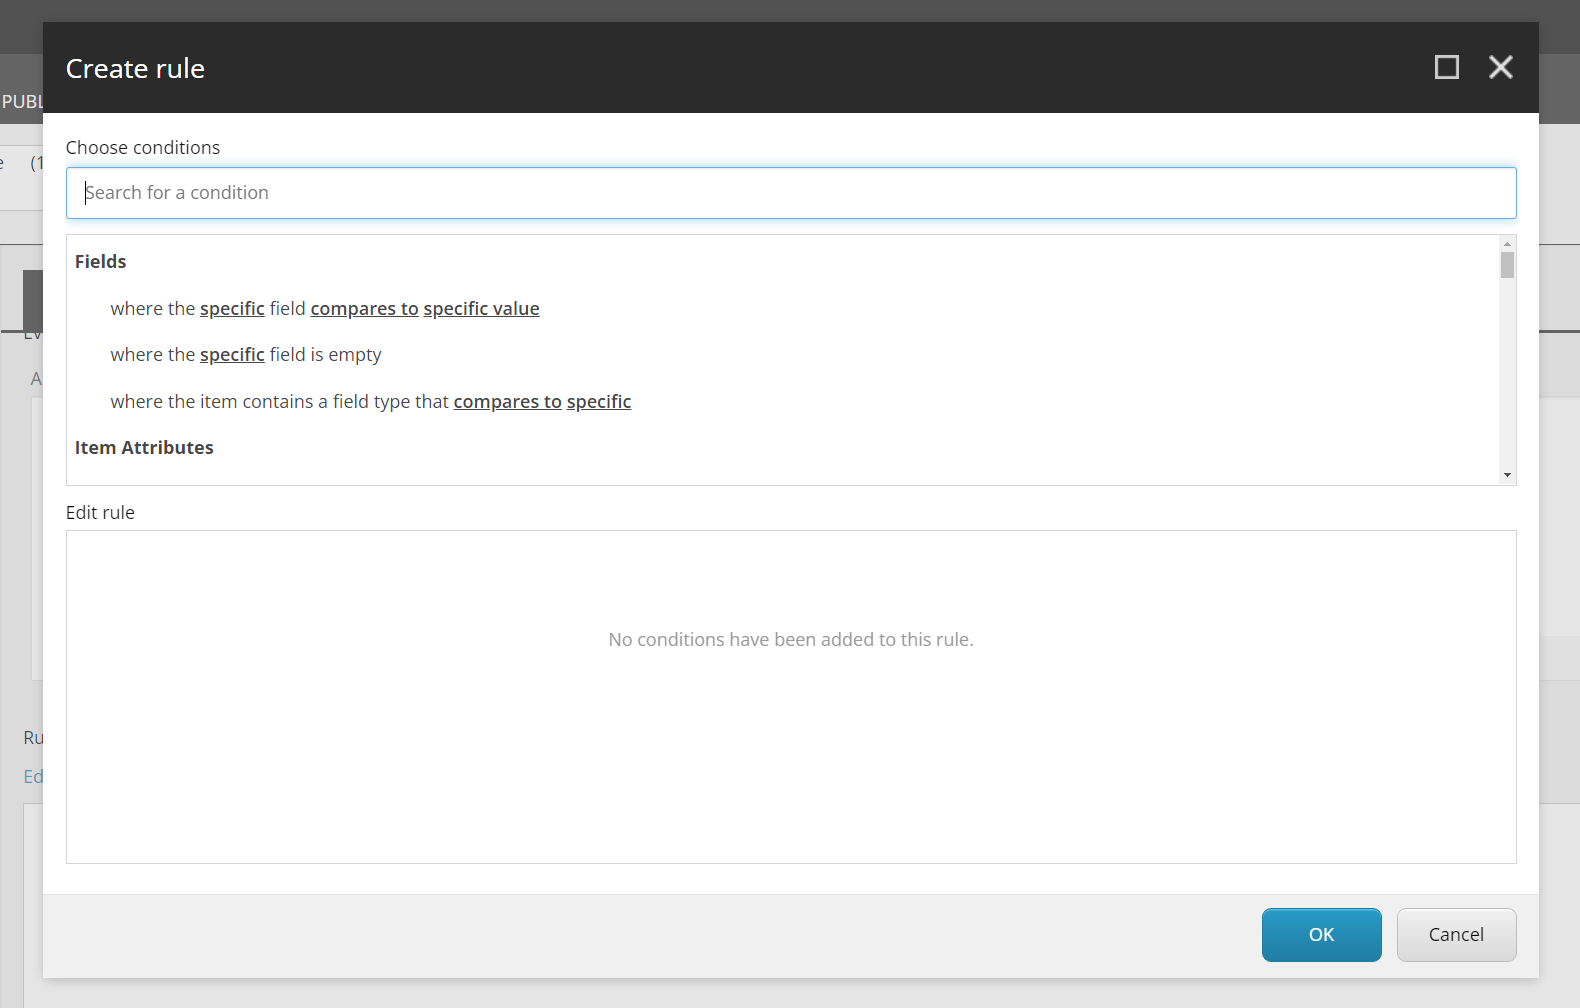
Additional configuration is also provided. You can, for instance, configure rules to as when the webhook should trigger. Maybe you only want it on certain items or certain parts of the tree. This is where you would set that up.
As well, depending on our destination requirements, you can configure the webhook to be in JSON or XML format in the Serialization field.
Configuring Webhook Authorization
You are also able to configure whether the webhook requires authorization. This might be a requirement of the platform you're sending the information to, depending on the service. You would do so, first, by creating what's called an Authorization Item under /sitecore/System/Settings/Webhooks/Authorizations.
There are a few options of authorization types to choose from:
- ApiKey
- Basic
- Digest
- OAuth2ClientCredentialsGrant
- OAuth2PasswordCredentialsGrant
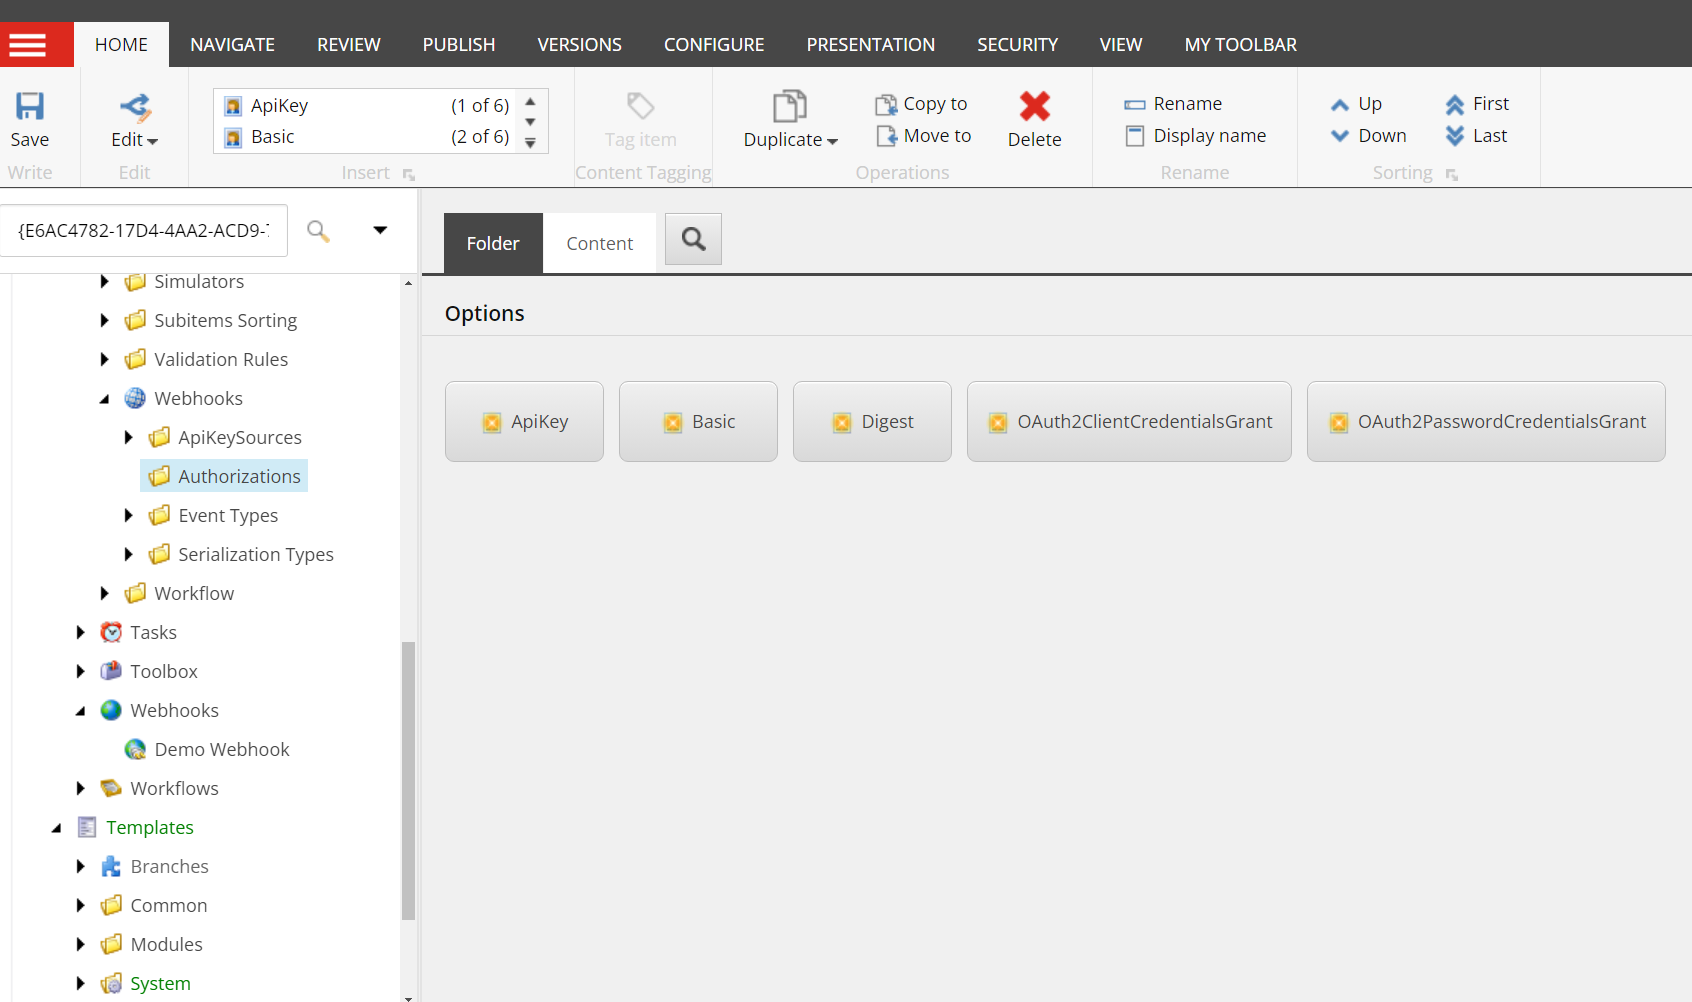
After completing the above setup, you can Save the item and that's it. Your webhook is done. First thing to do now, is test it. Obviously, how you test will depend on the event type and the rule you configured.
Webhook Event Handler JSON Request
The exact request sent to your webhook endpoint will differ based upon the event you're tracking, but the format is as shown below.
{
    "EventName": "item:updated",
    "Item": {
      "Language": "en",
      "Version": 2,
      "Id": "1b54a2f9-3053-4494-8225-67def9d76ac4",
      "Name": "Home",
      "ParentId": "040eaf95-0244-4eca-8453-02fe4b4ebae5",
      "TemplateId": "69b95b63-cb79-46bf-ace9-56e9b3c0d596",
      "MasterId": "00000000-0000-0000-0000-000000000000",
      "SharedFields": [
        {
          "Id": "1f6cee2d-5e4a-44d8-a6b8-7081802b10f1",
          "Value": "{D3B6AB33-1A1B-4D54-9CB1-DDE4A69C1353}"
        }
      ],
      "UnversionedFields": [],
      "VersionedFields": [...]
    },
    "WebhookItemId": "0ba40ff3-5e31-49a9-993b-c82b7aff2b77",
    "WebhookItemName": "Demo Webhook Event Handler"
  }
Your endpoint will need to be configured accordingly to use the information as desired.


