Reading time: 7 min read
Building a Serverless Email Handler with SMTP and Sitecore Send
Learn how to send emails using SMTP with Sitecore Send, Next.js and Nodemailer.
Start typing to search...
Effective communication is essential for businesses, whether it's sending transactional emails, notifications, or critical alerts. Emails also serve as a direct channel between customers and stakeholders handling specific requests. This is especially true for smaller companies that prefer a simple, reliable email-based workflow instead of complex third-party systems.
To protect these communication channels from exposure and potential security threats, businesses rely on SMTP (Simple Mail Transfer Protocol). SMTP not only ensures secure and controlled email delivery but also helps safeguard sensitive addresses from direct customer access.
If you're using Sitecore Send, you already have a built-in solution for handling SMTP without the need for additional third-party tools. In this blog, I'll guide you through setting up SMTP with Sitecore Send and implementing a serverless function in Next.js to streamline your email operations. We’ll first have to find the credentials found in Sitecore Send that is commonly needed for SMTP.
Each organization has its own Sitecore Send URL, which follows this format:
https://<unique-identifier>.sitecoresend.io.
When you visit this URL, you'll see a login screen similar to the one below:
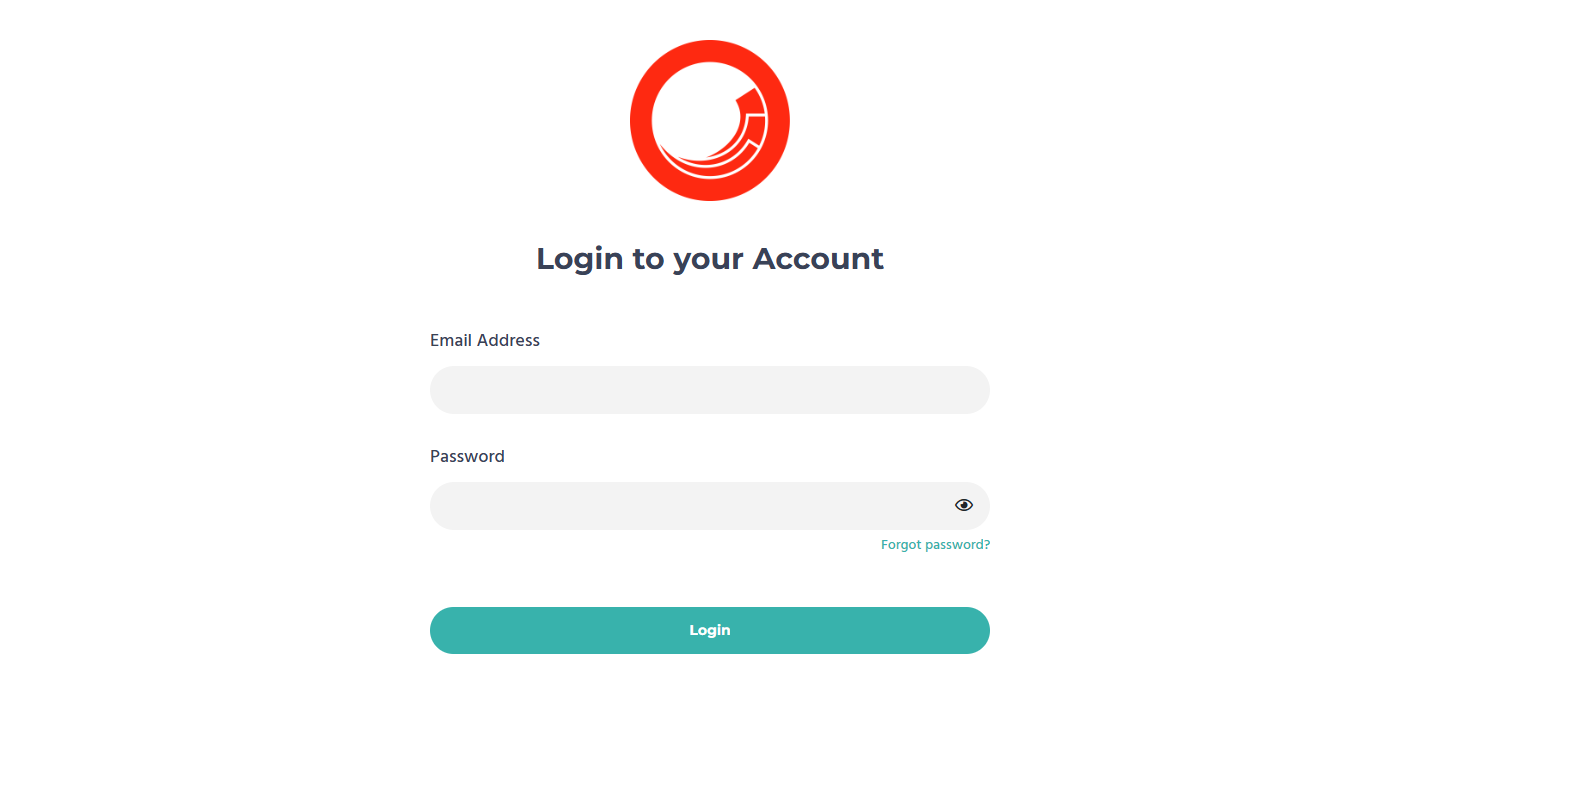
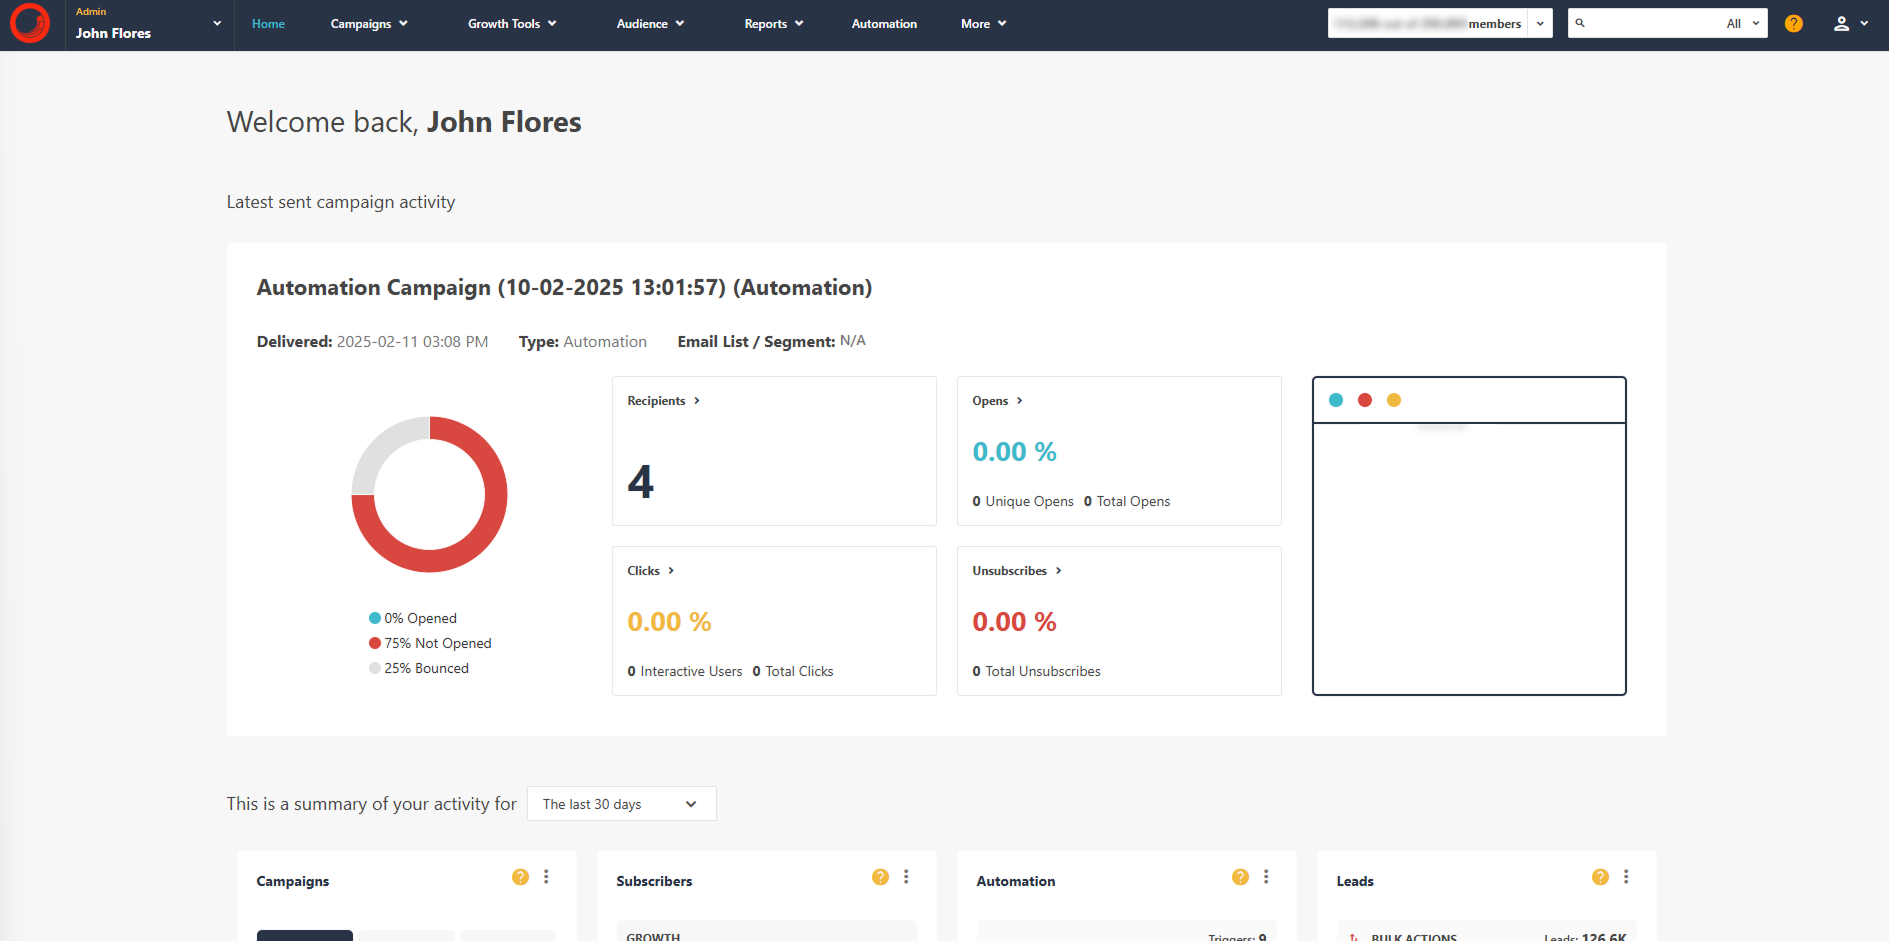
You should have login credentials provided by the account owner. Once successfully logged in, you'll be redirected to the Home page. Here's an example of what it looks like:
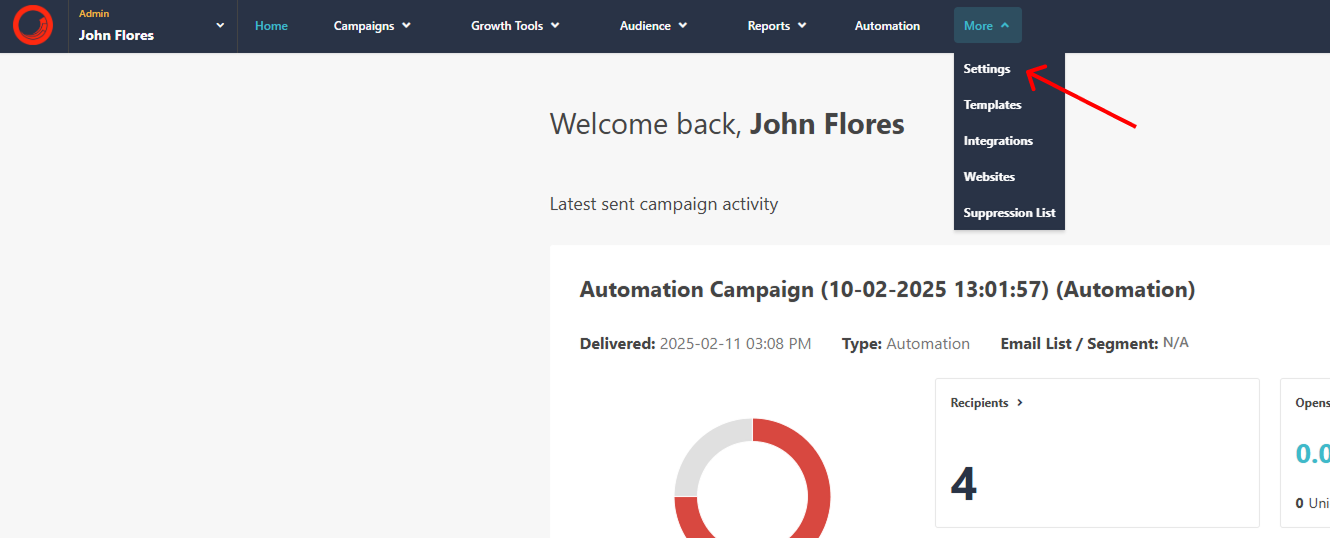
This will open the Settings page. On the left-hand navigation menu, click Direct SMTP.
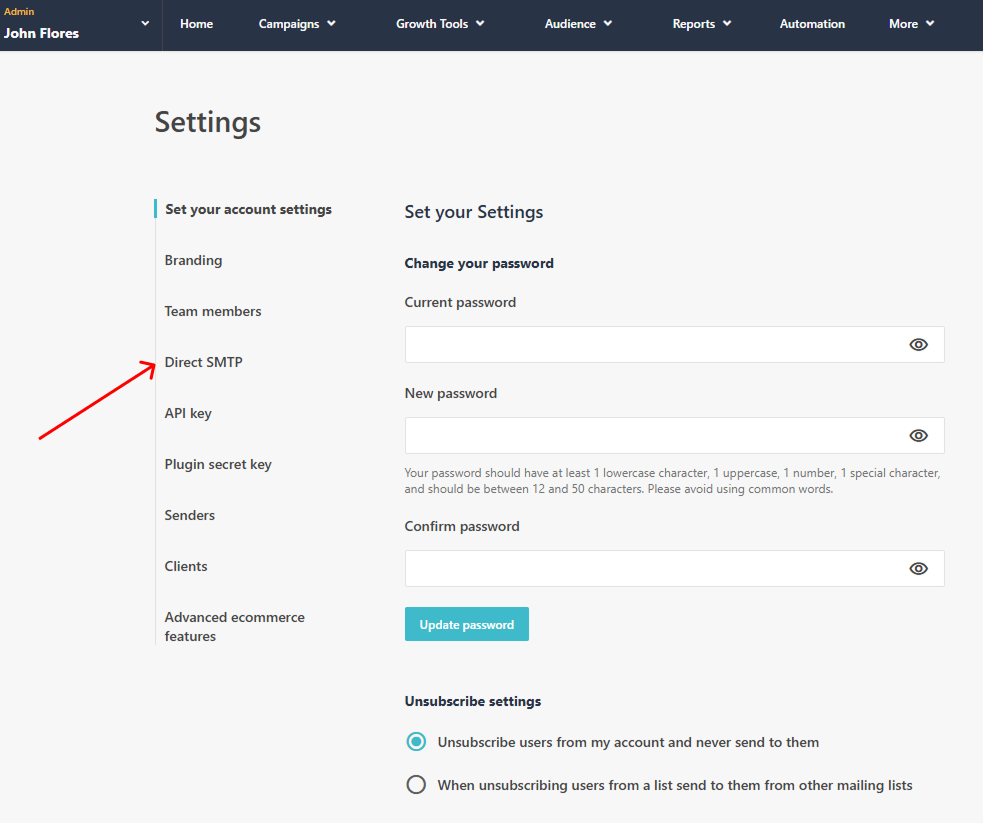
You should now see the SMTP configuration screen. Ensure that the Use SMTP toggle is enabled.
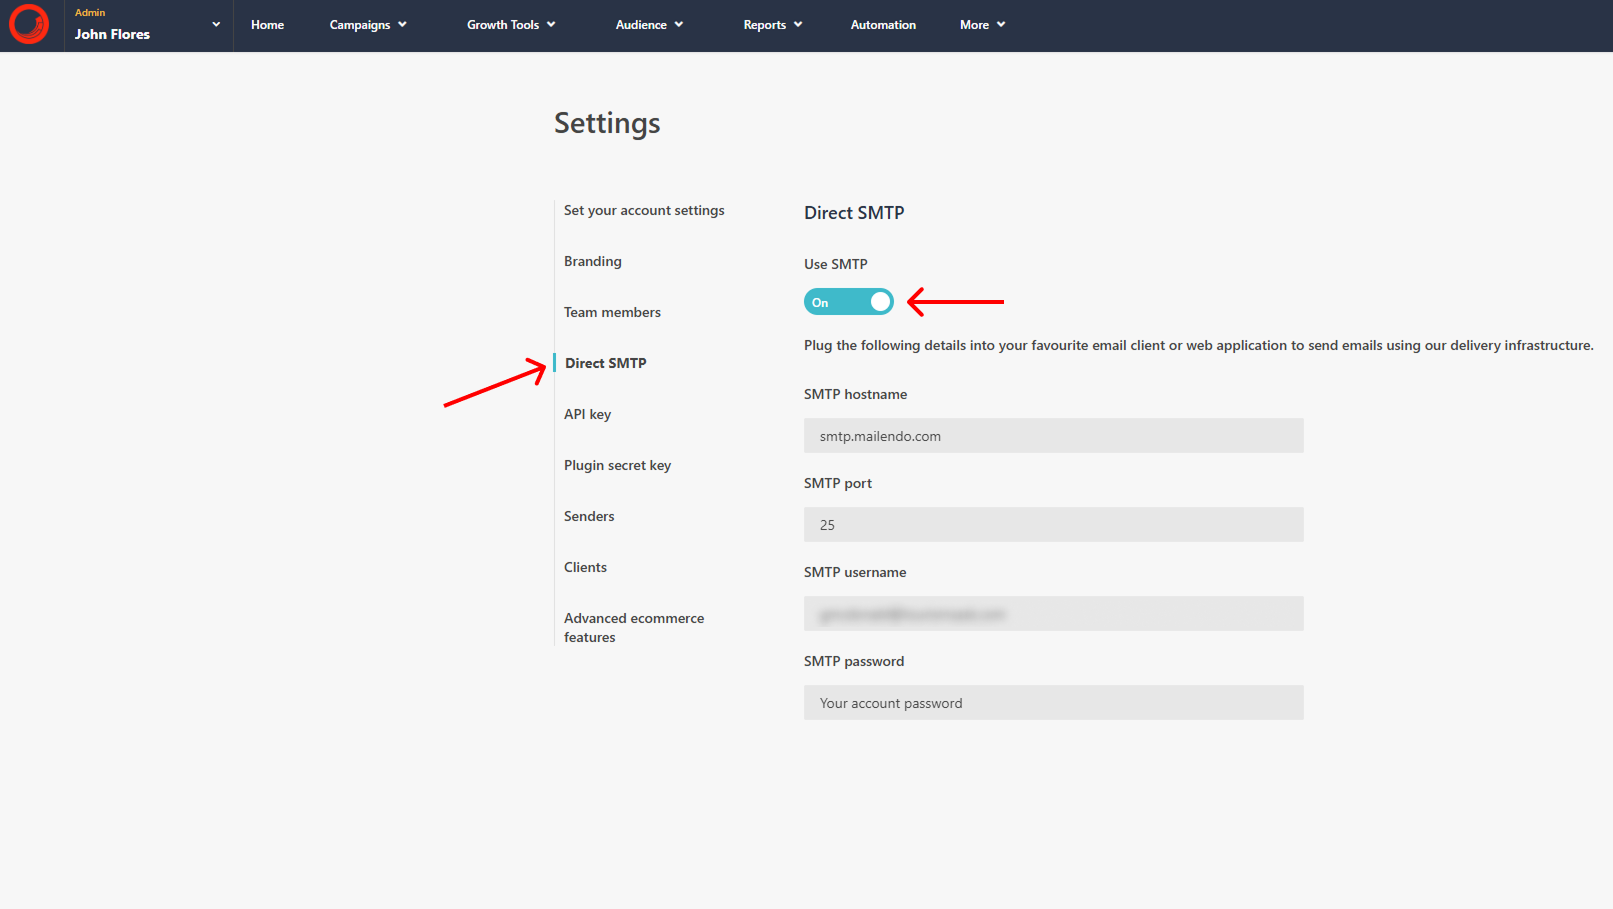
Below this toggle, you'll find the required SMTP credentials:
These are the details needed to configure SMTP within Sitecore Send. Next, we'll proceed with setting it up in Next.js.

To avoid diving too deep into the entire development process, let’s establish some assumptions. Our function will consume two key data sets:
SEND_PORT, SEND_HOSTNAME, SEND_USERNAME, and SEND_PASSWORD.POST request body containing essential details, including stakeholder-required information and necessary email parameters.Below is the complete serverless function, which leverages nodemailer to configure SMTP using Sitecore Send credentials. The request body is then used to populate and send the email to the specified recipient.
I’ll walk through the code and break down each part in detail.
import { NextApiRequest, NextApiResponse } from 'next';
import nodemailer from 'nodemailer';
import axios from 'axios';

export default async function handler(req: NextApiRequest, res: NextApiResponse): Promise<void> {
  if (req.method !== 'POST') {
    return res.status(405).json({ error: 'Method not allowed' });
  }

  const { subject, recipient, ...data } = req.body;

  if (
    !process.env.SEND_USERNAME||
    !process.env.SEND_PASSWORD||
    !process.env.SEND_PORT||
    !process.env.SEND_HOSTNAME
  ) {
    console.error('Environment variables are not set');
    return res.status(500).send('Internal server error');
  }

  const transporter = nodemailer.createTransport({
    port: process.env.SEND_PORT,
    host: process.env.SEND_HOSTNAME,
    auth: {
      user: process.env.SEND_USERNAME,
      pass: process.env.SEND_PASSWORD,
    },
    secure: false,
  });

  const mailData = {
    from: 'noreply@sample_company.com',
    to: recipient,
    subject: subject,
    html: generateHtmlFromFormData(data),
  };

  try {
    const info = await transporter.sendMail(mailData);
    console.log('Email sent successfully:', info);
    res.status(200).end();
  } catch (err) {
    console.error('Error sending email:', err);
    res.status(500).send('Internal Server Error');
  }
}

function generateHtmlBody() {
  return `
    <html>
      <body>
         ... HTML BODY FOR YOUR EMAIL ...
      </body>
    </html>
  `;
}
At the very top we have the packages we are using for our serverless function. NextApiRequest & NextApiResponse are used to define the API routes in Next.js. Nodemailer is used to setup the SMTP and actually send the emails, and axios for sending HTTP requests.
import { NextApiRequest, NextApiResponse } from 'next';
import nodemailer from 'nodemailer';
import axios from 'axios';
We then have the common code format for serverless function which is to define the API Handler.
export default async function handler(req: NextApiRequest, res: NextApiResponse): Promise<void> {
  if (req.method !== 'POST') {
    return res.status(405).json({ error: 'Method not allowed' });
  }

  const { subject, recipient, ...data } = req.body;
Right below the function opening, we’ve added a flag to only allow a POST method. Next, we extract the request body. This contains the information needed to construct the email and the rest of the data used to populate the email body.
Before proceeding, we ensure that all required environment variables are present. If any are missing, the function logs an error and stops execution to prevent misconfigurations.
  if (
    !process.env.SEND_USERNAME||
    !process.env.SEND_PASSWORD||
    !process.env.SEND_PORT||
    !process.env.SEND_HOSTNAME
  ) {
    console.error('Environment variables are not set');
    return res.status(500).send('Internal server error');
  }
500 Internal Server Error response.Next, we configure the SMTP transport using nodemailer. This transport object will handle the email delivery.
  const transporter = nodemailer.createTransport({
    port: process.env.SEND_PORT,
    host: process.env.SEND_HOSTNAME,
    auth: {
      user: process.env.SEND_USERNAME,
      pass: process.env.SEND_PASSWORD,
    },
    secure: false,
  });
nodemailer.createTransport() - This initializes an SMTP transporter with the necessary credentials.port and **host - These define the SMTP server’s connection details, retrieved from the environment variables.auth - Specifies the username and password required for authentication.secure: false - The secure flag determines whether SSL/TLS is used for the connection. Setting it to false is fine for most cases, but if your SMTP provider requires SSL/TLS (e.g., port 465), you may need to set it to true.With the SMTP transporter configured, the next step is to define the email content. The recipient's email is dynamically assigned based on the configuration in Sitecore, ensuring flexibility. To keep the code organized, the email body (html value) is generated using a separate function, which will be covered in the next section. This approach ensures each email includes the correct recipient and content while maintaining a clean and modular structure.
  const mailData = {
    from: 'noreply@sample_company.com',
    to: recipient,
    subject: subject,
    html: generateHtmlFromFormData(data),
  };
Once the email is prepared, the function attempts to send it using transporter.sendMail().
  try {
    const info = await transporter.sendMail(mailData);
    console.log('Email sent successfully:', info);
    res.status(200).end();
  } catch (err) {
    console.error('Error sending email:', err);
    res.status(500).send('Internal Server Error');
  }
This ensures the function gracefully handles failures instead of crashing the application.
To keep the main function clean and modular, we define a separate function to generate the email’s HTML content.
function generateHtmlBody() {
  return `
    <html>
      <body>
       ... HTML BODY FOR YOUR EMAIL ...
      </body>
    </html>
  `;
}
In the world of marketing and communication, email remains a crucial tool. So far, we’ve covered just one aspect of SMTP—sending a basic email. However, there’s much more to explore.
One key challenge in email delivery is handling attachments. How do you securely and efficiently send files along with your emails? We’ll take a closer look at how SMTP supports attachments and how to implement them in your setup. We can even further improve our current function to also handle bounced emails in case there’s a failure.
Beyond SMTP, Sitecore Send offers additional features that can enhance your email-sending capabilities. From advanced templating options to analytics and automation, we’ll dive deeper into how Sitecore Send can streamline and optimize your email workflows.