Making Upgrades Routine
Upgrading your Next.js JSS Sitecore front-end can be intimidating at times, I will admit. This is especially so when you don’t perform those upgrades routinely. Getting in the habit of upgrading your Next.js JSS front-end every 6-months or even quarterly should be something every good Sitecore developer should push for when doing a large project. And something even after post-launch should be recommended to keep the site safe, secure, and ensuring any new features that Sitecore pushes through XM Cloud are available.
So where do you start?
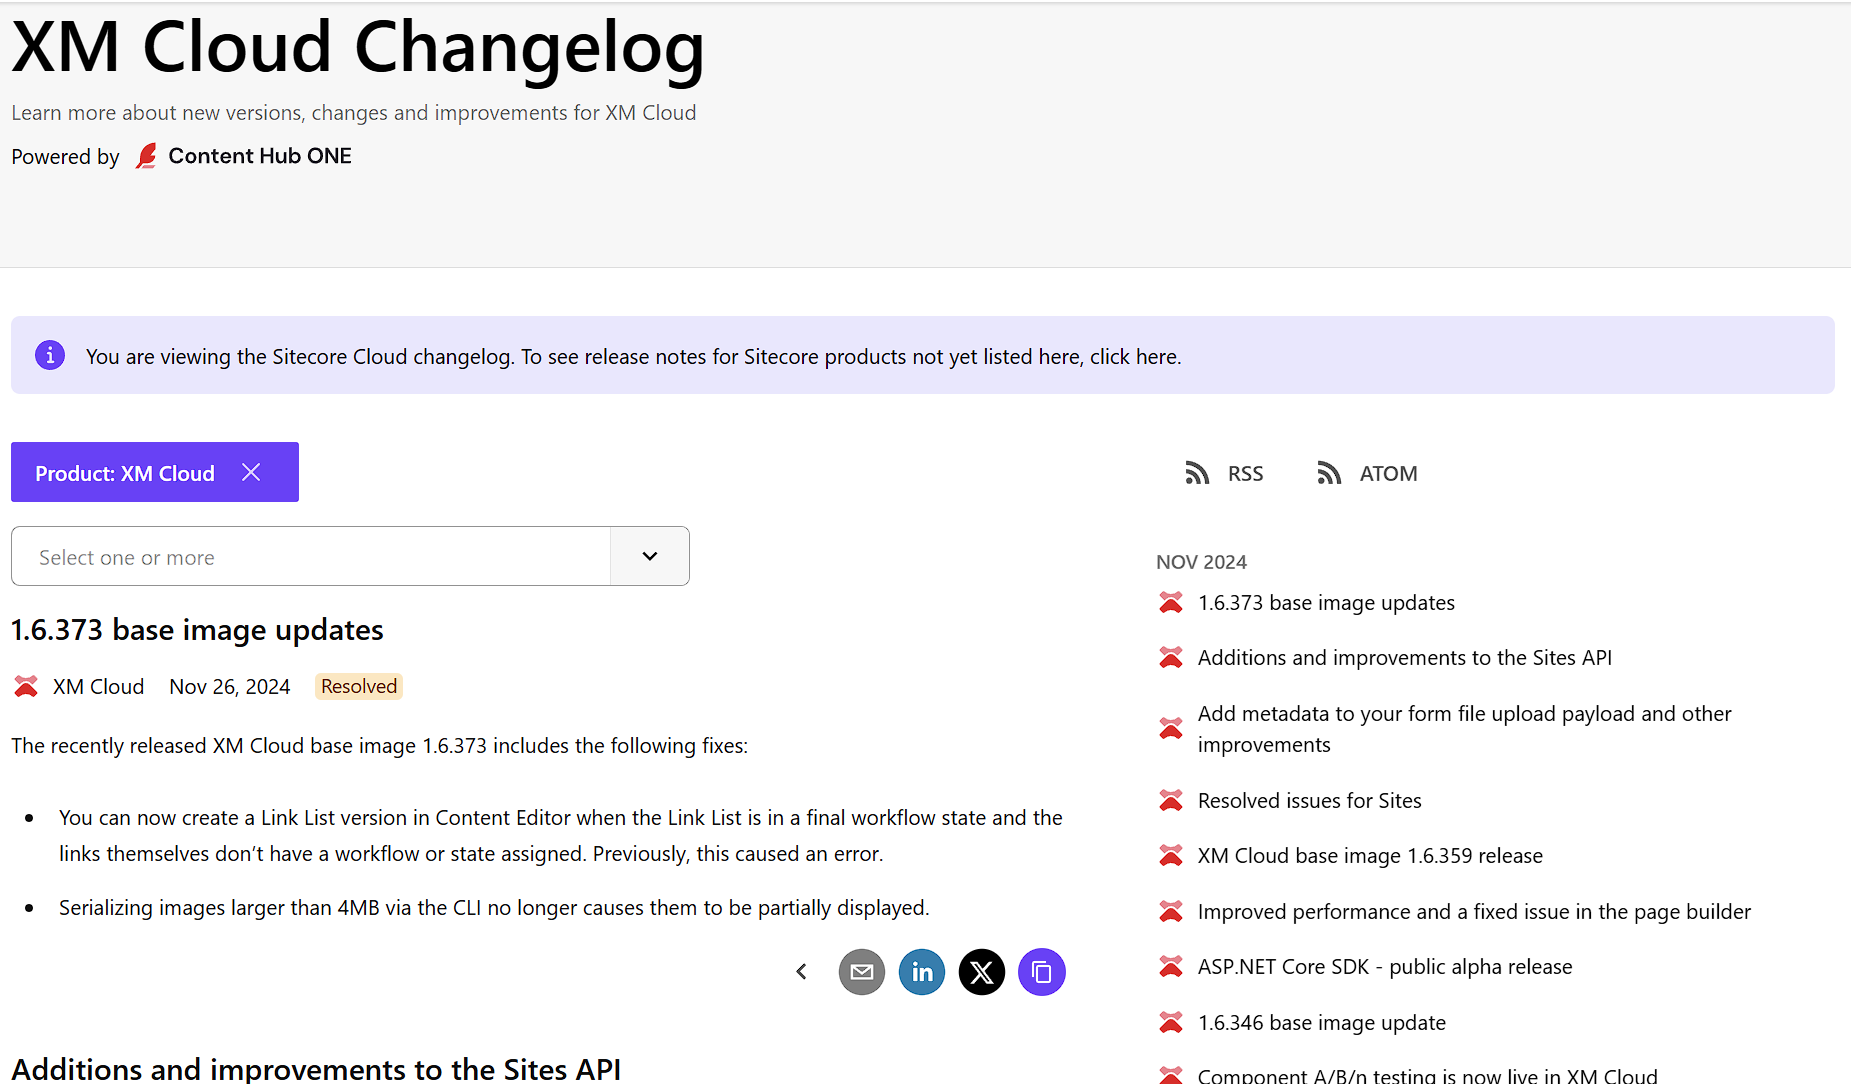
Reviewing Sitecore XM Cloud Change Log
The Sitecore XM Cloud Changelog is an invaluable website you can use to determine at what point you should or will need to perform a front-end upgrade of your solution. While it may be that the upgrade is larger involving the entire solution, for the purposes of this discussion we’re focusing on the Next.js front-end.

Identifying When to Perform an Upgrade
It is somewhat a misunderstanding that once you’re in XM Cloud that all the upgrades and patches are done for you. While this is the case in some places, with regards to security patches and overall improvements, it is not the case for custom code. And your Next.js front-end is exactly that, custom code.
A perfect example of knowing when you may have to upgrade is a Changelog notice that occurred on November 13, 2024. The legacy rich text editor in Pages will be deprecated on May 8th, 2025 talked about in order to access new features, but also prevent the RichText field support in your front-end application from breaking, you will need to upgrade to at least 21.5.2 by May 8, 2025. While this may seem like a ways off, it’s not that far when you take into account many clients will require time to identify budget requirements, resource requirements, and then you also have to consider you’re going to want to run this upgrade through all non-production environments before you roll it out to production. Also considering what version you’re presently on can enhance the urgency in starting this upgrade sooner than later.
What to Backup
Before you begin I highly recommend reviewing your key branches in your environment to determine how far apart they are in terms of number and significance of commits. There are certain files that will, almost guaranteed be touched during a Sitecore JSS upgrade. Create a branch off your QA instance so you have a reference point to fall back to. These are areas most often impacted due to custom code and or supportability of your front-end upgrade to continue working in a Docker supported environment.
.envproject.jsondocker-compose.override.yml/libfolder contents/pagesfolder contents404.tsx,500.tsx,[[…path]].tsx
xmcloud.build.jsonnext.config.js
Documented Minor Upgrades
Sitecore has provided and really improved on documentation of how to perform these upgrades smoothly without issue. You can, effectively, move from JSS 21.5 all the way to 22.5 (current). Here are the migration paths:
- Upgrade Sitecore JSS from 21.5 to 21.6
- Upgrade Sitecore JSS from 21.6 to 21.7
- Upgrade Sitecore JSS from 21.7 to 22.0
- Upgrade Sitecore JSS from 22.0 to 22.1
- Upgrade Sitecore JSS from 22.1 to 22.2
- Upgrade Sitecore JSS from 22.2 to 22.3
- Upgrade Sitecore JSS from 22.3 to 22.4
- Upgrade Sitecore JSS from 22.4 to 22.5
You can also take larger leaps but it really depends if you’ve made significant changes to core functions and it’s easier to do if you utilize comparison software. I however, wouldn’t recommend it. It honestly takes 15 min or less to run through each of these step-by-step instructions.
What’s Covered in a Minor Upgrade Path?
Sometimes going into these things you can immediately think you’re going to have a ton of things to do. Again, if you do these often, it’s really no hassle at all. You can effectively get through an upgrade with a single developer, a single QA (assuming an average site size) within a single 2 week sprint. Each upgrade primarily focuses on a few areas:
- Package.json updates - Changes to JSS version or other Sitecore libraries, like Cloud SDK. Performing these steps largely required running an
npm icommand. - Updates to library functions, e.g.
generate-config.tsorcomponent-builder.ts - Updates to base components like
<Bootstrap>or<CDPPageView>
Run that Lint Check
Right after you’re finished running through all the appropriate steps in Sitecore’s documentation, absolutely run that lint check. With versions updated, libraries replaced with different ones. I’m looking at you Component Factory replaced with Component Builder. Running npm run lint, can quickly spot a potential bug that could save you 20 - 30 min doing a failed deploy to Vercel.
Run Build
After successfully resolving any linting issues, I suggest running an npm run build. This could highlight additional areas of focus but to ensure your front-end is properly upgraded, I recommend running npm run start:connected. This will more closely identify any issues that may show up when running your local environment. Note: You will want to be running the same Node version shown above. If it starts here, and you still have issues when running up then the issue is likely the Docker rendering container is still using an old Node JS version. Double check the .env file and as a resort, I recommend increasing the VERSION environment variable.
What’s Not Covered in These Upgrades?
Changes needed in Docker. That’s right, while these documented steps largely look at the front-end part of the process, if you’re using Docker to manage your developer / local environments, there are a few areas and times you’ll need to go into root .env file or docker-compose.override.yml file. I found that moving from 21.5 to 22.0 and then moving from 22.2 to 22.3 I had to go in and update the Nodejs version to ensure my rendering host was working properly.
The file structure also changed significantly between 22.2 and 22.3 that was largely unnecessary at this point in time. Thankfully though that migration is primarily an exercise of moving files and folders to the new structure.
Compare Existing to New
Using a tool like one of those below, you can compare your existing environment to the future one. While it may seem easy to just copy files across from the new overtop of the old, I do not recommend that as you may be overwriting something another developer has done. And this goes especially for the files below. This process can feel daunting but I highly recommend focusing firstly on those that are OOTB and not customized. Here are a list of files to start with:
project.json- Note changes for Next.js, Sitecore JSS and other supporting packages such as react, etc..env- Both root and inside rendering. Note changes for new variables as well as existing such asNODEJS_VERSION. If the value for this particular environment variable changes additional steps will be required.next.config.jsxmcloud.build.json
Useful Software to Have on Hand When Performing an Upgrade
I highly recommend having a text comparison tool handy when doing these upgrades. Some of the first things you’ll do in each of these upgrade steps is downloading a copy of a base JSS 22.x instance. e.g.
npx [email protected] nextjs
Take note of your existing templates used in your package.json, i.e. nextjs-multisite or nextjs-sxa and ensure you select ‘Y’ when asked about XM Cloud.
Once you’ve done that you can use tools like Winmerge or Code Compare to compare your front-end with an upgraded instance making the process very thorough. Keep an eye out though as it can appear a lot is different if your linting line-length is different than that of the JSS project. They have theirs set to 100 and we had ours set to 130, thus it initially looked like a lot of differences between upgrades.
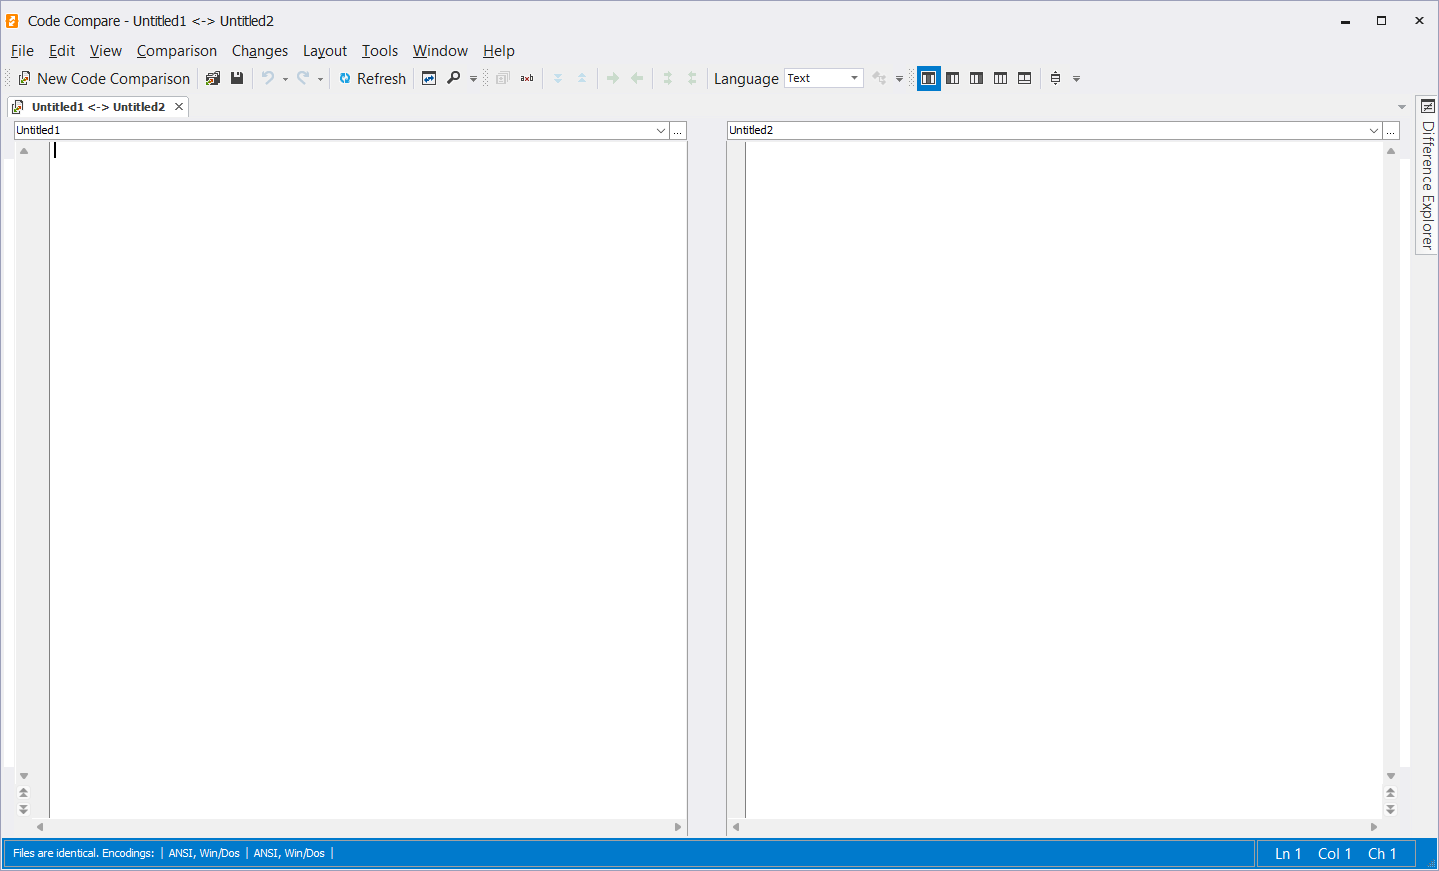
Code Compare
In terms of free tools you could use, Code Compare is one of simplicity that you can easily see differences left and right, line up where changes are and very quickly navigate through your entire codebase to see what needs to be changed.

Some highlights include:
- Connectivity to IDEs: Enhances your development environment without requiring a separate tool thanks to its seamless integration with Visual Studio.
- Comparing Folders and Files: It’s adaptable for a range of tasks, including code review, configuration file updates, and project synchronization, because it supports both file and folder comparisons.
- Advanced Features for Comparison:
- Syntax highlighting: This feature makes it simpler to see code changes, particularly in programming languages with intricate syntax.
- Structural comparison: In order to improve readability, structural comparison compares code structures such as classes, methods, and other language features rather than raw text.
Capabilities for Merging: Offers an integrated three-way merge tool for conflict resolution, which is essential for version control processes.
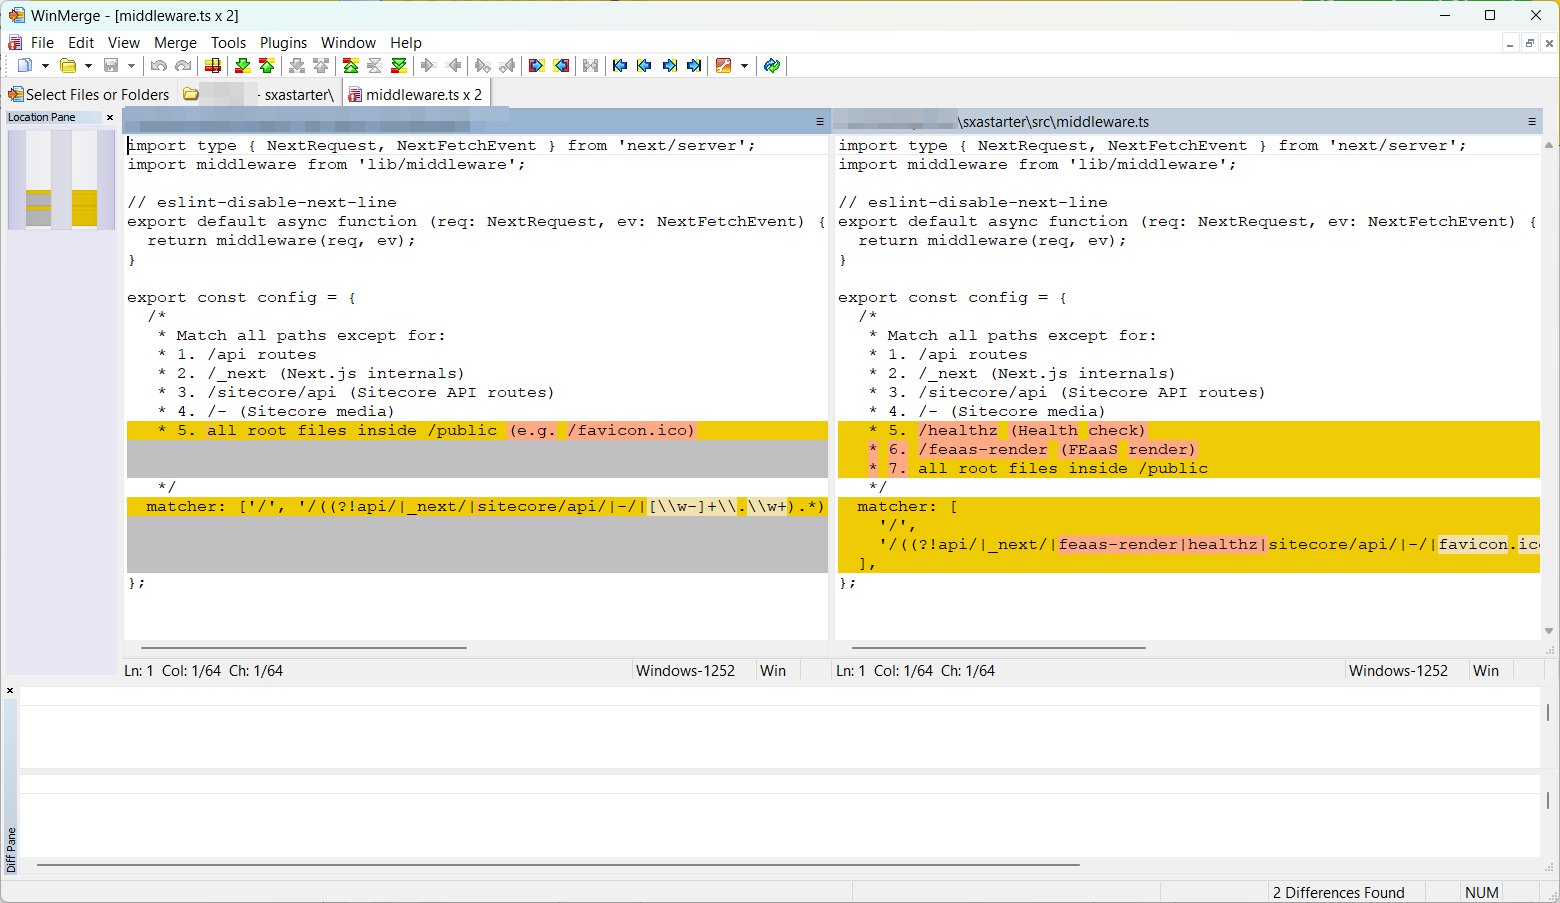
WinMerge
Similar to Code Compare, Winmerge is open source and free. I’ve been using Winmerge for decades now and it really has never failed me. Easily suppress comparison by folder, (i.e. node_modules) or other reasons. Really speeds up an upgrade like these.

Some notable highlights.
- User-Friendly Interface: Even for novices, the user interface is straightforward and easy to use. The distinctions between files and folders are shown in a clear visual manner.
- Comparing Folders and Files: It is adaptable for a variety of activities, including source code review, backup synchronization, and data integrity checks, because it supports both file and folder comparisons.
- Capabilities for Merging: features an integrated merge tool for combining file changes, which is crucial for teamwork settings.
- Options for Customization: Provides settings and plugins so users can customize the tool to meet their needs.
- Code Readability: Syntax highlighting for common programming languages.
What Else to Watch Out for?
In all of the upgrades I performed, migrating from 21.5 to 22.5 there was only really a single instance where I had to modify custom components we had built to make them work. And that all had to do when migrating from 21.5 to 22.x where I had to update any component that was utilizing the <Placeholder> component where I was passing a value through to child renderings added within it. So originally we may have add something like the following:
component.props.container = 'full-width';
This stopped working in JSS 22.x. And instead we had to switch to the following:
component?.props?.params?.container = 'full-width';
That literally was the only custom component change we had to do in our entire project when upgrading from 21.5 to 22.x. All other functionality was unaffected. Now obviously you want to ensure you’re doing proper null checks along the way.
Why Regression Testing is Still Important
Regression testing's major objective is to preserve a software application's stability and dependability following modifications. It entails running previously completed test cases again to ensure that the program still operates as intended following changes. Even though the changes you’d perform during these upgrades are minimally impactful, it’s still extremely wise to run even a basic regression testing across your site.
While we never touched any aspects of the Placeholder component initially, a quick regression testing easily spotted it. A quick chat on the Sitecore Slack user forum and it was already known and a solution was generously shared. Depending on your site size, the number of components, the accessibility to a QA environment this could mean anywhere from a few hours to a few days, or even a week. But it’s worth it and still done all within a single sprint if done properly and routinely.
As I said early, if you upgrade often, making it routine, get your customers used to it, these upgrades are less daunting tasks than they should be and can save you and your customers time and money long term.


