A Complete Guide to Email Segmentation in Sitecore Send
Learn how to maximize your email marketing efforts with segmentation in Sitecore Send (Moosend).
Learn how to maximize your email marketing efforts with segmentation in Sitecore Send (Moosend).
Start typing to search...
Email marketing is a powerful way for businesses to connect with their customers and drive growth. However, the days of one-size-fits-all email campaigns are long gone. To truly engage your audience and drive results, you need to segment your email list and send targeted messages that resonate with each group's unique needs and interests. By doing so, you can increase the effectiveness of your emails and achieve better open rates, click-through rates, and conversions. Moreover, segmentation allows you to optimize your resources and focus on the most valuable opportunities for your business.
Segmenting an email marketing list means dividing the list of subscribers into smaller groups based on specific criteria, such as demographics, behaviour, interests, or preferences. This allows you to create targeted email campaigns that are more relevant and engaging to each segment rather than sending the same generic message to your entire list. By segmenting your email list, you can improve the effectiveness of your email campaigns, increase engagement and conversions, and build stronger relationships with your subscribers.
For example:
It's no secret that customers want personalized content. The more relevant content is to your reader, the more likely they will read it. And if they do read it, they'll feel like you understand them and their needs better than anyone else. That feeling of connection makes them more likely to act on whatever call-to-action you've included in your email (or at least think about it). When done well, segmentation increases the effectiveness of your email marketing campaigns by making them more personal and relevant to specific audiences.
Segmenting your email marketing lists can significantly improve the effectiveness of your campaigns by delivering more relevant and personalized content to your subscribers, resulting in:
What is Sitecore Send?
Sitecore Send (Sitecore acquired Moosend in 2021) is an all-in-one marketing automation platform offering email marketing, marketing automation, and other marketing tools. Sitecore Send's primary focus is email marketing, but it also offers additional features such as landing pages, subscription forms, and lead generation tools.
Follow these step-by-step instructions to learn how to segment your email lists in Sitecore Send.
Log into your account and select Segments from underneath the Audience tab in the top navigation bar.

Hover over the New button at the top-right and select Segment.

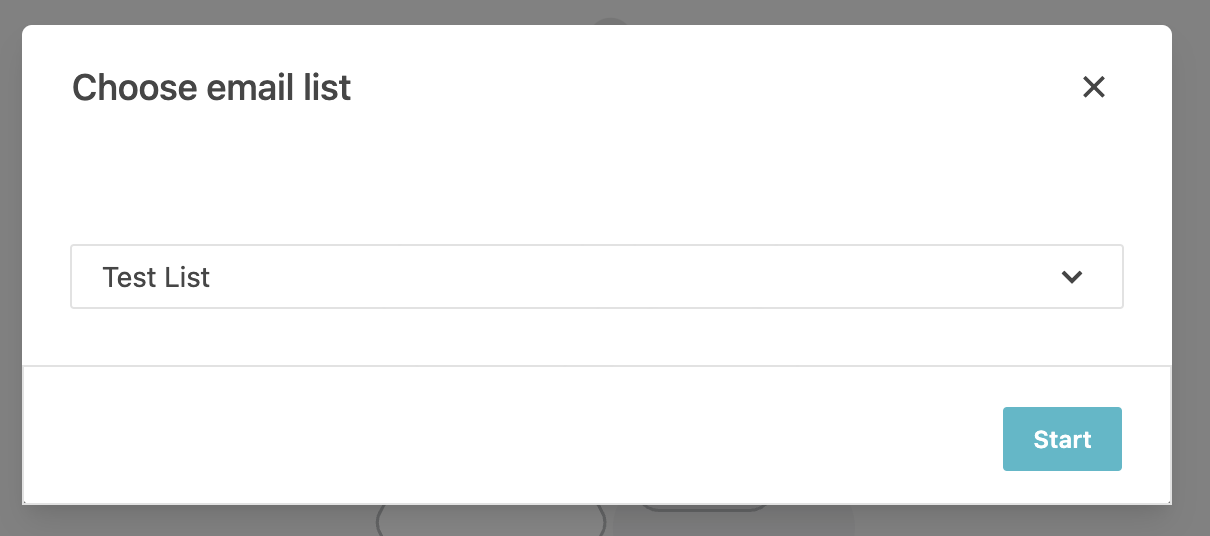
Choose the email list you want to segment from the dropdown list and click Start.
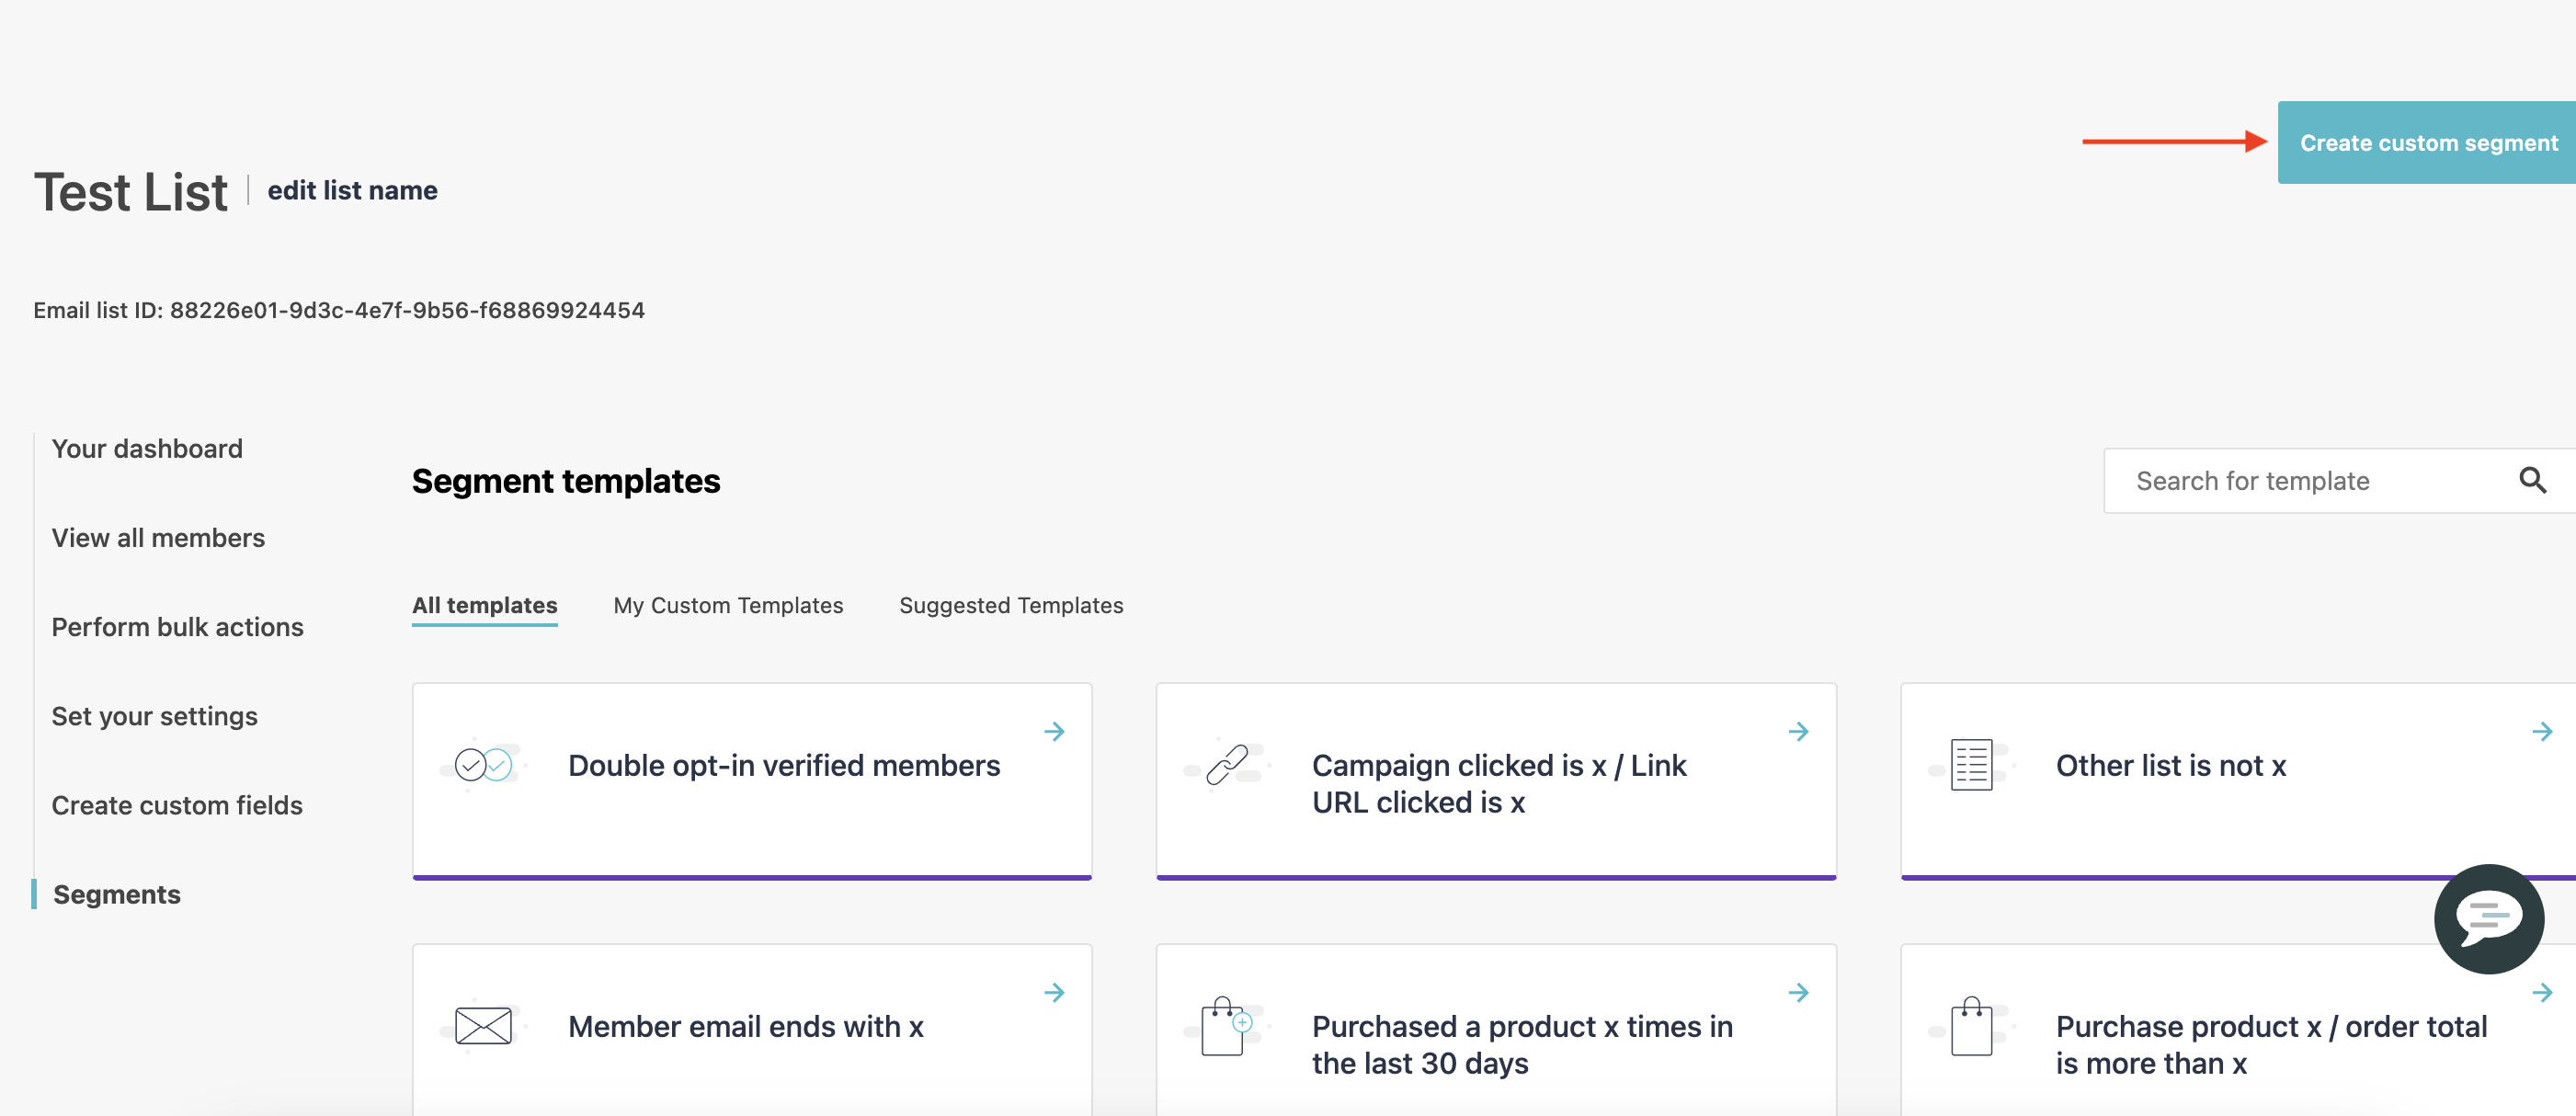
Select one of the predefined segment templates from the list or click the Create custom segment button at the top-right. At the time of writing, the predefined segment template options include the following:
Follow the first 3 steps from above to get to the segment page. From there, you can create a custom segment.
Click the Create custom segment button at the top right to create your own custom segment.
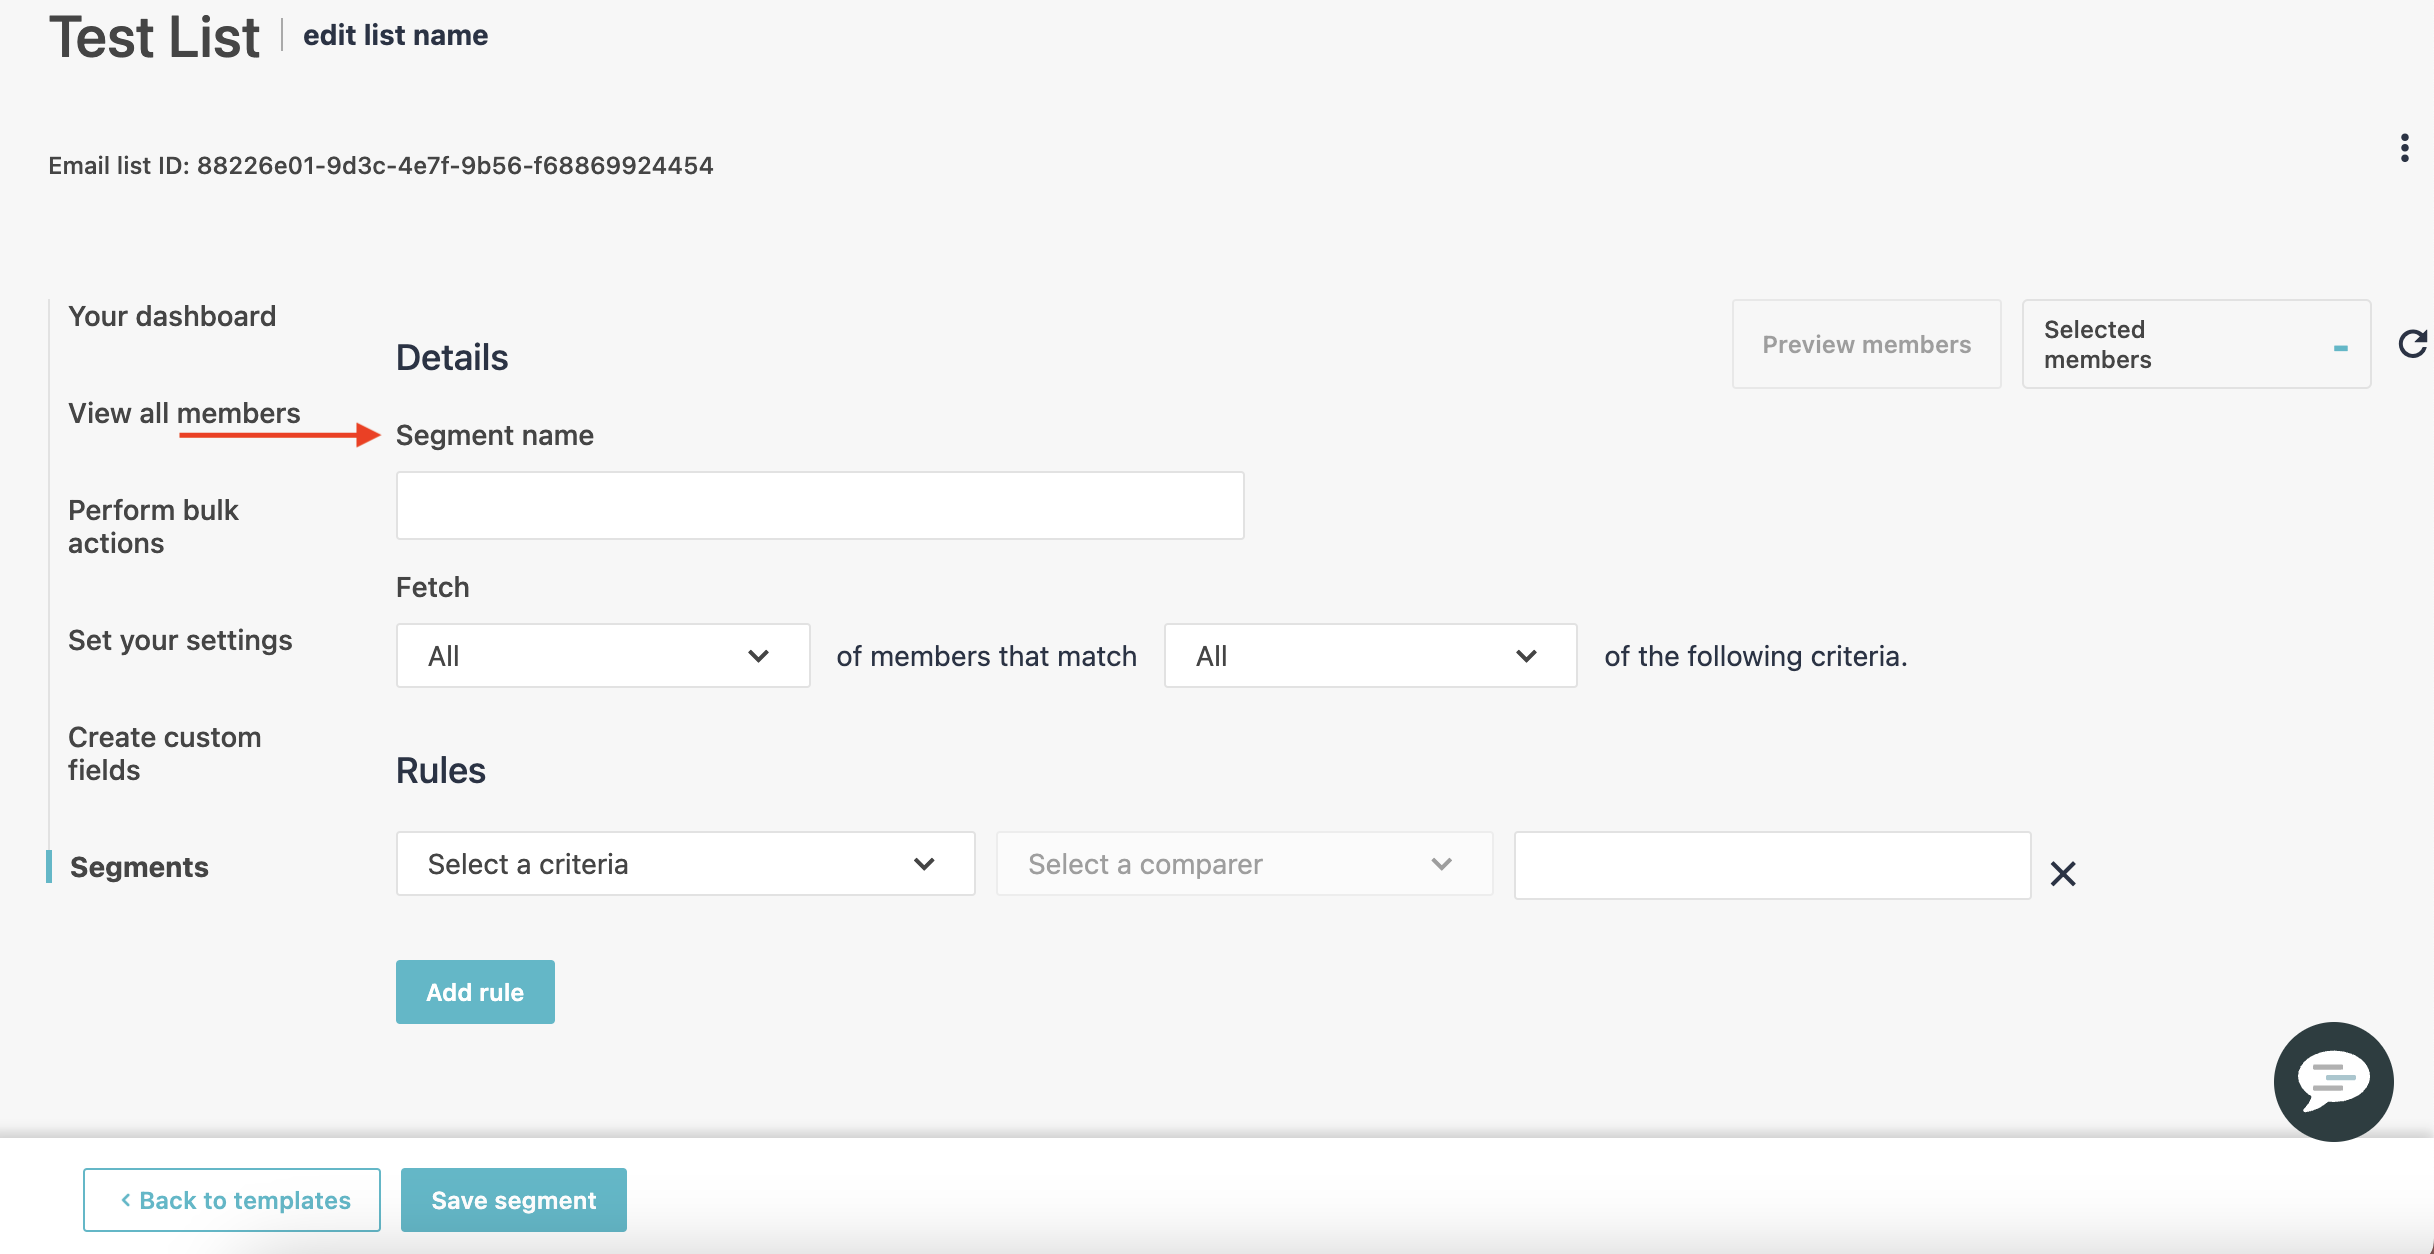
Name your segment.
Adjust how many subscribers will be included in your under the Fetch heading.
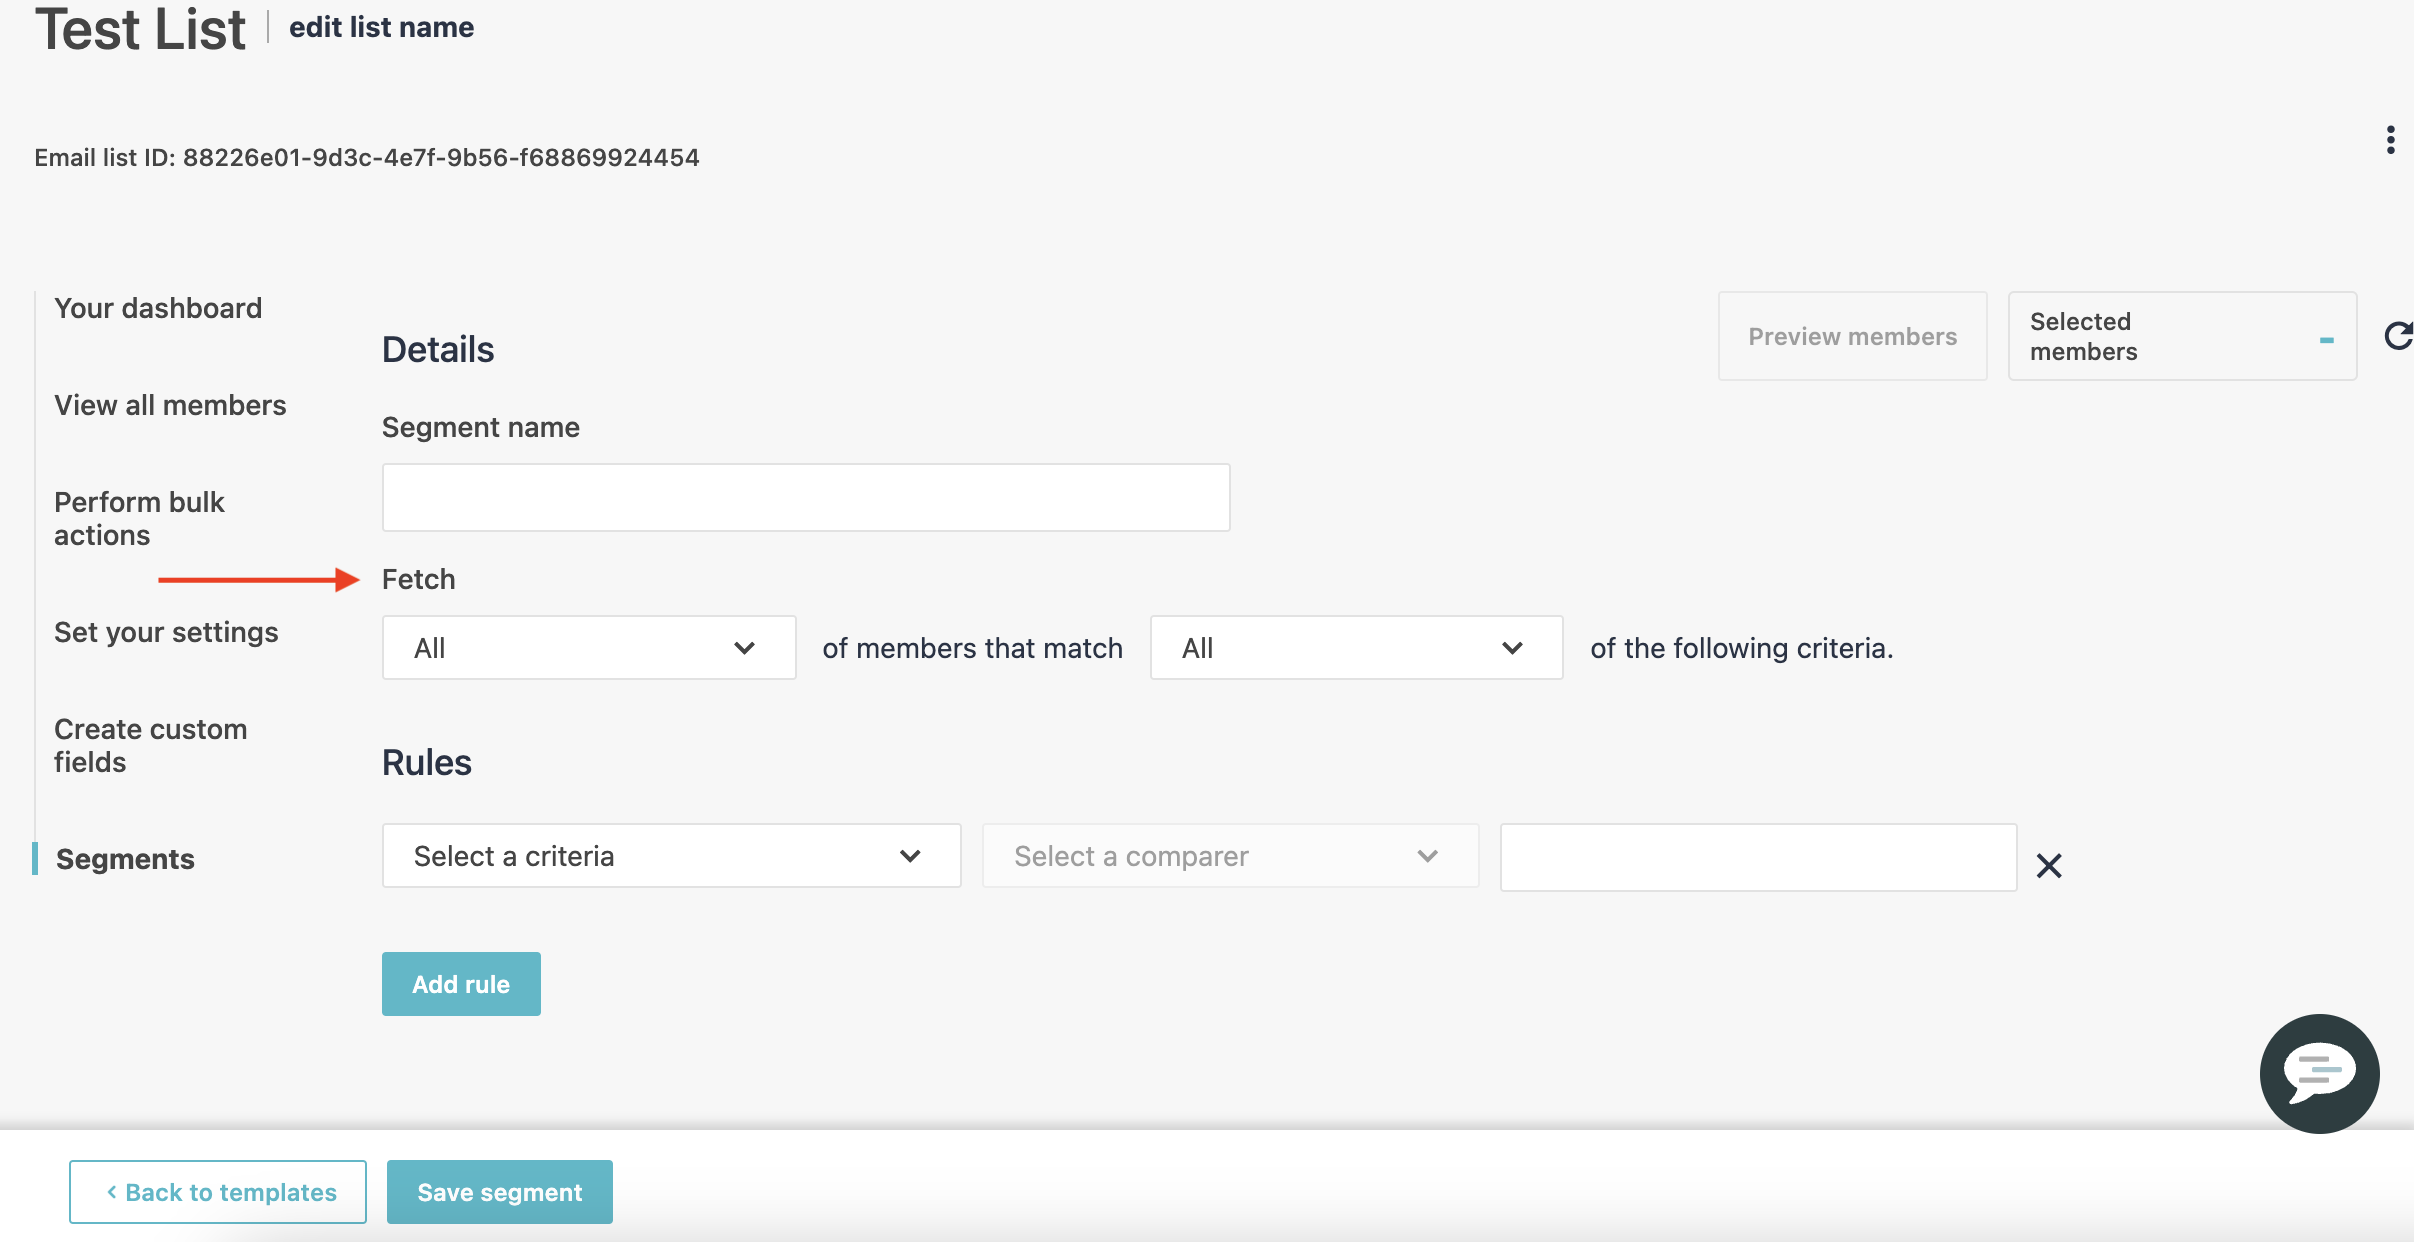 In the first drop-down list:
Max % - selects a maximum percentage of subscribers
In the second drop-down list, click one of the following options:
All - fetches subscribers that match all the segmentation criteria you set
Set rules and conditions for your segment under the Rules heading. You can create as many rules as you’d like by clicking Add rule.
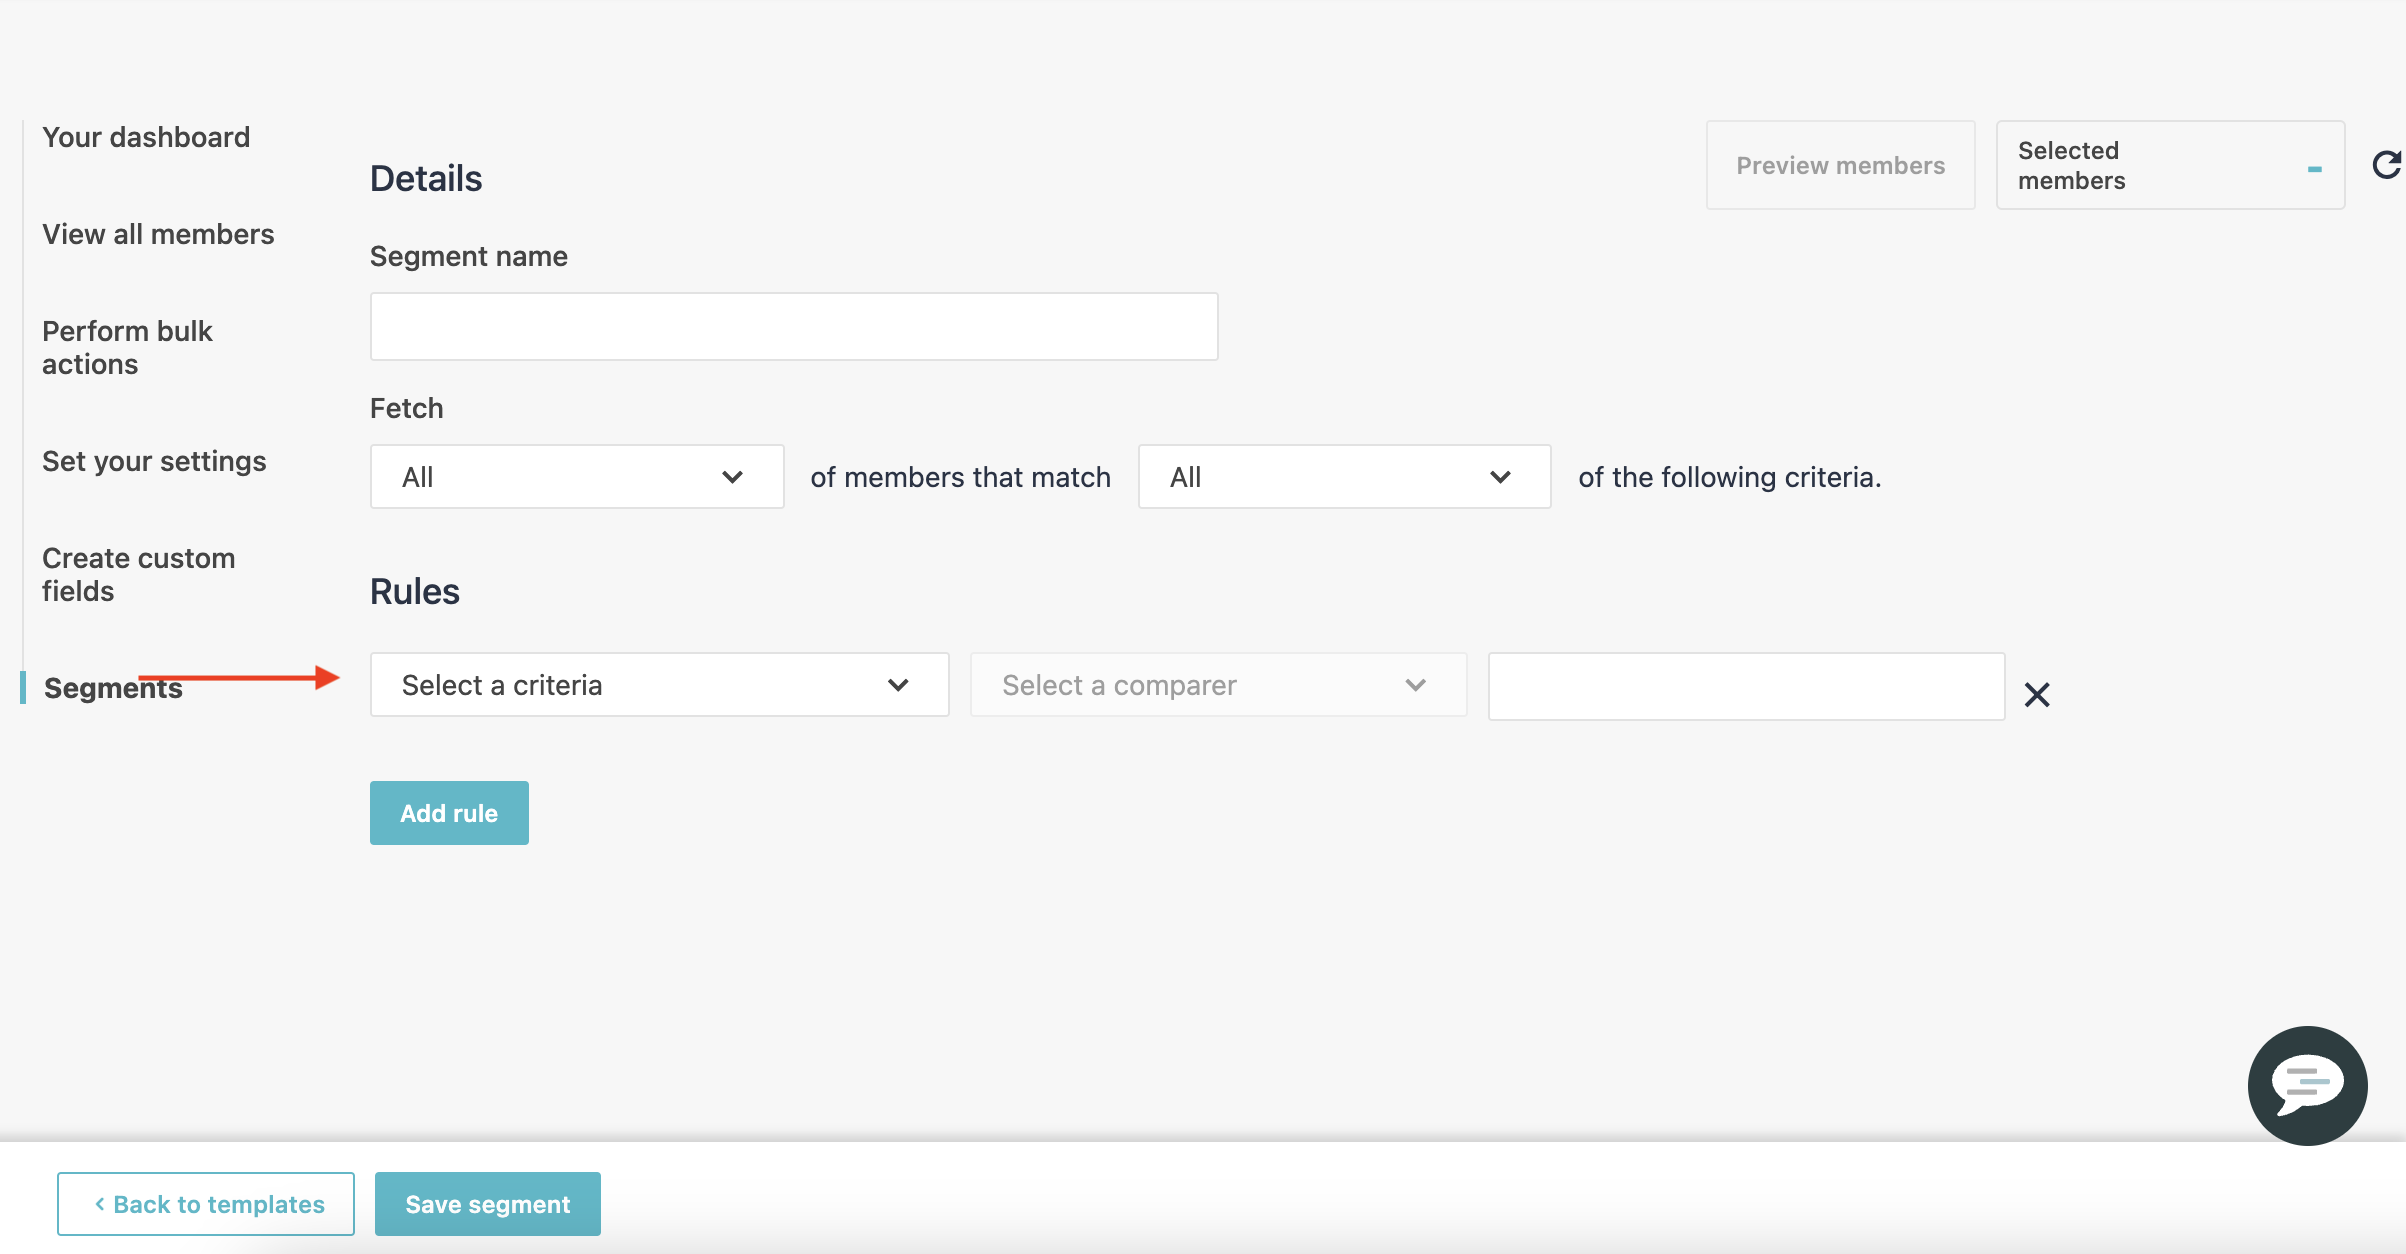
Once you have defined your segment, click Save Segment.
If you're looking to improve your email marketing segmentation skills, keep these tips in mind:
Segmenting email lists is essential for businesses to target their customers more effectively. By using segmentation, companies can create more effective campaigns, track and analyze customer behaviour, and provide a more personalized experience for customers.
Want some input on your business' email marketing health? Let us know.