Page branches are one of those features that seem to be under utilized in Sitecore content authoring. They are immensely powerful and I for one am guilty of avoiding their use.
Let's look at a scenario where you've got a site that needs multiple layouts but all share similar fields. Say one has a single column of text, one has two columns, and a third that has a grid layout. Typically you'd say, ok, let's create one template for each layout and all inherit the base "content page" template. There's nothing wrong with that, but if you work with search or dynamically generated content, you'll have a bit more work on the backend to deal with the variants.
Let's Create A Branch Instead
The beauty with using a page branch is using that single content page template, we can create all three layouts for an author in advanced giving the impression of three different templates.
Create Content Page Template
First thing first, create a template that inherits the Page template. We do this rather than using the Page template itself as it allows us to customize the template rather than modifying the base template. It's also important to inherit Page as that's how the Page Branch rules are run.
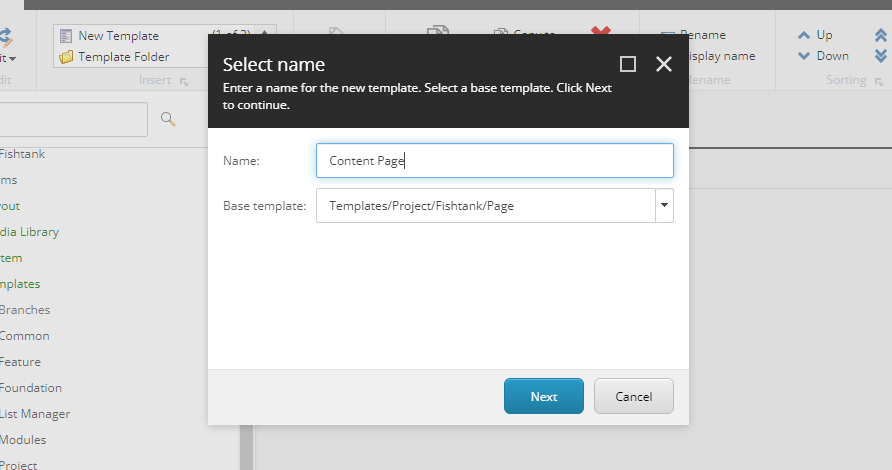
It's also wise to generate a _Standard Values item for the template we created.
Create Page Branch
Next, let's locate the Page Branches folder inside /Sitecore/Conent/<Tenant>/<Site>/Presentation.
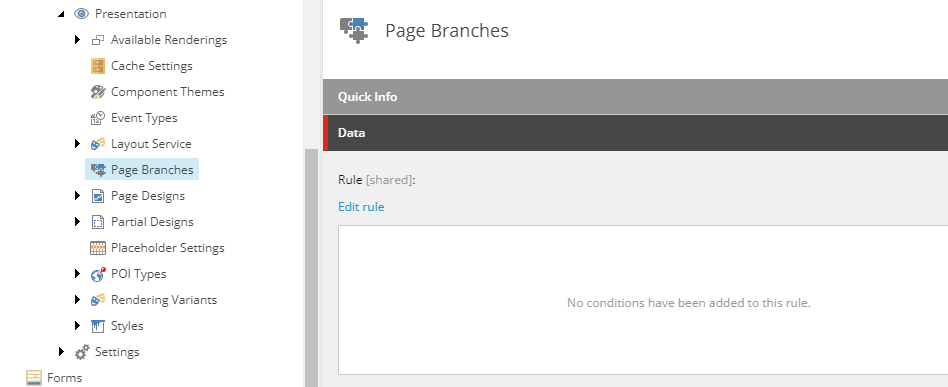
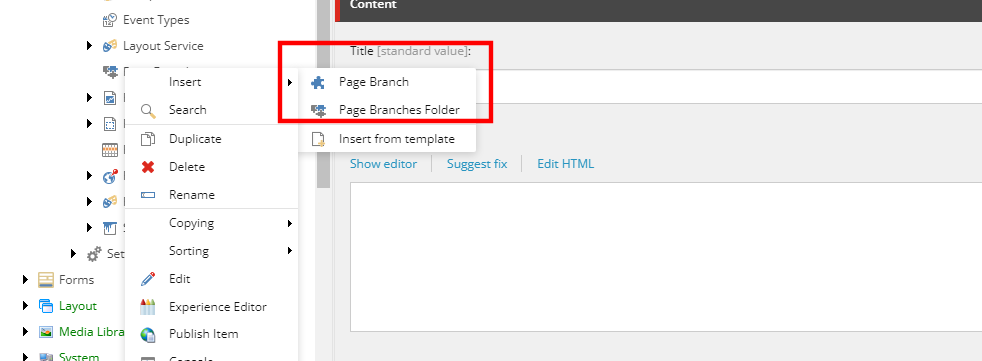
Right click on Page Branches and select Insert -> Page Branch.
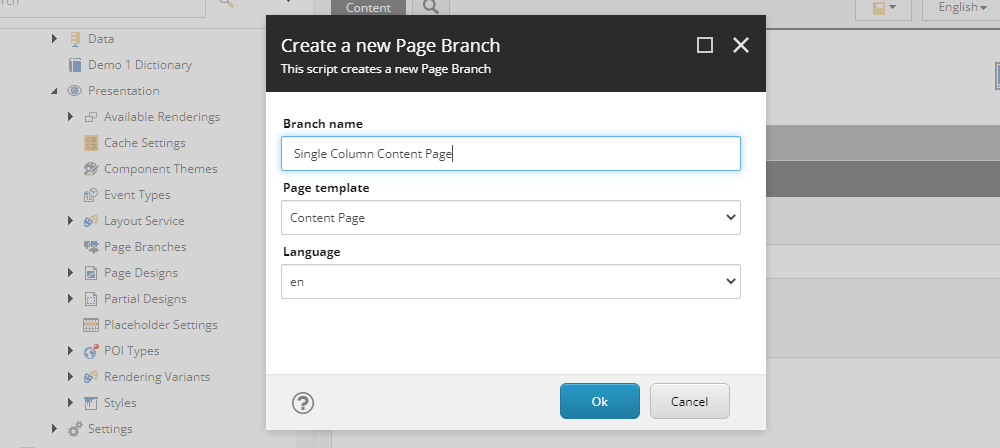
When prompted enter the branch name. For the purposes of this example we're calling it Single Column Content Page. Next, in the Page template dropdown, select the template you created above. Then click OK.
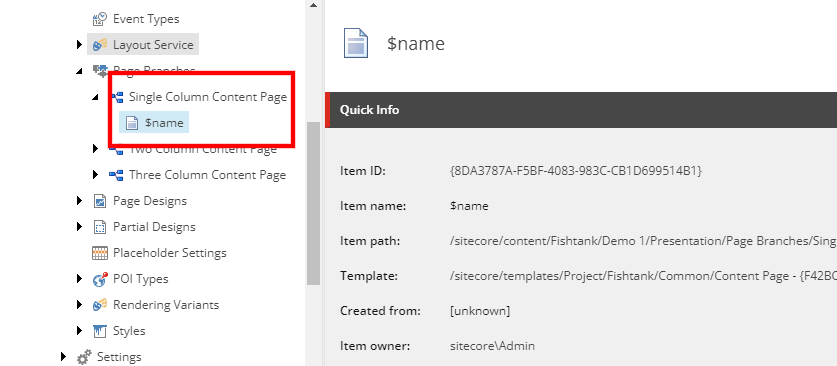
Once it's run the appropriate script, you'll see the branch and an item named $name. You've now created a page branch. Using Experience Editor we can customize the layout appropriately. Repeat as necessary for additional layout options.
Customize Page Branch Templates
Customizing each page branch can be done in a number of ways. I'm not going into depths about each here, but some examples are:
- Changing layouts in Experience Editor
- Pre-assigning components to the Shared Layout
- Modifying Security or Workflow
- Pre-filled fields, drop-downs, etc.
You get the idea. It's extremely handy when you have a bunch of different layouts, multiple content authors, and perhaps a complex design to utilize page branches reducing the chances of errors and ultimately speed up the authoring process.
Using Rules To Assign Insert Options
You've got one or more page branches, you've customized them, now let's add them to pages. Traditionally this would involve going to each template and changing the Insert Options.
This time around we're going back to the Page Branches folder and on the item under Data / Rule click Edit rule.
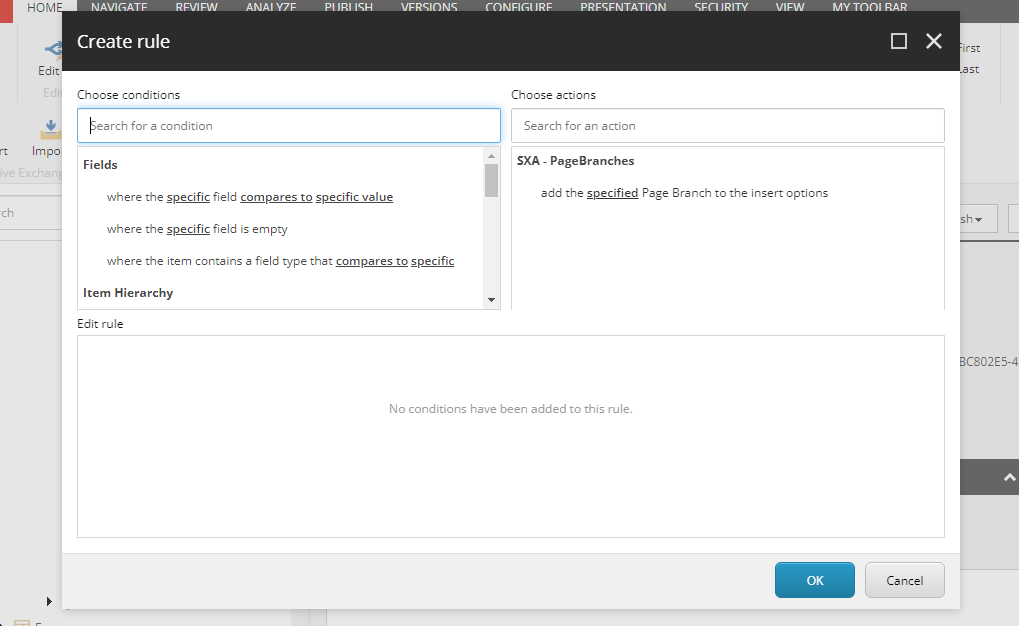
First, let's create a condition. Now for the puroses of this example, I'm keeping it simple. So I'm selecting where the current item is in the site context. As you can see by the number of options, you can create very complex rules. It's important to note though, that these rules rely on the item it's affecting to have inherited the Page template. They won't be run on any other template.
Next, we will click on the SXA - PageBranches action titled add the specified Page Branch to the insert options. Once added, click the word specified. You'll then be presented with a list of options of page branches you've created.
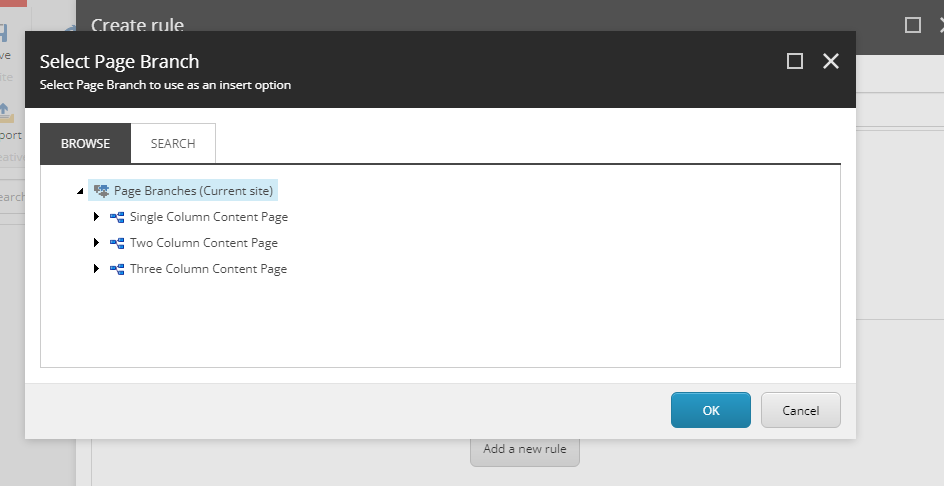
Repeat adding the action as needed thus adding as many page branches as needed for each appropriate condition.
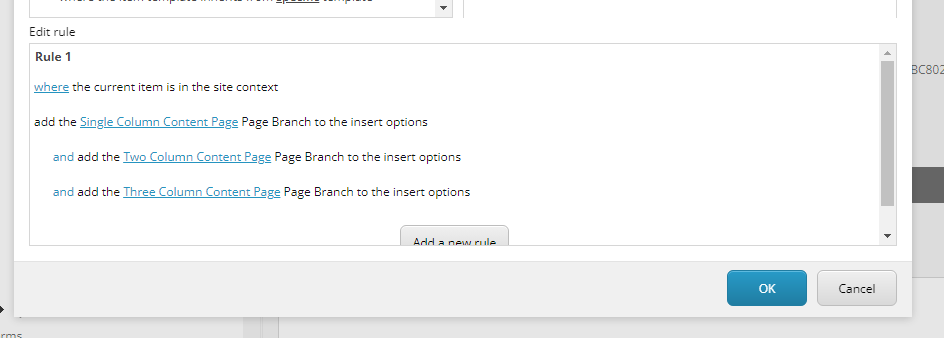
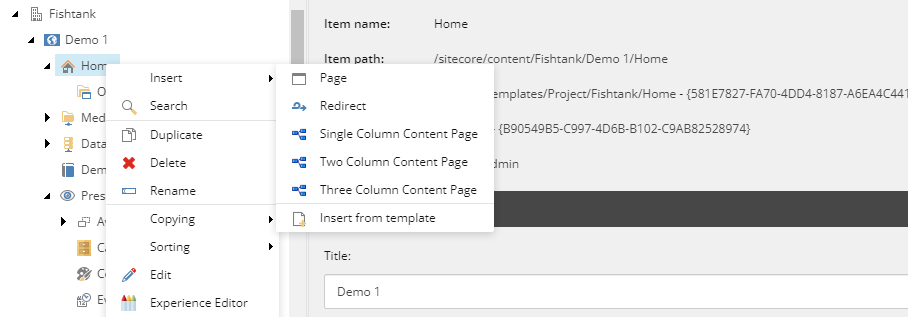
Now, if we go to our Home item and right-click we can see under Insert our three page branches have been added.
It might have seemed like a large number of steps, but once you've done it a couple times, you'll see how quick and easy it is to do for the sites you create. Your authors with thank you.

