This blog post will go through how to compare two commits in Azure DevOps and provide it in an easy to understand manner for stakeholders to make judgements.
Compare two commits code changes in Azure DevOps using tags.
In this blog post we'll look at a small trick you can do to compare two commits in Azure DevOps.
Adding Tags To Commits
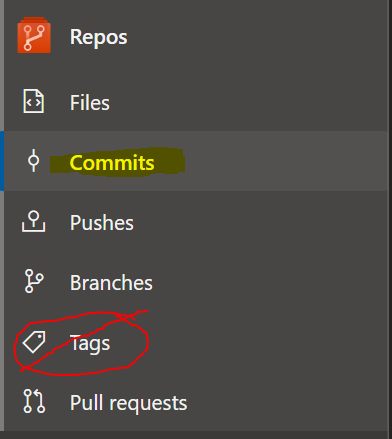
To add a tag to a specific commit go to your DevOps repo and under the 'Repos' category go to 'Commits' NOT 'Tags'.
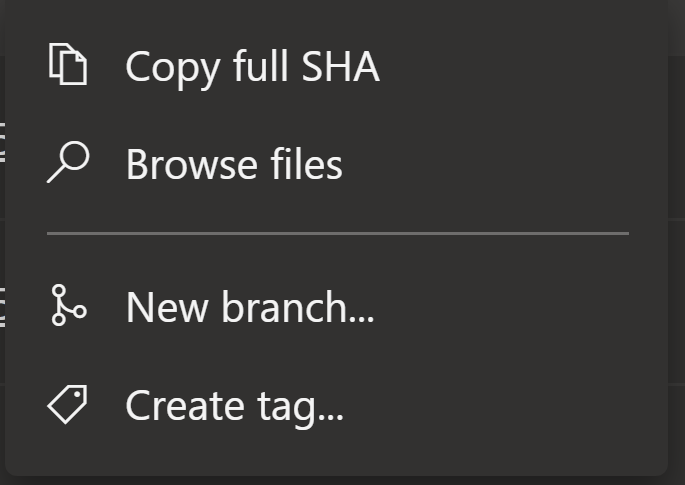
Choose a commit you want to compare. and on the right side of the commit there will be a menu drop down, click it and choose 'Create Tag'.
Name your tag appropriately and do the same for another commit you want to compare.
Comparing The Two Tags
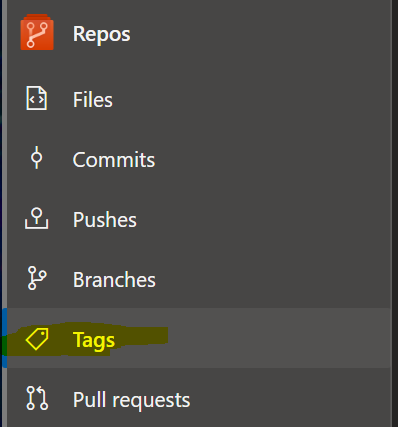
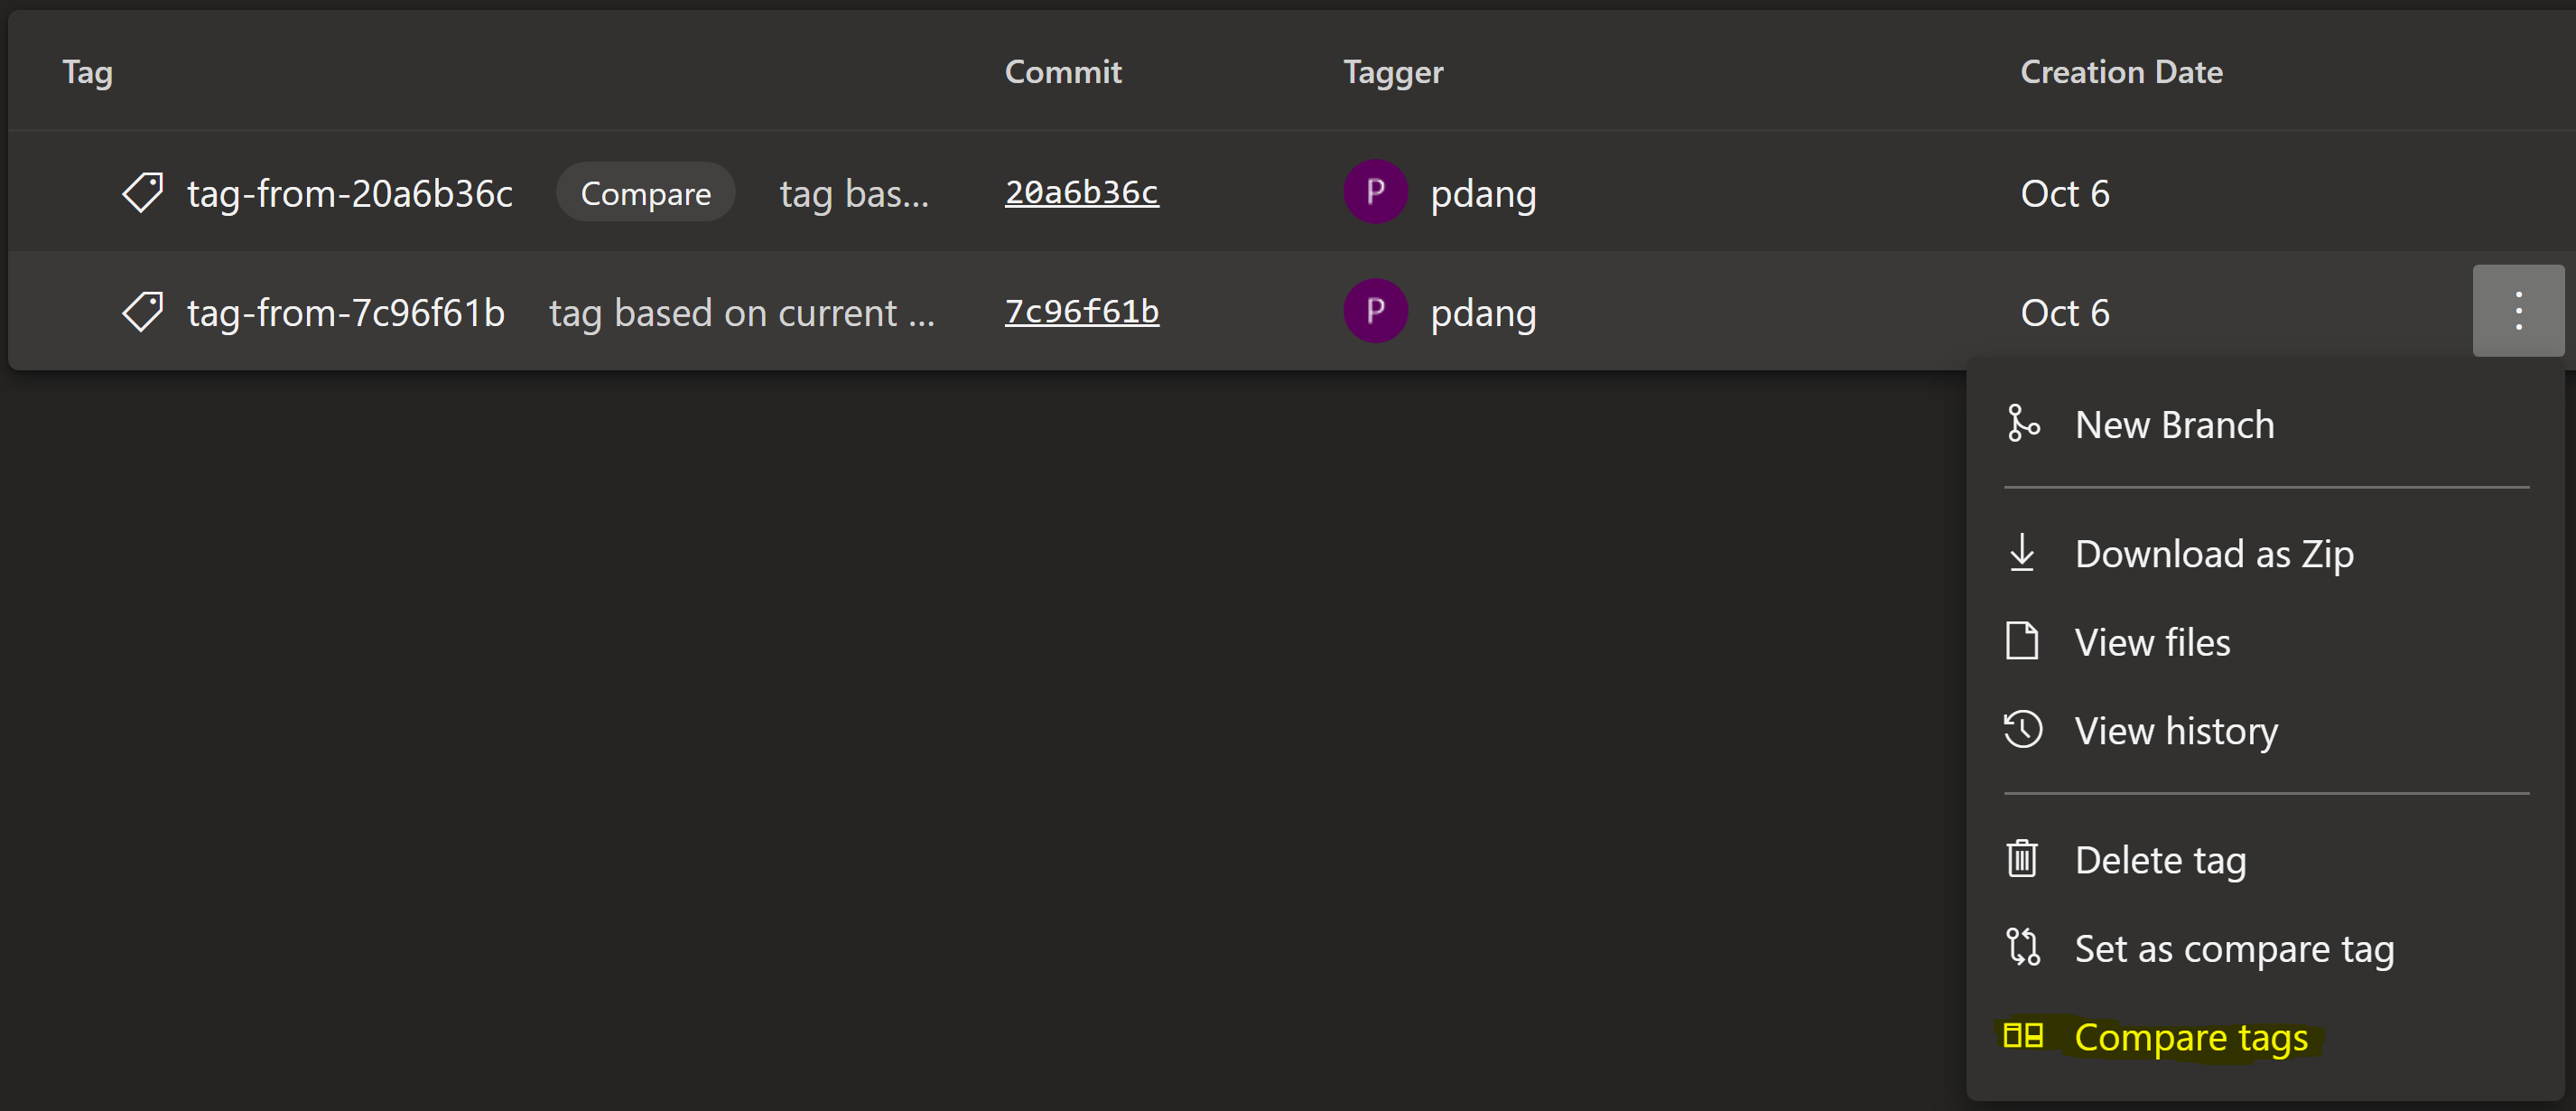
After you are finished tagging the commits you want to compare, click 'Tags' under the Repos menu.
Using the same side menu, select one of your commits as the compare branch.
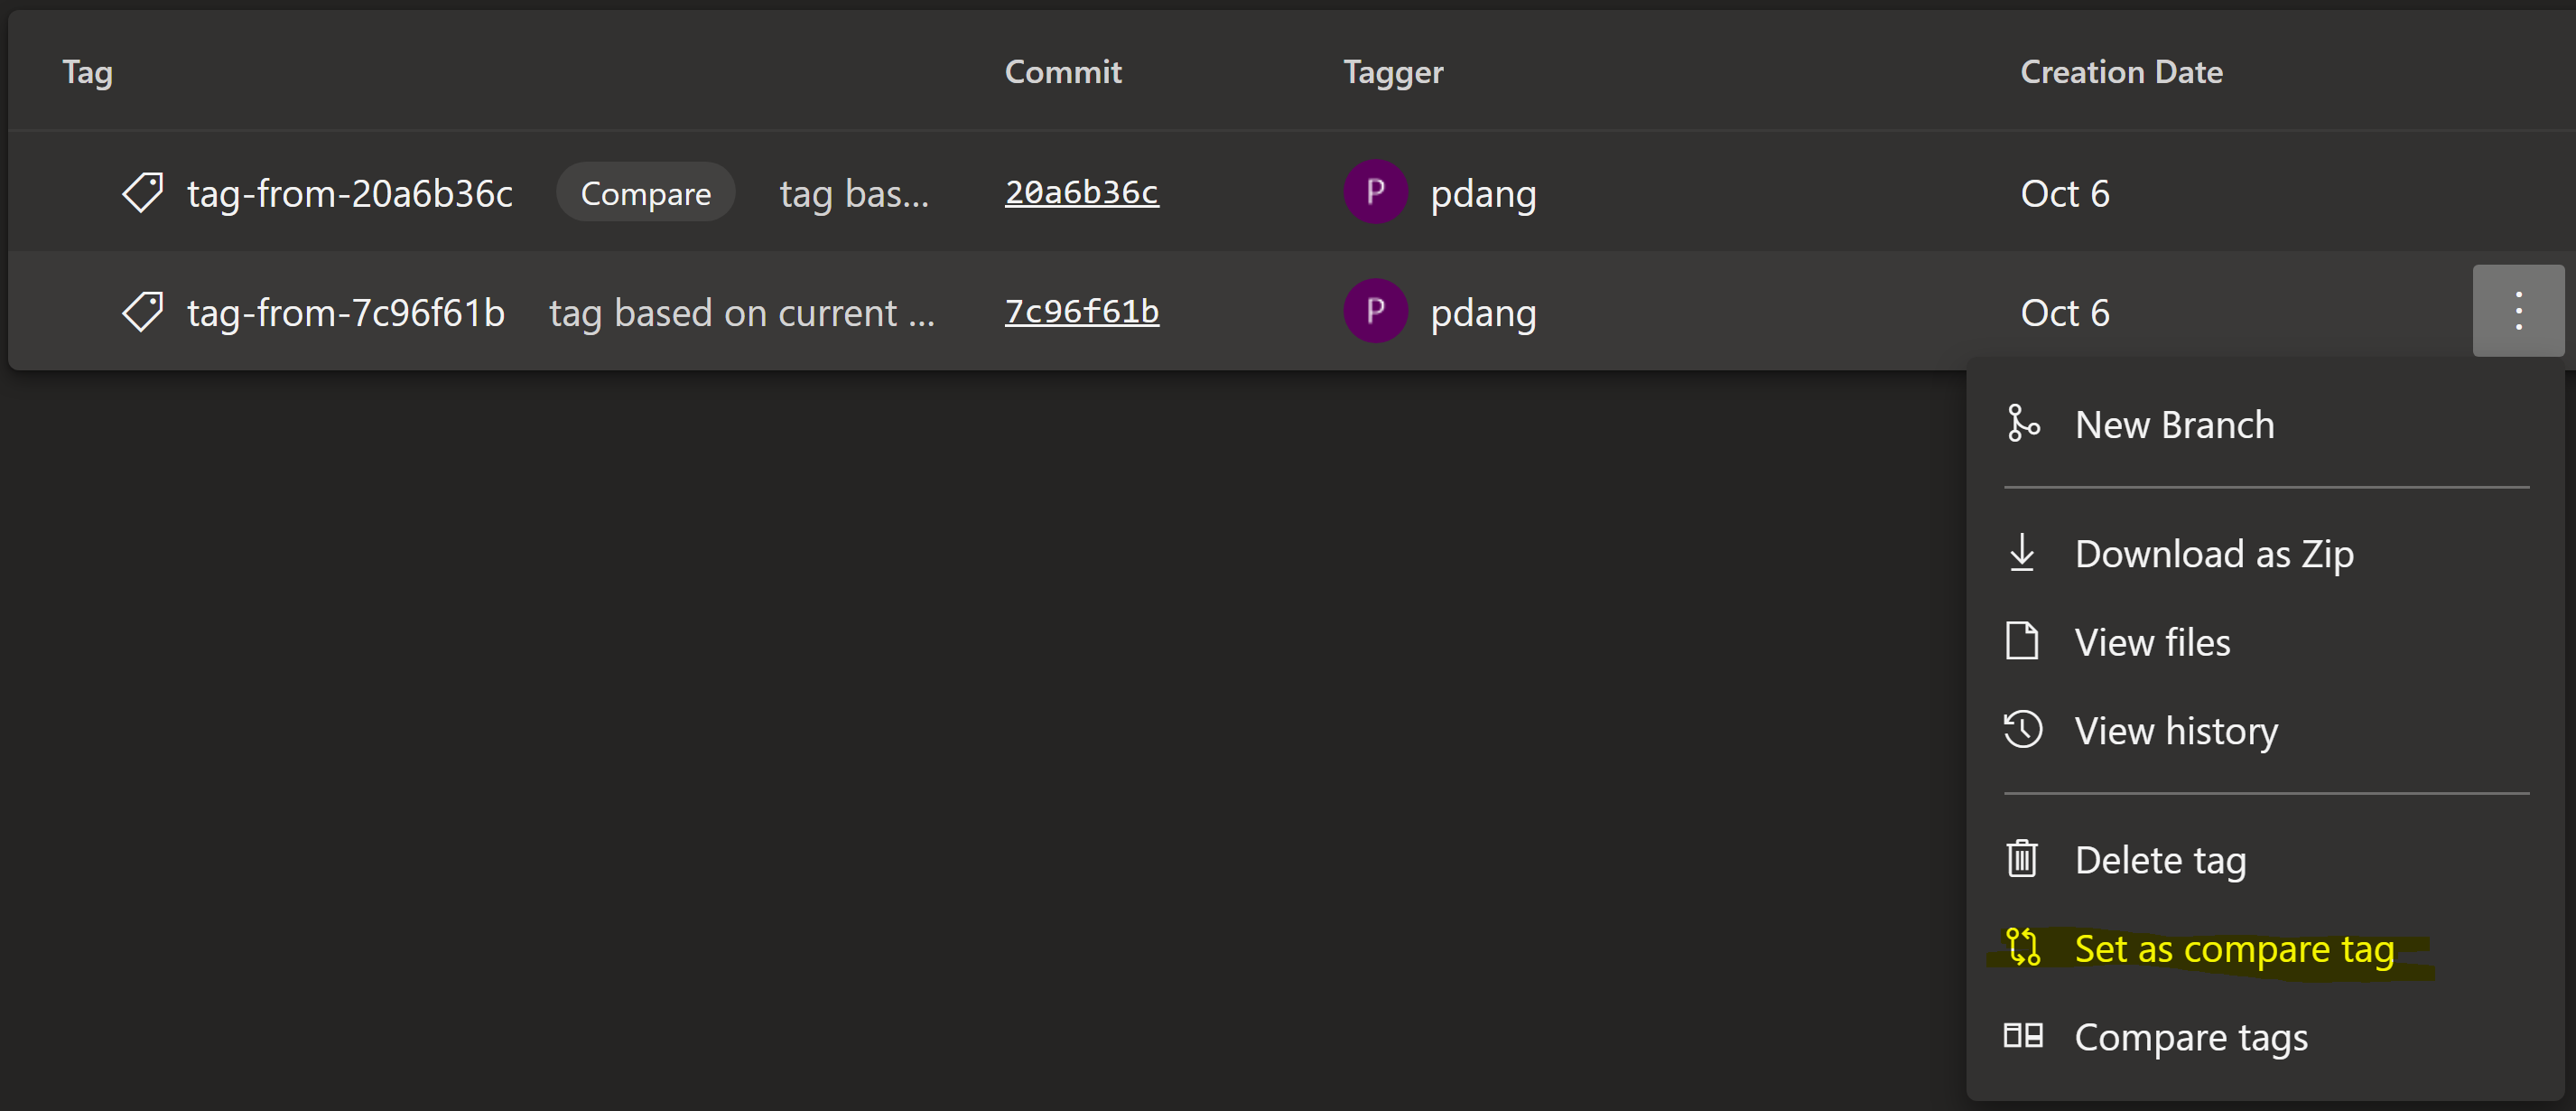
Now, select the 'Compare Tags' option on the other tag and start comparing the two tags.
Click 'Files' to see what has changes between the two tags.

Closing
I hope this post gives you an easy way to compare a few commits and the files that have changed in detail, thanks for reading.
