Reading time: 5 min read
Use Netlify’s Markdown Template to Create Simple Proof-of-Concepts With Custom Components
Go from nothing to a full site, just like that
Start typing to search...
We all know about how Storybook makes a great companion for front-end Next.js development. You’re able to quickly validate and extensively test components, elements, and if you have the patience, even pages. But what if you just want to demonstrate to a client a single page quickly demonstrating a few components you have built already. Think of it as a proof-of-concept of sorts.
With Netlify you can quickly deploy a Markdown-based template, add in appropriate components, and have a fully working proof-of-concept website up and running with minimal effort.
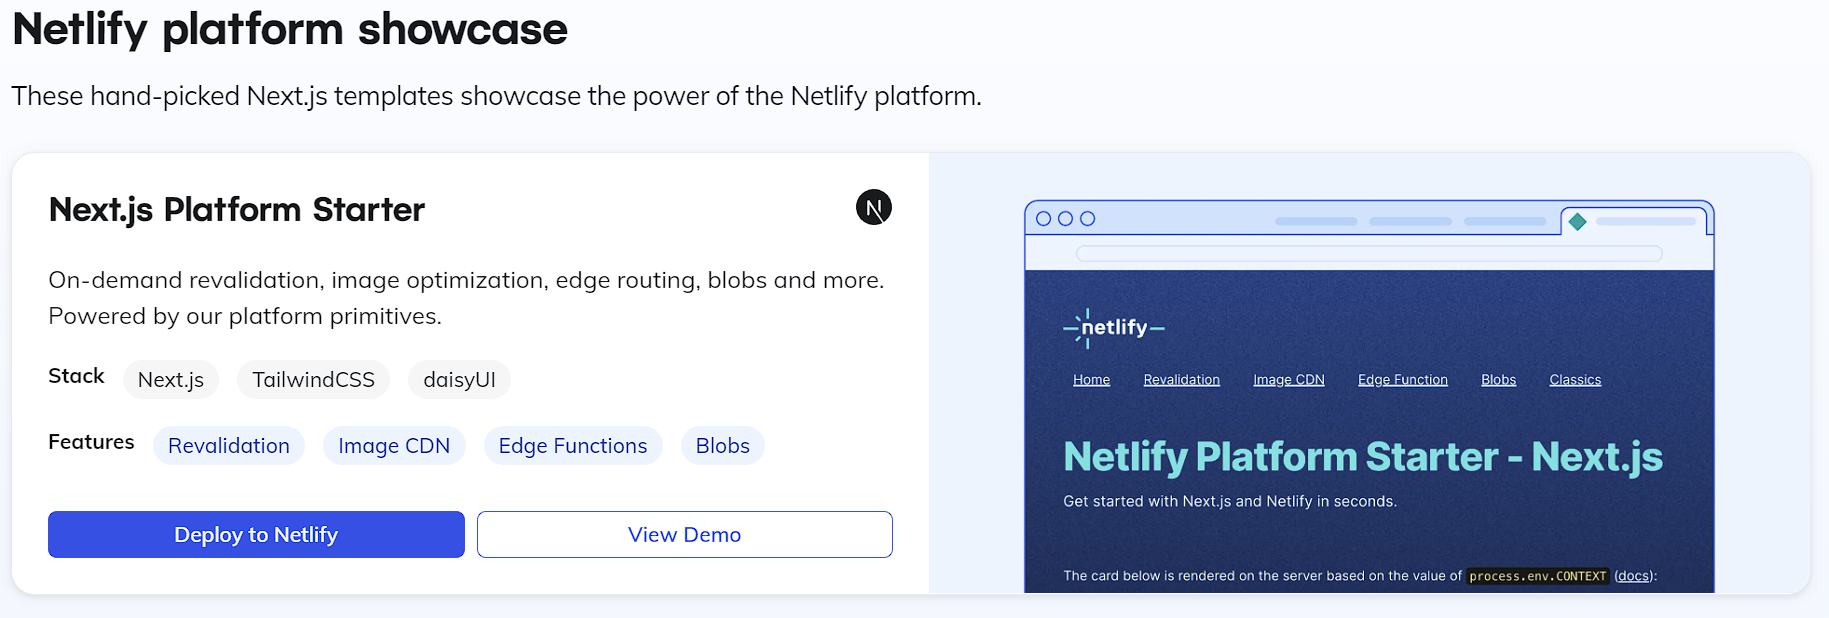
Let’s navigate to https://www.netlify.com/with/nextjs/ and if you scroll down you’ll be able to select Deploy to Netlify under the Next.js Platform Starter.
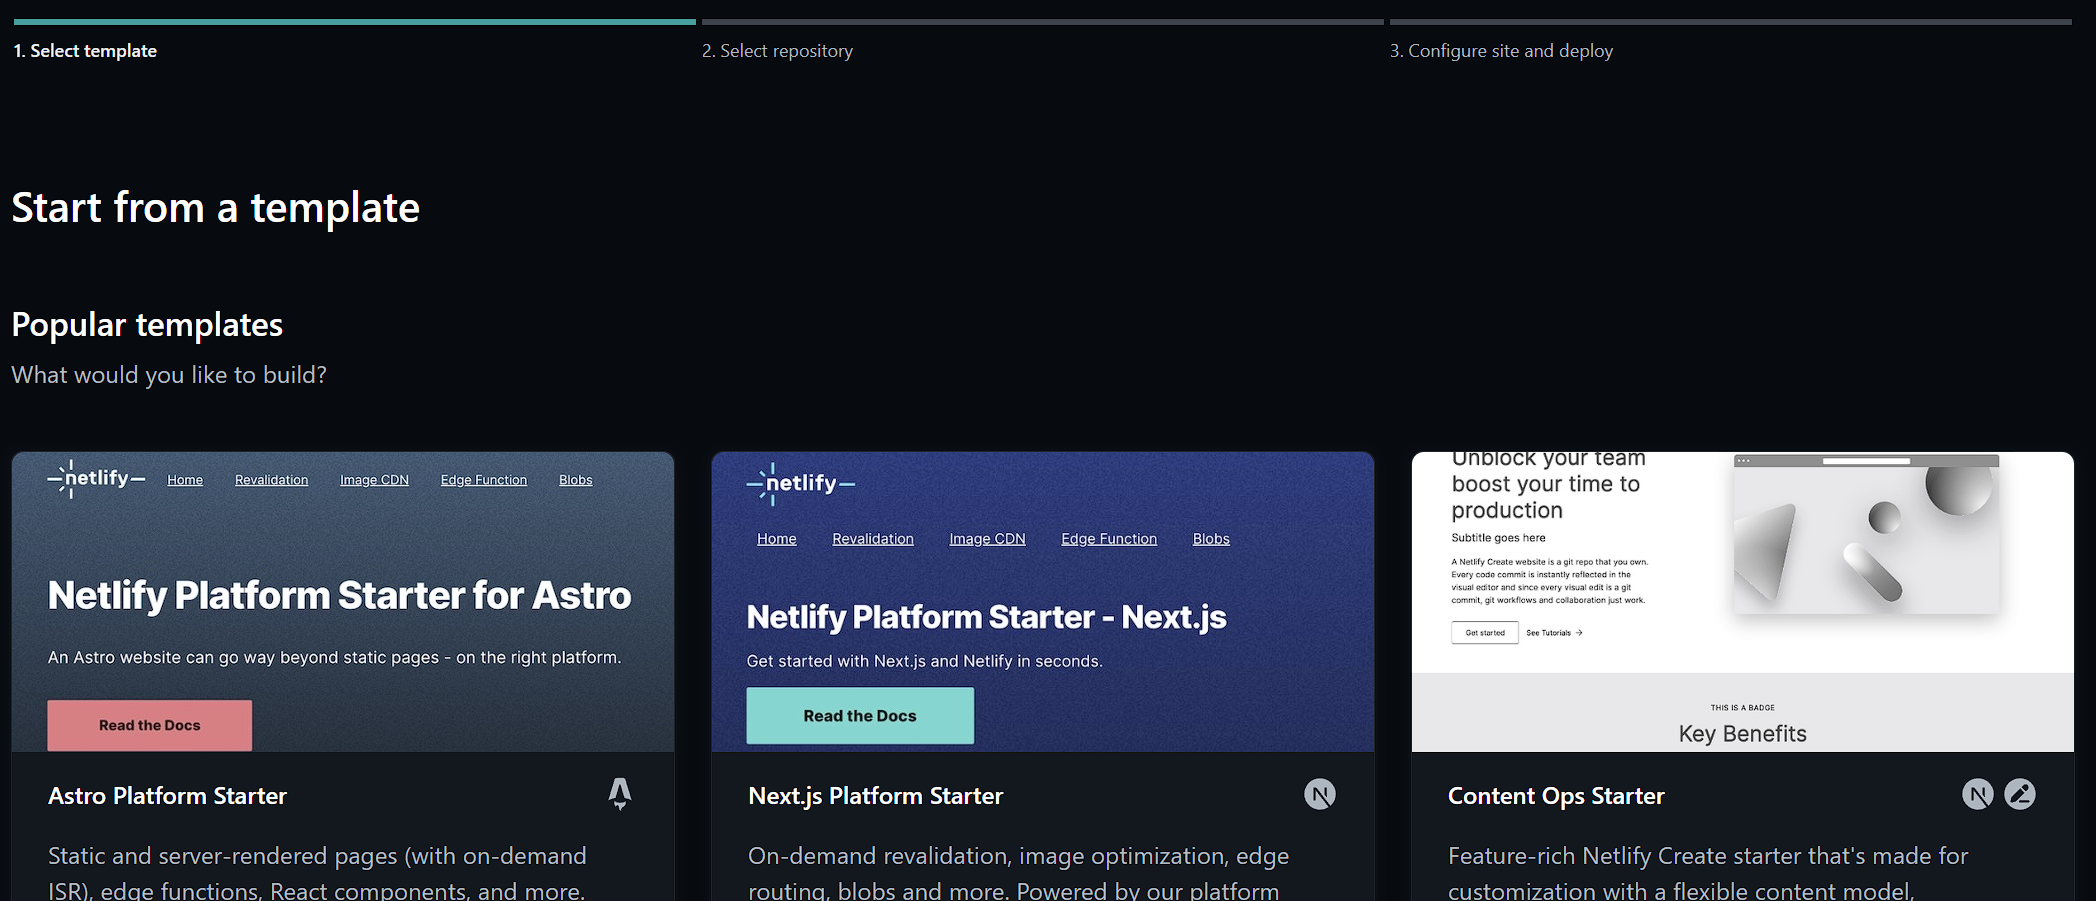
From there you’ll be prompted to either login, or create an account. After successfully logging in you’ll be able to select a template from a page that resembles the following.
The template you’re looking for is the Bejamas Next.js Blog Starter. Don’t be fooled by the title, just because it says “Blog Starter”. The benefits of this template are that it is built with Next.js, Tailwind, and MDX. This way, you can import existing example components you may have already built using Next.js and Tailwind.

You can either:
Live Demo to see how it worksSource codee to see the code behind it from within a Github code repository.For this example, we’re going to click the image, after which we are taken to a page where we need to connect it to Github.
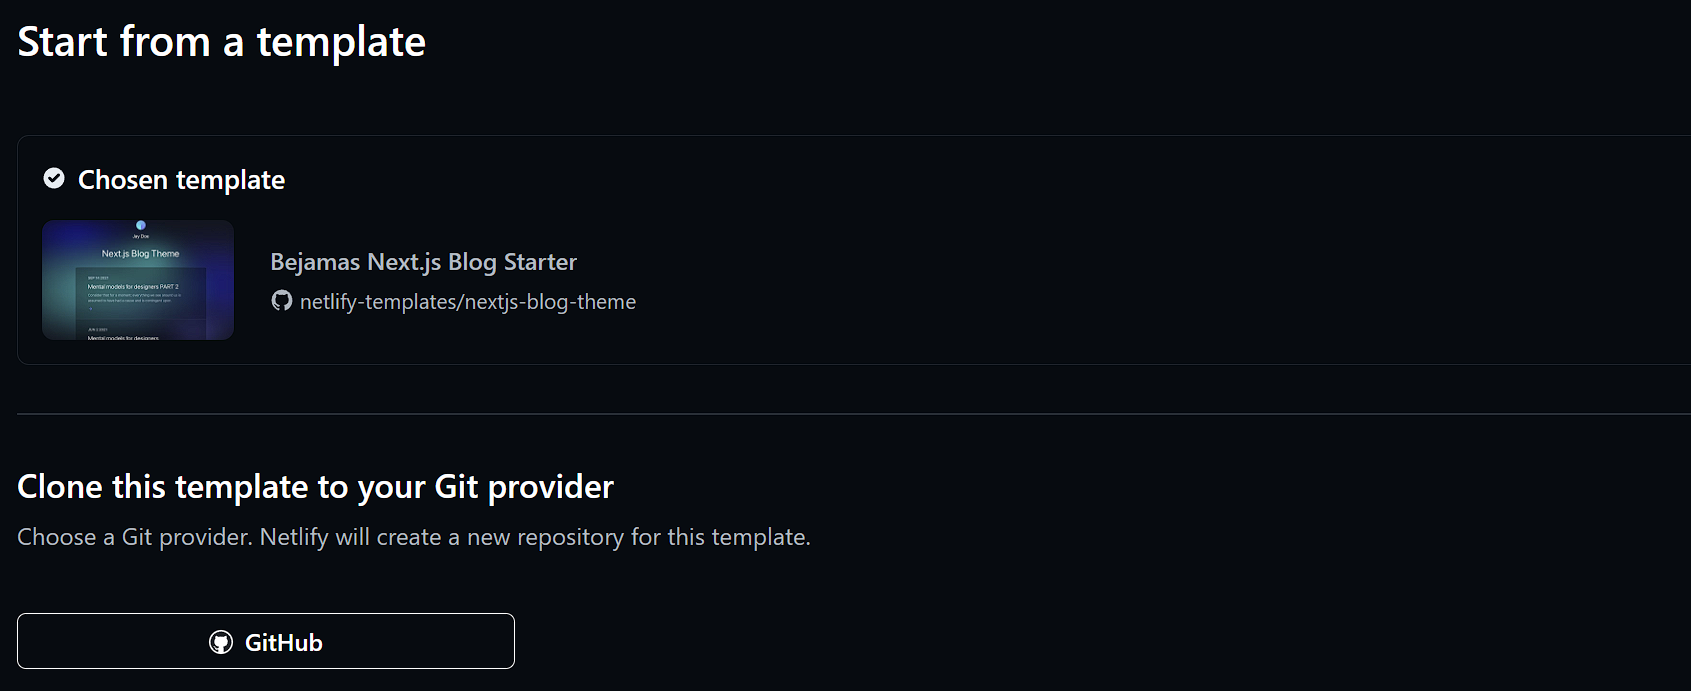
Selecting Github, and granting appropriate access, we can then proceed to install the template to the repo of our choosing and deploy the site to Netlify.
Clicking “Deploy” will kick off the process. We’ll be taken to the Netlify Dashboard and immediately see the deployment of the app.
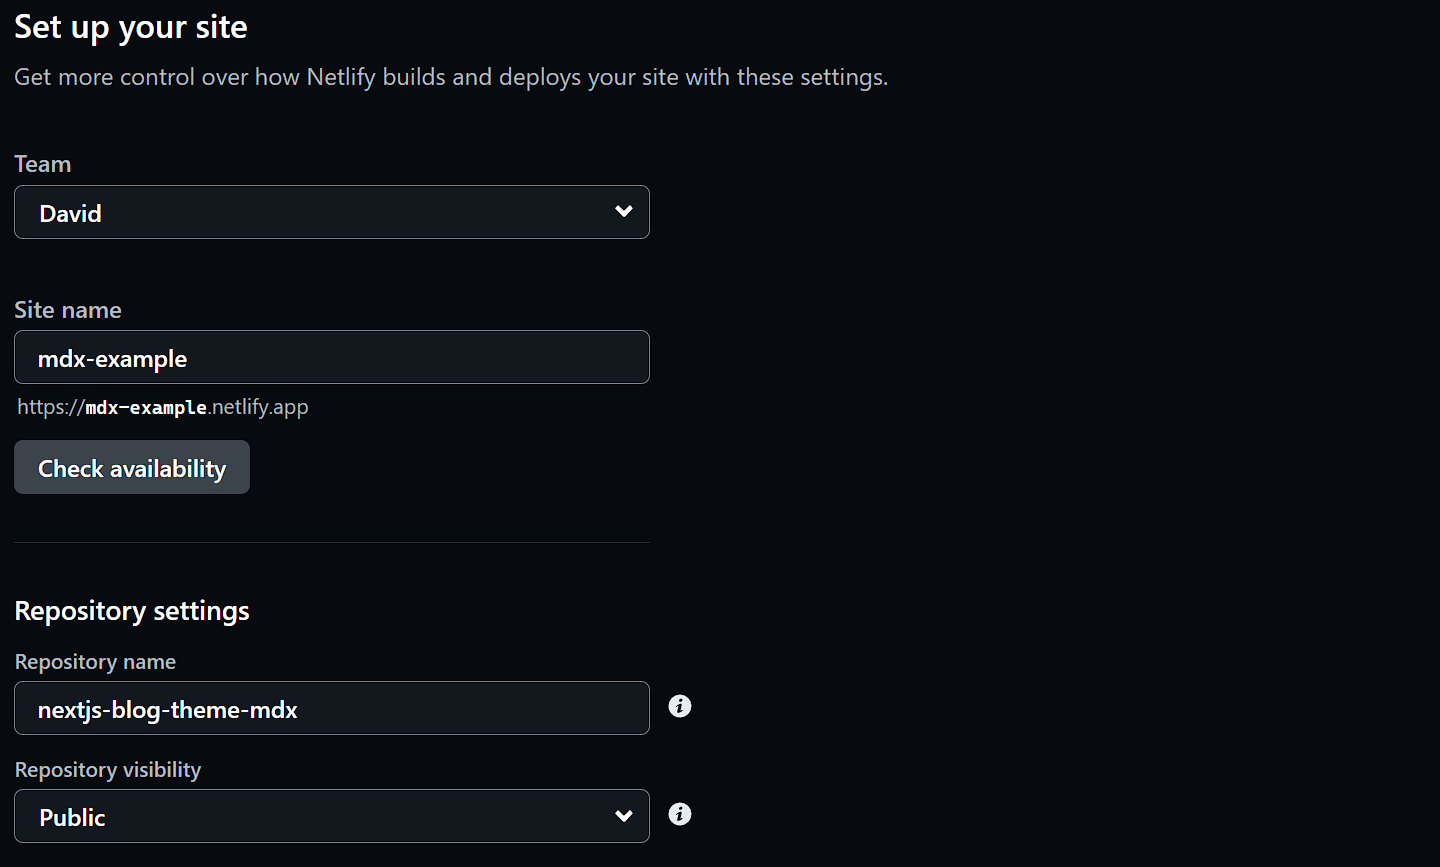
Once we see the success message, click “Get Started”, we can then visit the application via the URL we chose earlier: https://mdx-example.netlify.app/.

It might not look like much at the moment, but let’s have a look at the code.
There are three files of interest that we will explore:
/utils/mdx-utils.js - This file contains all the functions used to extract the MDX content. It makes use of the following three npm modules to extract and convert the MDX into HTML.
next-mdx-remote/serialize@mapbox/rehype-prismremark-gfm/pages/index.js - Here we can see how the above library file utilizes the functions to load the content for the main page./pages/posts/[slug].js - This is the file that loads in the “post” by URL. So if you were to access the website with URL posts/here-we-are it would then load the file here-we-are.mdx.By utilizing what we have above, we can easily expand upon it to load in MDX files for other components as necessary.
Let’s say we have a component that we want to pull content from a single MDX file. As we saw inside [slug].js we could modify it appropriately to say the following:
export const getStaticProps = async ({ params }) => {
  const { mdxSource, data } = await getDatasource('path-to-mdx-file');

  return {
    props: {
      source: mdxSource,
    },
  };
};
And then in the mdx-util.js file create a function called getDatasource that takes in a single parameter of the path to the appropriate MDX file.
export const getDatasource = async (mdxPath) => {
  const source = fs.readFileSync(mdxPath);

  const { content, data } = matter(source);

  const mdxSource = await serialize(content, {
    // Optionally pass remark/rehype plugins
    mdxOptions: {
      remarkPlugins: [remarkGfm],
      rehypePlugins: [rehypePrism],
    },
    scope: data,
  });

  return { mdxSource, data };
};
Back in our component, assuming the MDX file contains the appropriate metadata, we can extract that and utilize for our component
---
title: Title field for component
description: "Description field for component"
date: May 4 2023
---
If your component had a rich text body field, you can utilize the NPM module next-mdx-remote and MDXRemote to display it.
<MDXRemote {...source} components={components} />
You can take this as far as you’d like to be honest. Even build out a fully functional website and have content authors just purely update MDX files. But personally the experience would be better using a product like Sitecore as a backend.